If you’ve ever dreamed of growing your own fresh and organic vegetables right in your backyard, then building a DIY raised garden bed might just be the perfect solution for you. Not only does it provide a practical and efficient way to cultivate your favorite veggies, but it also adds a touch of aesthetic charm to your outdoor space. In this article, we will guide you through the step-by-step process of creating your very own raised garden bed, from choosing the right location to selecting the best materials, so that you can embark on this exciting gardening journey with confidence and success.
Table of Contents
ToggleChoosing the Location
Consider sunlight exposure
When choosing the location for your raised garden bed, it’s important to consider the amount of sunlight the area receives. Most vegetables need at least six hours of direct sunlight per day to thrive. Observe your yard throughout the day to determine which areas receive the most sunlight. Ideally, you want to place your raised garden bed in a spot that gets ample sunlight throughout the day. This will ensure that your plants get the necessary energy to grow and produce a bountiful harvest.
Ensure access to water
Another crucial factor to consider when choosing a location for your raised garden bed is access to water. Vegetables require consistent watering, especially during dry periods, to stay healthy and productive. Look for a spot that is close to a water source, such as a hose or irrigation system. This will make it easier for you to provide your plants with the water they need, saving you time and effort in the long run.
Check the soil quality
Before placing your raised garden bed, it’s essential to check the soil quality in the chosen location. Poor soil can hinder plant growth and yield. Dig a small hole in the ground and examine the soil’s texture and composition. Ideally, you want soil that is loose, well-drained, and fertile. If the soil in your chosen location is lacking in these qualities, don’t worry! Raised garden beds are a great solution as they allow you to control the soil quality by filling them with a nutrient-rich soil mix.
Determining the Size and Shape
Consider available space
The size of your raised garden bed will depend on the available space in your yard. Take into account the dimensions of the area you’ve chosen, ensuring there is enough room for the bed to fit comfortably. Keep in mind that you’ll need to access all sides of the bed for planting, watering, and harvesting. It’s recommended to leave at least a two-foot space between the bed and any surrounding structures, such as fences or walls, to allow for easy maneuverability.
Decide on the dimensions
Once you’ve considered the available space, it’s time to decide on the dimensions of your raised garden bed. The width of the bed is crucial for easy accessibility and maintenance. It’s generally recommended to keep the width between 3 and 4 feet. This allows you to reach the center of the bed without stepping on the soil, which can compact it and hinder plant growth. The length of the bed depends on personal preference and the amount of space you have available.
Choose a shape
Raised garden beds can be built in various shapes, such as rectangular, square, or even circular. The choice of shape depends on your personal preference and the aesthetics you want to achieve in your garden. Rectangular beds are the most common as they provide maximum growing space and are easy to construct. However, circular beds can be a unique and visually appealing option. Consider the overall design of your garden and choose a shape that complements the existing landscape.
Gathering Materials and Tools
Wood or alternative materials
When it comes to choosing the materials for your raised garden bed, wood is the most popular option. Cedar and redwood are excellent choices due to their natural resistance to rot and insects. Choose untreated lumber to avoid any potential chemical leaching into the soil. If you prefer a more sustainable option, consider using recycled plastic or composite materials.
Screws or nails
To assemble the wooden frame of your raised garden bed, you’ll need screws or nails. Screws provide a more secure and long-lasting structure compared to nails, which can loosen over time. Opt for rust-resistant screws or galvanized nails to ensure durability.
Landscape fabric or cardboard
Landscape fabric or cardboard is essential for lining the bottom of your raised garden bed. This layer helps prevent weeds from growing up into your bed. Landscape fabric is durable and allows for water drainage, while cardboard is an eco-friendly alternative that also helps retain moisture in the soil.
Compost and soil mix
To create a nutrient-rich growing environment for your vegetables, you’ll need to gather compost and soil mix. Compost adds organic matter and nutrients, while soil mix provides a loose and well-drained medium for the roots to thrive. You can purchase pre-made soil mix or create your own by combining equal parts compost, garden soil, and vermiculite or perlite.
Preparing the Ground
Clear the area
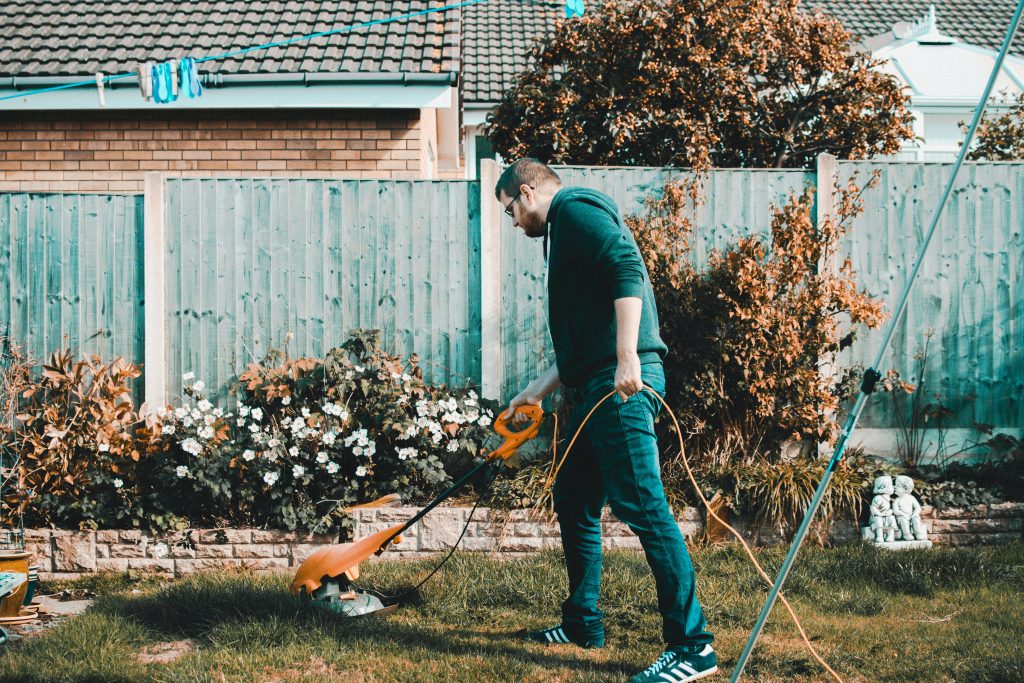
Before installing your raised garden bed, it’s important to clear the area of any existing vegetation, such as grass or weeds. Use a shovel or garden hoe to remove the plants and their roots. This will prevent competition for nutrients and ensure the optimal growth of your vegetable plants.
Level the ground
Once the area is cleared, it’s crucial to level the ground where your raised garden bed will sit. Uneven ground can cause the bed to be unstable and lead to drainage issues. Use a garden rake or shovel to remove any bumps or fill in any depressions. Aim for a level surface that will provide a stable foundation for your raised garden bed.
Remove grass and weeds
To further ensure a weed-free environment, take the extra step of removing any remaining grass or weeds in the area. This can be done by manually pulling them or using a garden weed killer. Removing these unwanted plants will reduce competition for nutrients and space, allowing your vegetables to thrive without interference.
Building the Raised Garden Bed Frame
Cutting the lumber
Now that the ground is prepared, it’s time to start building the frame of your raised garden bed. Begin by cutting the lumber according to the dimensions you’ve chosen. Use a saw or miter saw to make precise cuts. If necessary, sand the edges of the lumber to remove any roughness or splinters.
Assembling the frame
Once the lumber is cut, assemble the frame by attaching the boards together. Place the longer sideboards parallel to each other, with the shorter end boards perpendicular to them, forming a rectangular shape. Use screws or nails to secure the corners, ensuring a sturdy and stable structure.
Using corner braces or brackets
For added support and stability, consider using corner braces or brackets. These metal pieces can be attached to the inside corners of the frame to reinforce the joints. They provide extra strength, preventing the frame from shifting or warping over time.
Adding additional support
If you’re building a larger raised garden bed, it’s advisable to add additional support in the center of the longer sideboards. This can be done by attaching a horizontal brace across the middle of the bed. Use screws or nails to secure the brace to the sideboards, creating a strong and stable structure that can withstand the weight of the soil.
Placing the Garden Bed
Positioning the frame
Now that your raised garden bed frame is built, it’s time to position it in the chosen location. Carefully lift the frame and place it on the prepared ground. Ensure that the frame is level and sits securely in place. Take a step back and visually assess the placement to make any necessary adjustments before proceeding.
Checking for levelness
Use a level to verify that the frame is perfectly level in all directions. Adjust the height of the frame by adding or removing soil underneath it if needed. A level bed will ensure proper water drainage and prevent any uneven distribution of soil and nutrients.
Securing the bed in place
To prevent the raised garden bed from shifting or moving over time, it’s recommended to secure it in place. This can be done by driving stakes or supports into the ground outside the corners of the frame. Attach the stakes to the frame using screws or nails, ensuring a tight fit. This will provide added stability, especially in areas with strong winds or heavy rainfall.
Lining the Bed for Weed Control
Applying landscape fabric
To prevent weed growth, it is important to line the bottom of your raised garden bed. One option is to use landscape fabric. Cut the fabric to fit the dimensions of your bed and place it on top of the cleared ground. Use scissors or a utility knife to make any necessary adjustments. Secure the fabric by folding the edges over the sides of the bed or by using landscape staples to hold it in place.
Using cardboard as an alternative
Another option for lining your raised garden bed is to use cardboard. This eco-friendly alternative is readily available and can be easily obtained from shipping boxes or old packaging. Cut the cardboard to fit the dimensions of your bed and place it on top of the cleared ground. Overlap the edges to prevent weed growth and ensure full coverage. The cardboard will eventually break down and provide additional organic matter to the soil.
Filling the Bed with Soil
Creating a soil mix
Now that your raised garden bed is lined, it’s time to fill it with soil. Prepare a soil mix that is well-draining and nutrient-rich. A simple recipe is to combine equal parts compost, garden soil, and vermiculite or perlite. This mixture provides the essential nutrients and a loose texture that allows roots to penetrate easily.
Adding compost and organic matter
To further enrich the soil, add a generous amount of compost and organic matter to the bed. Compost improves soil structure, drainage, and nutrient availability. Spread a layer of compost evenly over the soil mix and use a garden rake to incorporate it thoroughly. This will ensure an optimal growing environment for your vegetable plants.
Leveling and raking the soil
Once the soil mix and compost are added, use a garden rake to level and smooth the surface of the soil. Remove any large clumps or stones that may hinder planting or the even distribution of water. Aim for a flat and even surface, ready for planting your vegetables.
Planting Vegetables
Choosing the right vegetables
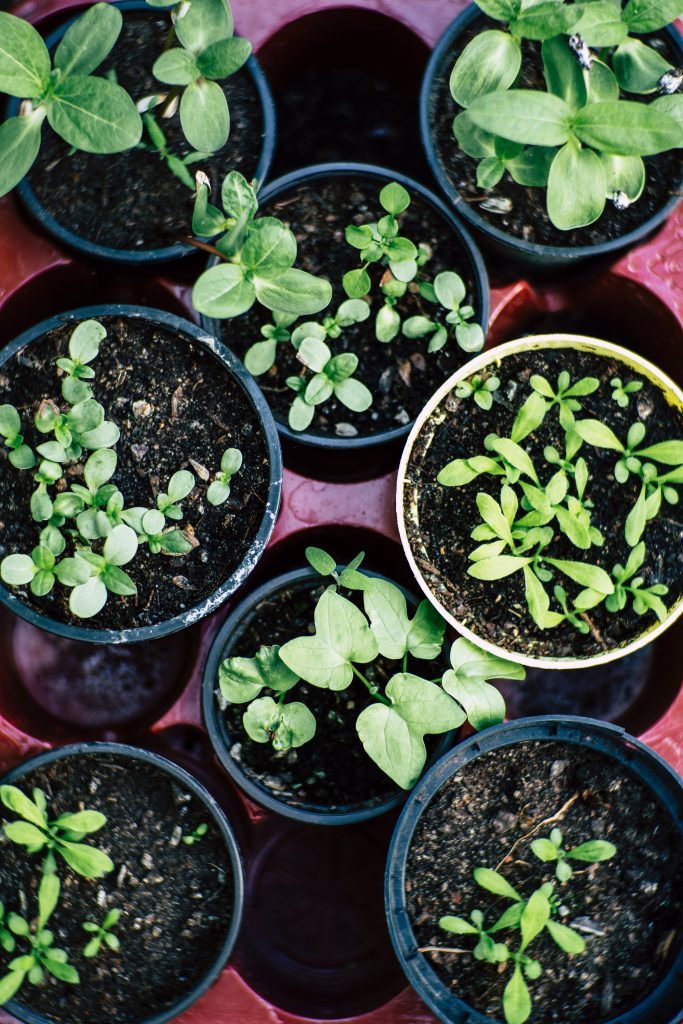
With your raised garden bed prepared, it’s time to choose the right vegetables for planting. Consider the climate and growing conditions in your area, as well as your personal preferences. Some popular vegetable options for raised garden beds include tomatoes, peppers, lettuce, carrots, and herbs. Read the seed packets or plant labels for specific planting instructions and spacing requirements.
Spacing the plants
Proper spacing is crucial for the healthy growth of your vegetable plants. Overcrowding can lead to poor air circulation, increased disease susceptibility, and competition for nutrients. Follow the recommended spacing guidelines provided on the seed packets or plant labels. Use a measuring tape or ruler to ensure each plant has enough room to reach its full potential.
Watering and mulching
After planting your vegetables, water them thoroughly to settle the soil and encourage root establishment. Vegetables in raised garden beds generally require consistent watering, especially during hot and dry periods. Mulching can help retain moisture, reduce weed growth, and moderate soil temperature. Apply a layer of organic mulch, such as straw or wood chips, around the base of the plants, leaving space around the stems to prevent rotting.
Caring for the Raised Bed
Regular watering
Maintaining proper moisture levels is vital for the health and productivity of your raised garden bed. Water your vegetables regularly, aiming for a consistent level of moisture in the soil. Use a soaker hose or drip irrigation system to deliver water directly to the roots, minimizing water waste and ensuring thorough hydration. Monitor the soil moisture levels by sticking your finger into the soil. If it feels dry about an inch below the surface, it’s time to water.
Weeding and pest control
Regular weeding is essential in keeping your raised garden bed free of unwanted plants that compete for nutrients and space. Check your garden bed frequently and remove any weeds as soon as you spot them. Additionally, pest control is crucial to protect your vegetables from common garden pests. Monitor your plants for signs of pests and take appropriate measures, such as using organic insecticidal soap or introducing beneficial insects like ladybugs to control pest populations.
Fertilizing the plants
To ensure healthy growth and abundant harvest, it’s important to provide your vegetable plants with regular fertilization. Use organic fertilizers, such as compost or well-decomposed manure, to supply essential nutrients. Apply the fertilizer according to the package instructions, taking care not to overfertilize, which can lead to nutrient imbalances and plant damage. Regularly monitor your plants for nutrient deficiencies and adjust your fertilization routine accordingly.
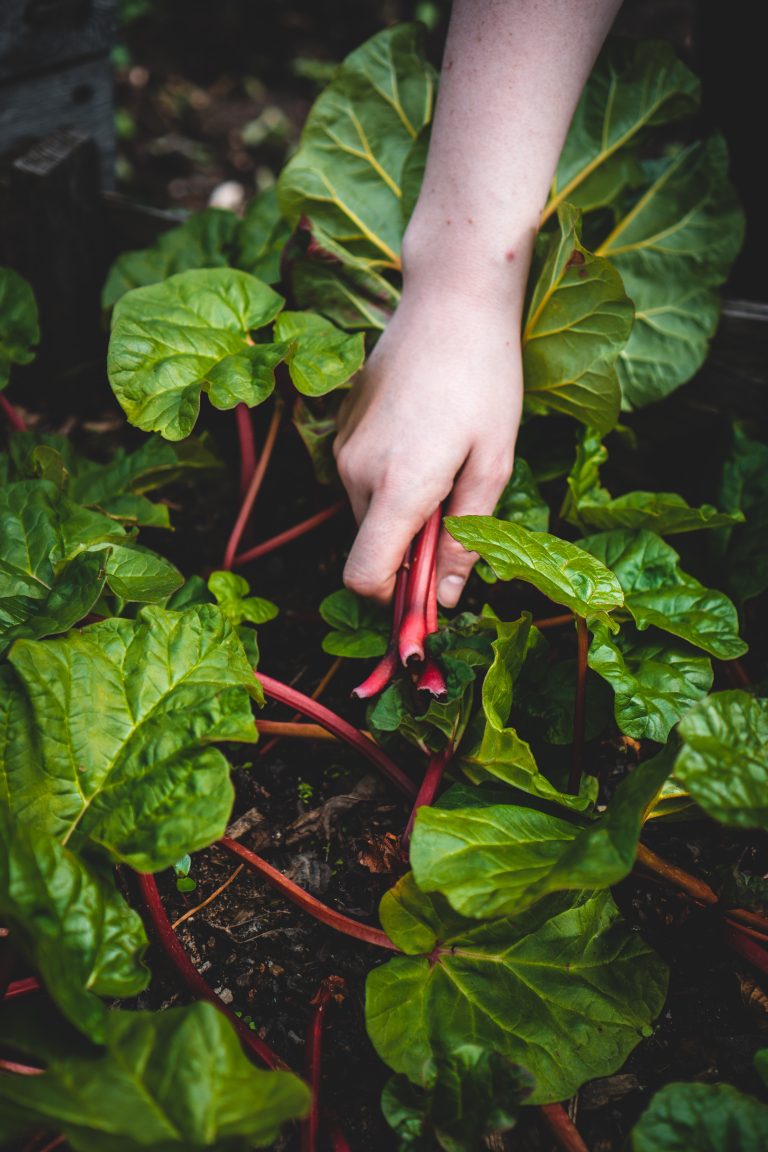
By following these comprehensive steps, you’ll be able to build and maintain a successful DIY raised garden bed for growing your own vegetables. From choosing the right location and materials to caring for your plants, you’ll enjoy the rewards of homegrown vegetables and the satisfaction of knowing you created a thriving garden with your own hands. Happy gardening!

