So, you’re thinking about giving your kitchen a fresh and updated look by painting your cabinets? Well, before you dive into the world of paint swatches and brush strokes, there are a few key considerations that you should keep in mind. From choosing the right type of paint to prepping the surfaces properly, this article will guide you through all the essential steps to ensure a successful cabinet painting project. Whether you’re a seasoned DIY enthusiast or a complete beginner, these tips will help you achieve a beautifully transformed kitchen that you’ll love spending time in.
Table of Contents
ToggleChoosing the Right Paint
When it comes to painting your kitchen cabinets, choosing the right paint is crucial. Not all paints are created equal, and selecting a high-quality paint will ensure a longer-lasting and professional finish. Before you begin painting, consider the material of your cabinets. Different types of cabinets may require specific types of paint. For example, if you have wooden cabinets, you’ll want to choose a paint that works well with wood and provides a durable finish.
Considering the Cabinet Material
The material of your cabinets plays a significant role in determining the type of paint you should use. For wooden cabinets, you’ll want to opt for a paint that is specifically designed for wood surfaces. This will ensure proper adhesion and long-lasting results. If your cabinets are made of laminates or melamine, you’ll need to choose a paint that is specially formulated to adhere to these surfaces. Additionally, if your cabinets have a glossy finish, you may need to lightly sand them to create a more suitable surface for paint adhesion.
Selecting the Paint Finish
Choosing the right paint finish is essential for achieving the desired look for your kitchen cabinets. There are various paint finishes available, including matte, satin, semi-gloss, and gloss. Each finish has its own unique characteristics and appearance. A matte finish provides a smooth and non-reflective look, while a high-gloss finish offers a shiny and reflective surface. Satin and semi-gloss finishes are often more popular for kitchen cabinets as they offer a balance between durability and aesthetics. Consider the style of your kitchen and personal preference when selecting the paint finish.
Opting for High-Quality Paint
Investing in high-quality paint is key to achieving professional-looking results. While lower-quality paints may be cheaper initially, they may not provide the durability and longevity you desire for your kitchen cabinets. High-quality paints are typically formulated with better ingredients, resulting in better coverage, adhesion, and resistance to wear and tear. Look for paints with good reviews and reputation, as well as those specifically designed for kitchen cabinets. Spending a little more on high-quality paint will likely save you time and money in the long run.
Preparing the Cabinets
Properly preparing your cabinets before painting is crucial for achieving a smooth and flawless finish. This preparation involves removing hardware and doors, cleaning the surfaces, and sanding the cabinets.
Removing Hardware and Doors
Before you begin painting, remove all hardware from the cabinets, including knobs, hinges, and drawer pulls. This will make the painting process much easier and prevent any unwanted drips or smudges on the hardware. It is recommended to label each piece of hardware or keep them organized in a way that makes it easy to reinstall them later.
Cleaning the Surfaces
Thoroughly cleaning the cabinet surfaces is essential to ensure proper paint adhesion. Kitchen cabinets are often exposed to dirt, grease, and grime, so it is important to remove any residue before painting. Start by wiping down the cabinets with a mild detergent and warm water solution. For stubborn grease or grime, you may need to use a degreaser. Rinse the cabinets with clean water and allow them to dry completely before moving on to the next step.
Sanding the Cabinets
Sanding the cabinets is an important step in preparing the surfaces for paint. It helps to create a rough texture that allows the paint to adhere better. Start by lightly sanding the cabinet surfaces using a fine-grit sandpaper. Be sure to sand along the grain of the wood, and focus on any areas that are glossy or have uneven surfaces. After sanding, remove any dust using a clean cloth or a vacuum cleaner with a brush attachment.
Repairing and Priming
Repairing any damage, filling in gaps and holes, and applying a primer are crucial steps to ensure a smooth and professional-looking paint job.
Repairing Any Damage
Inspect your cabinets for any signs of damage, such as dents, scratches, or chips. Repairing these imperfections before painting will help to create a flawless finish. Small dents or scratches can often be filled with wood filler or putty and sanded smooth. For larger damage, you may need to replace certain parts of the cabinets or seek professional help for repairs.
Filling in Gaps and Holes
Before painting, it’s important to fill in any gaps or holes in your cabinets. These imperfections can be filled with wood filler or putty, which can be easily applied using a putty knife. Once the filler has dried, sand the area smooth to ensure a seamless finish.
Applying a Primer
Applying a primer is essential for achieving good paint adhesion and providing a smooth base for the paint. A primer helps to seal the surface, prevent stains from bleeding through, and improve the durability of the paint job. Choose a primer that is specifically designed for kitchen cabinets and follow the manufacturer’s instructions for application. Allow the primer to dry completely before moving on to the next step.
Applying the Paint
When it comes to applying the paint, using the right technique and taking your time are key factors for achieving a professional finish.
Using a Brush or Roller
You have the option of using a brush or a roller to apply the paint on your kitchen cabinets. Each method has its own advantages and considerations. Using a brush allows for more control and precision, especially when painting detailed areas such as the cabinet doors and corners. On the other hand, a roller can provide a more even and efficient application, especially for larger flat surfaces. Consider the size and details of your cabinets, as well as your own comfort and experience level, when deciding which method to use.
Applying Thin and Even Coats
When painting your kitchen cabinets, it is important to apply thin and even coats of paint. This will help to prevent drips, runs, and uneven coverage. Start by applying a thin coat of paint, using long and smooth brush strokes or a roller. Allow the first coat to dry completely before applying additional coats. Depending on the paint and desired finish, you may need to apply two to three coats for full coverage. Take your time and ensure each coat is dry before proceeding to the next layer.
Allowing Proper Drying Time
Proper drying time is crucial for achieving a durable and long-lasting finish. Allow the paint to dry completely between each coat and before reattaching hardware or reinstalling cabinet doors. This drying time can vary depending on the paint type and environmental conditions, so be sure to follow the manufacturer’s instructions. Rushing the drying process can lead to smudges, smears, and damage to the painted surface.
Choosing the Color
Choosing the right color for your kitchen cabinets can greatly enhance the overall look and feel of your kitchen.
Considering the Kitchen Style
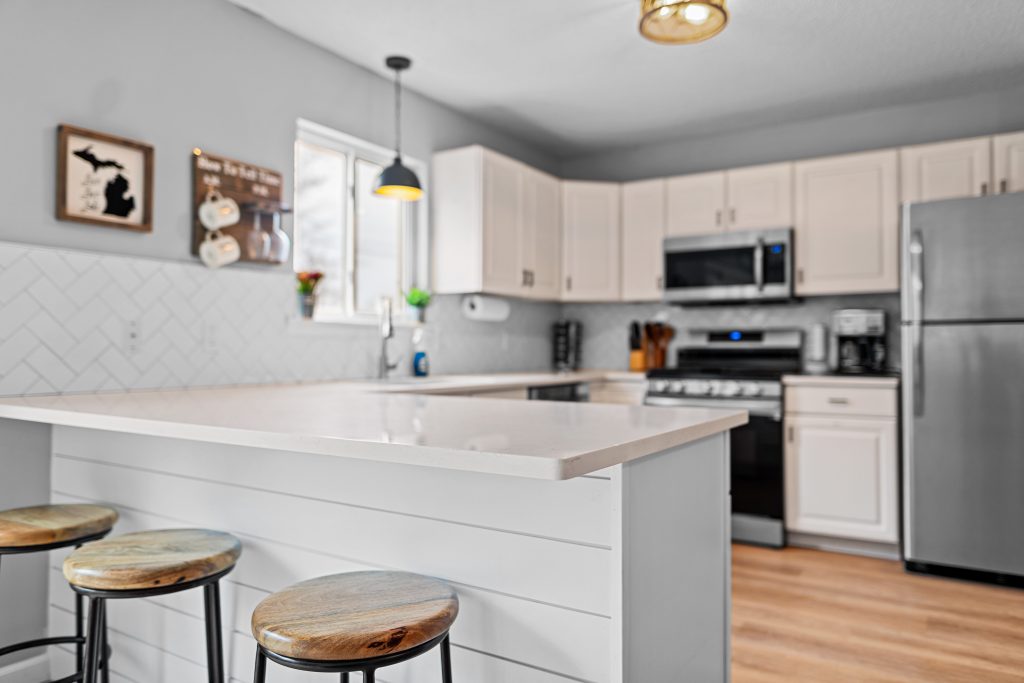
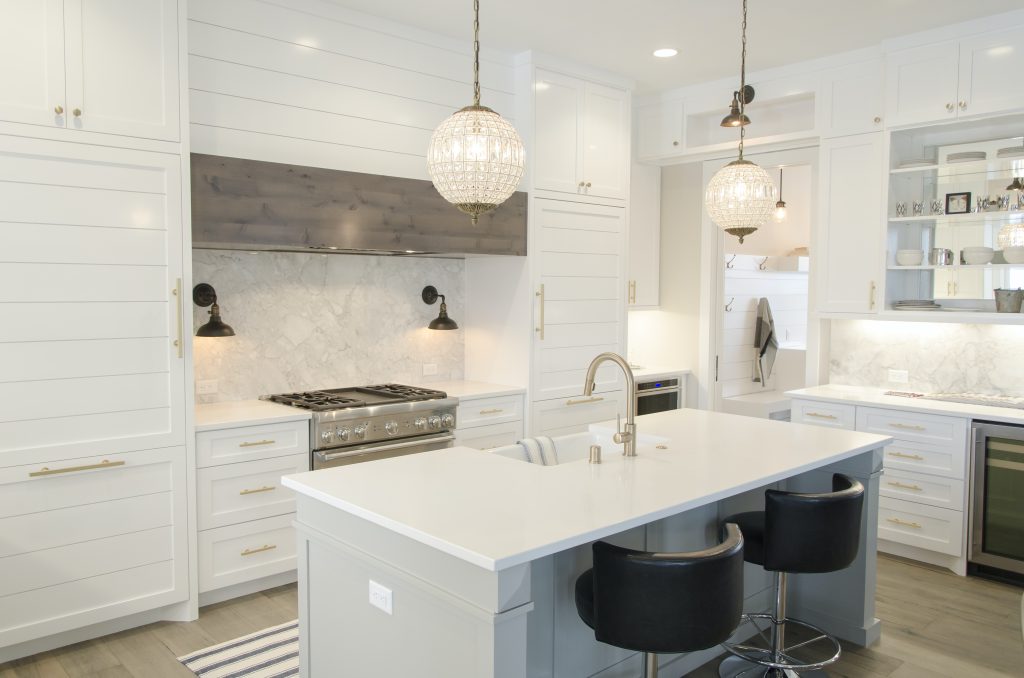
When selecting a color for your kitchen cabinets, consider the style and theme of your kitchen. Are you going for a modern and sleek look, or a more traditional and rustic feel? The color of your cabinets should complement the overall aesthetic of the space. Neutral tones such as white, gray, or beige are versatile and timeless choices, while bold colors can add a pop of personality and make a statement.
Testing the Color
Before committing to a specific color, it is highly recommended to test it on a small area of your cabinets. Paint a patch or sample area and observe it in different lighting conditions throughout the day. This will give you a better idea of how the color will look in your kitchen and whether it complements the existing decor.
Matching with Existing Decor
Consider the existing decor and color scheme in your kitchen when selecting a cabinet color. The cabinets should harmonize with the countertops, backsplash, and flooring. If you have a busy and vibrant backsplash, opting for more neutral cabinet colors will help to create a balanced and cohesive look. On the other hand, if your kitchen has a more minimalistic and monochromatic design, bold cabinet colors can add visual interest and focal points.
Working in a Well-Ventilated Area
Painting cabinets can release strong fumes and odors, so it is important to work in a well-ventilated area to ensure your safety and comfort.
Opening Windows and Doors
If possible, open windows and doors to allow fresh air to circulate while you’re painting. This will help to disperse any fumes and minimize the strong smell of the paint. Proper ventilation also aids in the drying process, as it allows the painted surfaces to dry more quickly.
Using Fans or Exhaust Systems
In addition to opening windows and doors, using fans or exhaust systems can further improve ventilation in your workspace. Position fans near the windows to create a cross breeze, or set up portable exhaust fans to draw air out of the room. These measures will help to reduce the concentration of paint fumes and promote a healthier environment.
Considering Alternatives for Sensitive Individuals
If you are particularly sensitive to paint fumes or have respiratory issues, there are alternative paint options available. Look for low or zero VOC (volatile organic compound) paints. These paints have lower levels of harmful chemicals, making them a safer choice for individuals with sensitivities. It’s always best to prioritize your health and well-being when selecting painting products.
Protecting the Surrounding Area
Before you start painting, take the necessary precautions to protect the surrounding area from accidental paint splatters and spills.
Covering Floors and Countertops
Using drop cloths, old sheets, or plastic covers, protect your floors and countertops from paint splatters and drips. Ensure the covers are secure and fully cover the areas around your cabinets. This will save you from unnecessary cleanup and potential damage to your kitchen surfaces.
Using Painter’s Tape
Using painter’s tape, carefully tape off the areas you do not want to be painted, such as walls, appliances, or other fixed features. This will provide clean and sharp lines, preventing the paint from bleeding onto unwanted areas. Take your time to ensure the tape is properly adhered and pressed down to create a tight seal.
Removing or Protecting Appliances
If possible, remove any appliances near the cabinets to prevent them from getting accidentally splattered with paint. If removing appliances is not an option, cover them with plastic sheets or painter’s tape as an added layer of protection. Be sure to cover all exposed surfaces and any vulnerable parts that could be damaged by paint.
Taking Safety Precautions
When painting your kitchen cabinets, it’s important to prioritize safety and take the necessary precautions to protect yourself and others around you.
Wearing Protective Gear
Before you start painting, put on protective gear such as gloves, goggles, and a mask. This will protect your skin, eyes, and lungs from potential paint splatters, fumes, and dust. Additionally, wear old clothing that you don’t mind getting stained.
Avoiding Chemical Exposure
Follow the manufacturer’s instructions when using paint and other chemicals. Avoid inhaling or ingesting the paint, and always work in a well-ventilated area to minimize exposure to harmful fumes. If you experience any adverse reactions or discomfort, stop the project immediately and seek medical attention if necessary.
Properly Disposing of Materials
Once you have finished painting and cleaning up, it’s important to properly dispose of any paint cans, brushes, or used materials. Avoid pouring leftover paint down the drain or throwing it in the trash. Instead, follow your local regulations for proper disposal or consider donating any excess paint to a local organization or community project.
Choosing the Right Tools
Using the right tools is essential for achieving a professional finish on your painted kitchen cabinets.
Selecting High-Quality Brushes and Rollers
Investing in high-quality brushes and rollers will make a significant difference in the final outcome of your paint job. Good brushes should have dense bristles that hold their shape well and provide smooth and even coverage. Similarly, high-quality rollers should have a tight nap that holds paint effectively and leaves minimal texture on the surface.
Using a Paint Sprayer
For larger projects or a more efficient application, you may consider using a paint sprayer. Paint sprayers can provide a more uniform and professional-looking finish, especially on larger flat surfaces. However, they do require some skill and practice to use effectively. Follow the manufacturer’s instructions and take necessary precautions when using a paint sprayer.
Having the Necessary Tools and Equipment
In addition to brushes, rollers, and paint sprayers, there are other tools and equipment that will make your cabinet painting project easier and more efficient. These may include sandpaper, putty knives, masking tape, paint trays, and stir sticks. Before you start painting, ensure you have all the necessary tools within reach to avoid interruptions and unnecessary delays.
Considering Professional Help
If you’re unsure about your painting skills or if you simply don’t have the time or patience for a DIY project, it may be worth considering professional help.
Assessing Personal Skills and Time Constraints
Painting kitchen cabinets can be a time-consuming and detail-oriented project. Consider your own skills, experience, and available time before deciding whether to tackle the project yourself or seek professional assistance. Professional painters have the expertise and tools to ensure a high-quality finish, especially for more complex painting jobs.
Hiring a Professional Painter
Hiring a professional painter can save you time and provide peace of mind. Research and gather recommendations from trusted sources to find a reputable painter. Ask for examples of their previous work and ensure they have experience specifically painting kitchen cabinets. Obtain a written estimate, review their credentials, and communicate your goals and expectations clearly to ensure a successful partnership.
Getting a Consultation
If you’re unsure about the color, finish, or process of painting your kitchen cabinets, consider getting a consultation from a professional painter or a color specialist. They can provide valuable insight, offer suggestions, and help you make informed decisions that will enhance the overall look and feel of your kitchen.
By following these comprehensive steps and considerations, you can confidently tackle the task of painting your kitchen cabinets. Remember to choose the right paint, prepare the cabinets properly, apply the paint with care, and take the necessary safety precautions. With time, patience, and attention to detail, you can transform your kitchen cabinets and create a fresh and vibrant space that reflects your personal style.

