So, you’ve decided it’s time for a bathroom upgrade, starting with a brand-new vanity. But now you’re faced with a question: How do you actually go about installing it? Don’t worry, we’ve got you covered! In this article, we’ll guide you through the steps of installing a new vanity in your bathroom. From removing the old one to securing the new one in place, you’ll find all the tips and tricks you need to transform your bathroom into a stylish and functional space. So, grab your tools and let’s get started!
Table of Contents
ToggleChoosing the Right Vanity
When it comes to choosing the right vanity for your bathroom, there are a few key factors to consider. First and foremost, you’ll need to measure your space to ensure that you select a vanity that fits properly. Take note of the width, depth, and height of the area where you intend to install the vanity.
Next, think about the style and material that will best suit your bathroom. Do you prefer a modern and sleek look, or are you more drawn to a classic and traditional style? Consider the overall aesthetic of your bathroom and choose a vanity that complements it. Additionally, think about the material of the vanity. Popular options include wood, laminate, and marble. Each material has its own advantages and considerations, so be sure to choose one that fits your needs and preferences.
Lastly, consider the storage options that are important to you. Do you need ample space for towels and toiletries? Or do you prefer a minimalist design with limited storage? Think about your storage needs and find a vanity that offers the functionality you desire.
Gathering the Necessary Tools and Materials
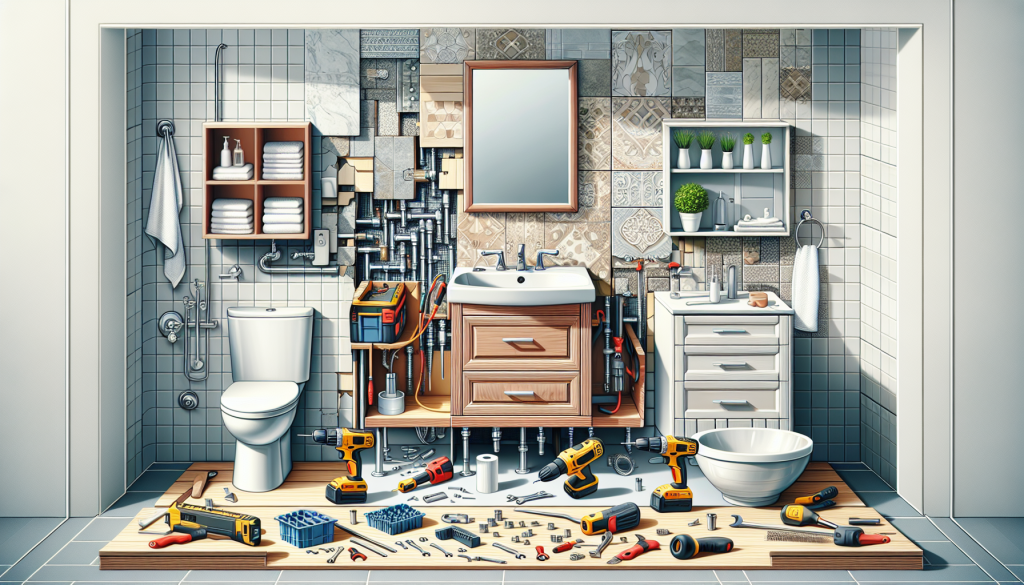
Before you start the installation process, make sure you have all the necessary tools and materials on hand. You’ll need a sink and vanity that you have chosen, as well as a faucet that complements the style of your vanity. Plumbing tools, such as a wrench and pliers, will also come in handy during the installation process.
A level will help ensure that your vanity is properly aligned, while a screwdriver and drill will be necessary for securing the vanity to the wall. Caulk is essential for sealing any gaps or cracks, and wood shims can be used to level the vanity if needed.
Preparing the Bathroom
Now that you have all the tools and materials ready, it’s time to prepare your bathroom for the installation. Start by removing the old vanity, if you have one. Turn off the water supply to prevent any leaks or accidents during the installation process. Next, disconnect the plumbing from the old vanity and remove any remaining fixtures.
Once the old vanity has been removed, take the time to clean and repair the wall. Remove any residue or adhesive left behind from the old vanity, and patch any holes or damage. This will ensure a clean and smooth surface for the new vanity installation.
Installing the Vanity
Now that your bathroom is prepped and ready, it’s time to install the new vanity. Begin by attaching the faucet and drain to the sink according to the manufacturer’s instructions. This may involve connecting pipes and tightening fittings, so make sure you have the appropriate plumbing tools on hand.
Once the faucet and drain are securely attached, position the vanity in the desired location. Use a level to ensure that it is perfectly aligned. If necessary, use wood shims to level the vanity and create a stable base.
With the vanity properly positioned, it’s time to secure it to the wall. Use a screwdriver or drill to attach the vanity to the wall studs. This will ensure that it is securely fastened and will not wobble or shift over time.
Finally, connect the plumbing to the vanity. This may involve reconnecting the water supply lines and attaching the drain pipe. Double-check all connections to ensure that they are tight and leak-free.
Installing the Sink
Once the vanity is securely installed, it’s time to attach the sink. Begin by placing the sink on top of the pre-cut hole in the vanity. Follow the manufacturer’s instructions for properly securing the sink to the vanity. This may involve using clips, brackets, or adhesive.
Next, connect the drain pipe to the bottom of the sink. Again, refer to the manufacturer’s instructions for the specific steps required. This may involve tightening fittings or using plumber’s tape to create a watertight seal.
After the sink is securely attached and the drain pipe is connected, apply caulk around the edges of the sink. This will provide a waterproof seal and prevent any water from seeping into the vanity or onto the bathroom floor.
Finishing Touches
With the vanity and sink properly installed, it’s time to add the finishing touches to your bathroom. Start by reconnecting the water supply lines. Slowly turn on the water and check for any leaks. If you notice any leaks, tighten the fittings or connections as needed.
Next, install a backsplash if desired. This can add a decorative touch to your vanity and protect the wall from water damage. Follow the manufacturer’s instructions for installation, as the process may vary depending on the type of backsplash you choose.
Once the backsplash is installed, apply caulk along the edges where the vanity meets the wall. This will create a seamless and waterproof seal, preventing any water from seeping behind the vanity.
Tips and Considerations
When installing a new vanity in your bathroom, there are a few tips and considerations to keep in mind. First and foremost, ensure proper ventilation in your bathroom. This will help prevent mold and mildew growth, as well as prolong the lifespan of your vanity.
Additionally, make sure to choose a vanity that fits your existing plumbing. The location of the water supply lines and drain pipe may affect the size and placement of your vanity. Measure carefully and choose a vanity that accommodates your plumbing without any issues.
If you’re not confident in your DIY skills, consider hiring a professional for the installation. They will have the expertise and experience to ensure a seamless and professional installation.
Lastly, always follow the manufacturer’s instructions during the installation process. Each vanity and sink may have specific requirements and recommendations, so be sure to read and follow them carefully.
Conclusion
Congratulations! You have successfully installed a new vanity in your bathroom. Take a step back and admire your bathroom transformation. Your new vanity not only adds functionality and storage to your space but also enhances the overall aesthetic. Enjoy your new vanity and the renewed sense of pride you feel in your bathroom.


