Are you tired of staring at blank walls in your living room? If so, it’s time to spice up your space with a personalized DIY gallery wall! Creating your own gallery wall allows you to showcase your unique style and add a personal touch to your home decor. Whether you’re an art enthusiast or a sentimental collector, this article will guide you through the steps to create a stunning and personalized gallery wall that will bring life and character to your living room. So grab your favorite photos, artwork, and mementos, and let’s get started on transforming your walls into a captivating masterpiece!
Table of Contents
ToggleChoosing the Right Wall
Assessing available wall space
When creating a gallery wall in your living room, one of the first things to consider is the available wall space. Take a good look at the walls in your living room and determine which one would be the best fit for your gallery wall. Consider the size and shape of the wall, as well as any other existing decor or architectural features that may impact the placement of your artwork.
Considering the room’s layout and furniture placement
Another important factor to consider when choosing the right wall for your gallery is the layout of the living room and the placement of your furniture. You want to select a wall that will allow your gallery to be the focal point of the room without overwhelming or interfering with other essential elements. Take into account the flow of the room, the arrangement of your furniture, and any potential obstructions that may affect the visibility of your artwork.
Evaluating lighting conditions
Lighting plays a crucial role in showcasing your artwork. It can enhance the colors, texture, and overall impact of each piece. When selecting the right wall for your gallery, consider the lighting conditions in your living room. Choose a wall that receives ample natural light during the day or one where you can install proper lighting fixtures to highlight your artwork in the evening. Avoid walls with harsh glares or shadows, as they can detract from the beauty of your gallery.
Deciding on a Theme or Concept
Exploring different gallery wall themes
One of the most exciting aspects of creating a gallery wall is deciding on a theme or concept that ties the artwork together. Take some time to explore different themes that resonate with your personal style and interests. Whether you prefer a cohesive collection of abstract paintings, a display of black and white family photographs, or a mix of eclectic artwork, your gallery wall theme will set the tone and visual narrative of your living room.
Finding inspiration from personal preferences and interests
What better way to make your gallery wall truly personalized than by drawing inspiration from your own preferences and interests? Look around your living room and other areas of your home for inspiration. Perhaps you have a passion for travel and want to showcase photographs from your favorite destinations. Maybe you enjoy collecting vintage art prints or have a love for nature that you want to reflect in your gallery. Let your personal tastes guide your choices and create a gallery wall that speaks to you.
Considering the room’s overall style and ambiance
While it’s important to stay true to your own preferences, it’s also crucial to consider the overall style and ambiance of your living room. Your gallery wall should complement the existing decor and contribute to the overall aesthetic of the space. If your living room has a modern and minimalist design, you may want to opt for a sleek and contemporary gallery wall. On the other hand, if your living room exudes a cozy and rustic charm, a collection of vintage or nature-inspired artwork may be more fitting.
Selecting and Preparing Artwork
Gathering existing artwork and photographs
Before embarking on the journey of purchasing new artwork, take a look at what you already have. Your existing collection of artwork and photographs may serve as a great starting point for your gallery wall. Gather any pieces that you feel would fit well within your chosen theme or concept. This not only adds a personal touch but also saves you money and allows you to showcase pieces that hold sentimental value to you.
Exploring various art mediums (paintings, prints, photographs)
To create a visually interesting gallery wall, consider incorporating various art mediums. This will add depth and dimension to your display. Mix and match paintings, prints, and photographs that align with your chosen theme. Paintings can bring vibrant colors and texture, while prints and photographs offer a wide range of subject matters and styles. Don’t be afraid to experiment and combine different art mediums to add visual interest and diversity to your gallery wall.
Considering the size and shape of each piece
As you gather artwork for your gallery wall, it’s essential to consider the size and shape of each piece. Aim for a balance between smaller and larger pieces to create visual harmony. Larger pieces can serve as the focal points, while smaller ones can add detail and fill the gaps. Be mindful of the wall space and the overall arrangement you envision. Consider laying out the pieces on the floor and experimenting with different compositions to find the perfect balance before committing to hanging them.
Creating a Layout or Design
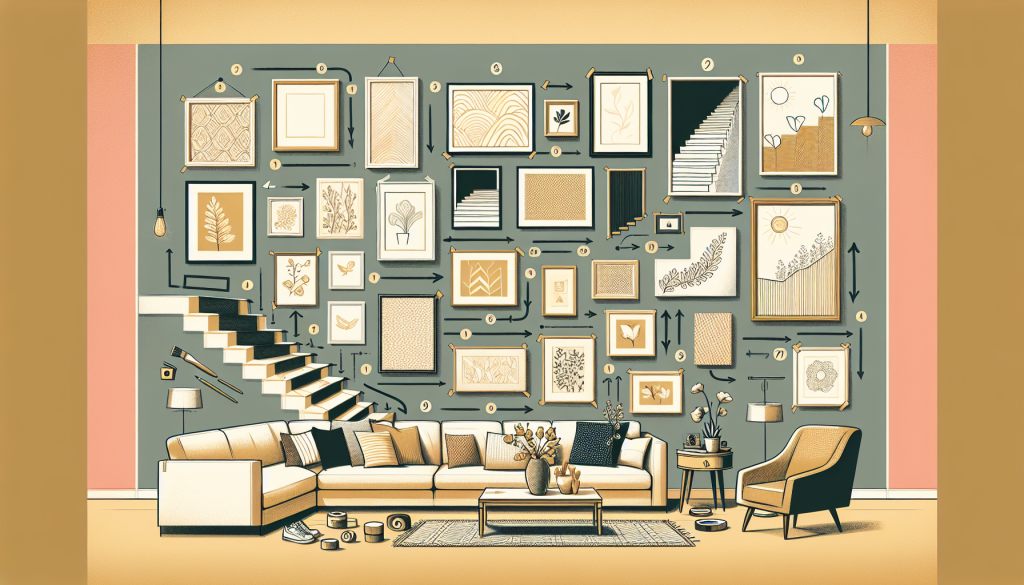
Using painter’s tape to map out the gallery wall on the floor
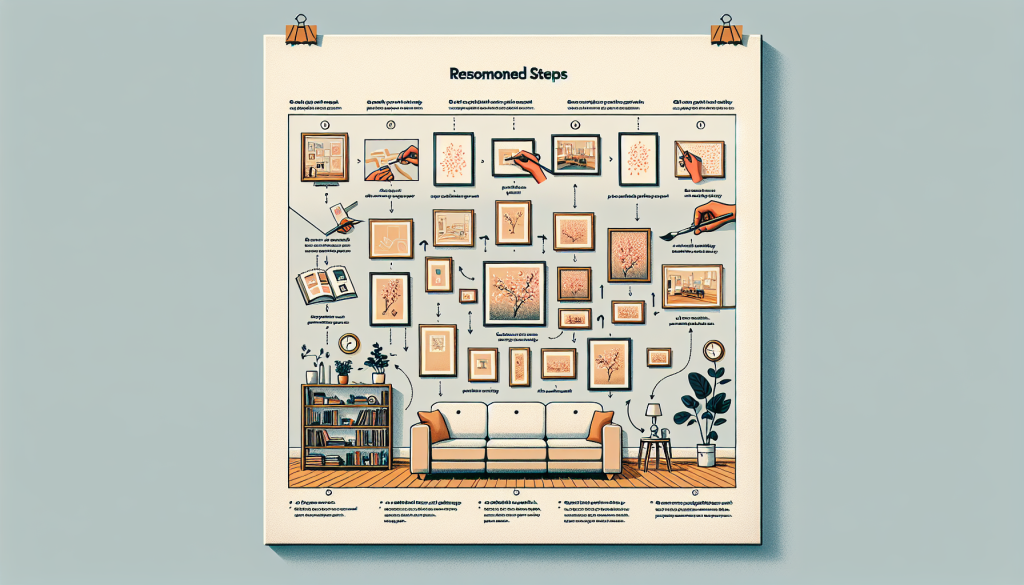
Creating a layout or design for your gallery wall is essential to get a sense of how it will look on the wall. A helpful technique is to use painter’s tape to map out the gallery wall on the floor. This allows you to experiment with different arrangements and compositions without the commitment of hanging the artwork on the wall just yet. You can easily move the tape around, adjust the spacing, and visualize how each piece will interact with one another to achieve the desired look.
Experimenting with different arrangements and compositions
Once you have the gallery wall mapped out on the floor, it’s time to experiment with different arrangements and compositions. Try placing different pieces next to each other, overlapping some slightly, and leaving space between others. Play around with the spacing, angles, and heights to create an aesthetically pleasing layout. Take a step back and observe how the overall composition looks from different angles. Don’t be afraid to rearrange and try different configurations until you find the arrangement that feels just right.
Maintaining balance and cohesion
A well-designed gallery wall maintains a sense of balance and cohesion. As you finalize the layout, step back and assess the overall composition. Ensure that the distribution of colors, shapes, and sizes is balanced throughout the gallery. You want each piece to complement the others while still retaining its individuality. Consider the overall flow and narrative of the gallery wall and make any necessary adjustments to achieve a harmonious display.
Framing and Matting Options
Exploring different frame styles (modern, vintage, ornate)
When it comes to framing your artwork, there are numerous options to choose from. Frame styles such as modern, vintage, and ornate each offer a distinct aesthetic that can enhance the overall look of your gallery wall. Consider the style and theme of your living room when selecting frames. For a sleek and contemporary feel, opt for clean-lined modern frames. If you want to add an antique touch, vintage frames can bring a touch of nostalgia. Ornate frames can create a dramatic and elegant look, perfect for more classic and formal spaces.
Considering the impact of color and finish choices
In addition to frame styles, consider the impact of the color and finish choices of your frames. Frames come in a variety of colors, from black and white to metallic tones and natural wood finishes. Select frames that either complement or contrast with the colors in your artwork to create visual interest. The finish of the frames, whether glossy or matte, can also contribute to the overall aesthetic. Experiment with different combinations to find the perfect frame color and finish that enhances your artwork and ties the gallery wall together.
Using matting to enhance or unify the artwork
Matting is another element to consider when framing your artwork. Matting can enhance the visual impact of each piece, provide a professional touch, and unify the artwork within your gallery wall. When selecting matting, choose a color that complements the colors in your artwork and the overall color palette of your living room. Consider the thickness and width of the matting to achieve the desired visual effect. Matting can create breathing space around each piece, making them stand out and giving your gallery wall a polished look.
Adding Personal Touches
Including sentimental or meaningful items
To truly personalize your gallery wall, consider including sentimental or meaningful items. These can be anything from family photographs to handwritten letters, postcards, or unique mementos. Including these personal touches adds a layer of nostalgia and authenticity to your gallery. It not only makes the space more personal to you and your family but also creates points of interest and conversation starters for guests. Nestling these special items within the artwork creates a dynamic and unique gallery wall that tells a story.
Incorporating special frames or display cases
Special frames or display cases can be a great way to showcase specific items or cherished objects. For example, you may have a collection of vintage keys that you want to display, or a beautiful seashell you found on a memorable beach vacation. You can find special shadow boxes or frames with compartments that allow you to incorporate these items into your gallery wall seamlessly. Not only do these special frames add visual interest and variety, but they also provide a unique opportunity to feature items that hold special meaning to you.
Using unique decorative elements (mirrors, monograms, etc.)
To add further personalization and style, consider incorporating unique decorative elements into your gallery wall. Mirrors can be a fantastic addition as they not only reflect light and create an illusion of space but also add a touch of elegance and functionality. Monograms or personalized signs can further personalize the space and tie in with your overall theme or concept. Other decorative elements such as small sculptures, clocks, or botanical elements like dried flowers or branches can add texture and visual interest to your gallery wall.
Hanging the Artwork
Choosing the right hanging hardware for each piece
When it comes to hanging your artwork, it’s crucial to choose the right hanging hardware for each piece to ensure proper support and stability. Depending on the weight and size of your artwork, you may need different hanging solutions. For lightweight pieces, adhesive hooks or sawtooth hangers may be sufficient. For larger or heavier artwork, consider using wall anchors or professional-grade hooks. Measure the artwork carefully and follow the instructions provided with the hanging hardware to ensure a secure and well-placed installation.
Measuring and marking the wall for precise placement
Before hanging your artwork, take the time to measure and mark the wall for precise placement. Measure both the individual pieces and the overall gallery layout horizontally and vertically to establish accurate dimensions. Use a pencil to mark the spots for the different pieces, ensuring they align with your desired layout. Take into account the spacing between the artwork and the furniture or other architectural features nearby. Double-check your measurements to ensure all pieces will hang at the desired height and position.
Ensuring proper spacing and alignment
Proper spacing and alignment are key to creating a visually pleasing gallery wall. When hanging your artwork, maintain consistent spacing between the pieces to avoid a cluttered or cramped appearance. Aim for approximately 2-3 inches of space between each frame. Use a level to ensure that each piece is straight and aligned with the adjacent ones. Taking the time to achieve precise spacing and alignment will result in a gallery wall that looks polished and intentional.
Considering Alternative Display Options
Creating a floating shelf gallery
If you prefer a more minimalistic and flexible approach, creating a floating shelf gallery can be an excellent alternative to traditional wall hanging. Floating shelves offer a clean and sleek aesthetic while providing a platform for displaying artwork and decor items. Arrange your artwork on the shelves, taking into consideration the spacing and composition. Mix and match different sizes and shapes for an organic yet cohesive look. Floating shelf galleries allow for easy rearrangement and updating, making them ideal for those who enjoy regularly refreshing their living space.
Using picture ledges for easy rearrangement
Picture ledges are another versatile display option for a gallery wall. These shallow shelves allow you to layer artwork and easily rearrange pieces as often as you like. Picture ledges provide a visually interesting and non-permanent way to showcase your artwork. Arrange your pieces on the ledges, staggering the heights and overlapping them slightly for a dynamic composition. The ledges also provide an opportunity to incorporate small decorative items or plants to further personalize your gallery wall.
Opting for a grid-style arrangement
For a more structured and graphic look, consider opting for a grid-style arrangement. This approach involves arranging your artwork in a grid pattern, with equal spacing between each piece. This arrangement creates a clean and organized aesthetic, perfect for contemporary and modern living rooms. To achieve a grid-style arrangement, measure and mark the wall to ensure precise placement. Use a level to ensure each piece is straight, and maintain consistent spacing throughout. Grid-style arrangements are particularly effective with pieces of similar size and shape.
Arranging and Styling Other Decor
Enhancing the gallery wall with complementary decor items
To enhance the visual impact of your gallery wall, consider arranging and styling other decor items around it. These complementary decor items can include decorative objects, such as vases, sculptures, or candles, as well as indoor plants or botanical elements. Place these items strategically around the gallery wall to create a cohesive and harmonious display. Consider the colors, shapes, and textures of these decor items to ensure they complement the artwork and contribute to the overall aesthetic of the living room.
Considering the placement of furniture and accent pieces
When arranging and styling your gallery wall, it’s essential to consider the placement of furniture and accent pieces in the living room. Ensure that the gallery wall is positioned in a way that allows it to be the focal point without competing with or overpowering the furniture. Consider the height and scale of the furniture in relation to the gallery wall. For example, if you have a sofa or table below the gallery wall, ensure that the artwork hangs at a suitable height, not too high or too low. Strike a balance between the gallery wall and the surrounding furniture for a visually pleasing arrangement.
Maintaining a cohesive color palette
To create a harmonious and visually appealing living room, it’s important to maintain a cohesive color palette throughout the space, including the gallery wall. Consider the colors present in your artwork and select decor items that complement or echo those colors. Introduce accent colors sparingly to add pops of visual interest without overpowering the overall theme. The goal is to create a unified and cohesive color scheme that ties the gallery wall, furniture, and other decor elements together seamlessly.
Regularly Updating and Refreshing the Gallery
Swapping out artwork to reflect changing interests or seasons
A personalized DIY gallery wall is not meant to be static. It should evolve and reflect your changing interests, tastes, and even the seasons. Don’t be afraid to swap out artwork periodically to keep your gallery wall fresh and inspiring. Consider rotating pieces to showcase new acquisitions or moving artwork to different locations on the wall. This not only allows you to continuously curate and curate your gallery but also breathes new life into your living room and keeps your space feeling dynamic.
Incorporating new pieces and acquisitions
As you continue to discover new artwork and acquire new pieces, incorporate them into your gallery wall. Whether it’s a special painting, a unique photograph, or a piece of artwork created by a talented friend or family member, give these new acquisitions a place of honor on your gallery wall. When adding new pieces, consider the existing layout and composition. Take a step back and visualize how the new piece will integrate with the rest of the gallery. Don’t be afraid to experiment with different arrangements and compositions to find the perfect spot for each new addition.
Optimizing wall space for future additions
When designing your gallery wall, consider the long-term and optimize the wall space for future additions. Leave room for growth and expansion. Allow space for new artwork or photographs that you may acquire or create in the future. This flexibility ensures that your gallery wall can continue to evolve and adapt to your changing preferences and interests. By optimizing the wall space, you can easily incorporate new pieces without having to completely redesign or rearrange the entire gallery wall.

