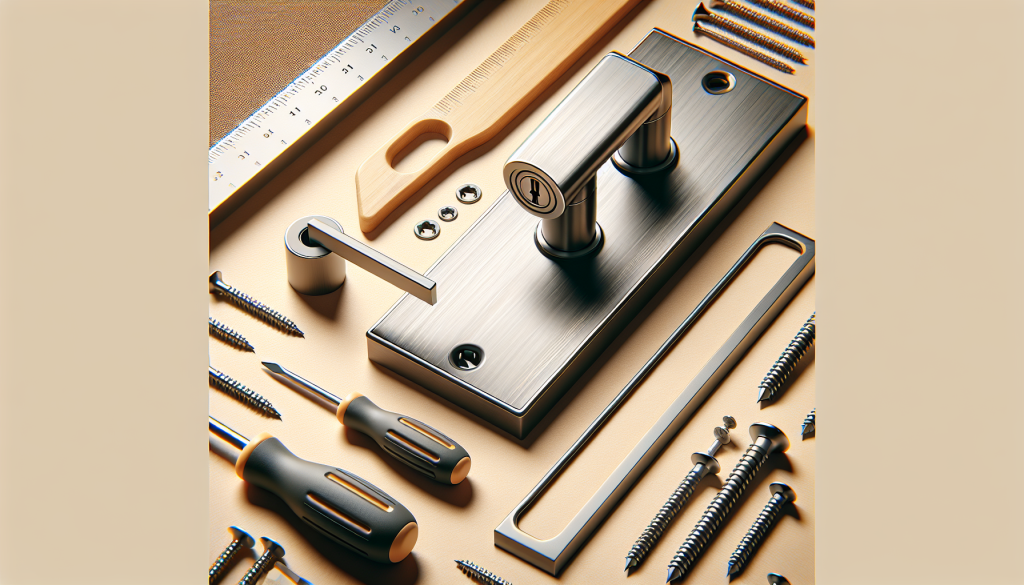
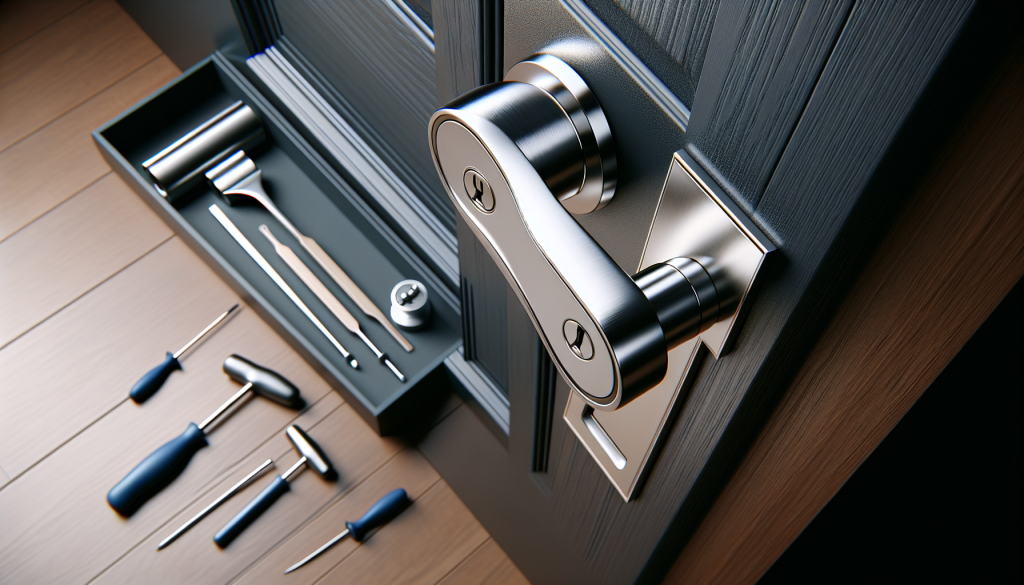
So you’ve decided it’s time for a fresh look on your front door, and you’ve got your eye on a shiny new door handle and lock. But now you’re wondering, how do you actually install it? Don’t worry, we’ve got you covered! In this article, we will guide you through the step-by-step process of installing a new door handle and lock on your front door, ensuring that your entrance is not only secure but also stylish. By the end of this article, you’ll have the confidence to tackle this DIY project and give your front door a much-needed upgrade. Let’s get started!
Table of Contents
ToggleChoosing the Right Door Handle and Lock
When it comes to choosing the right door handle and lock for your front door, there are a few factors you need to consider. First, think about the material and style of your door. Different materials may require different types of handle and lock sets. Additionally, you’ll want to choose a handle and lock that complements the overall style of your home.
Consider the Door Material and Style
The material and style of your door play a crucial role in determining the type of handle and lock set that will work best. For example, if you have a wooden door, you may want to choose a handle and lock set that is specifically designed for wooden doors. On the other hand, if you have a metal or glass door, you’ll need to find a handle and lock set that is suitable for those materials.
Decide on the Type of Lock
There are various types of locks to choose from when it comes to securing your front door. The most common types include deadbolts, knob locks, and lever locks. Deadbolts provide the highest level of security, and they are typically recommended for front doors. Knob locks and lever locks can be used as additional security measures but are not as secure as deadbolts. Consider your security needs and budget when deciding on the type of lock to install.
Check the Measurements and Compatibility
Before purchasing a new door handle and lock set, it’s important to check the measurements of your existing door. The new set should be compatible with the size and thickness of your door. Additionally, take into consideration the backset measurement, which is the distance from the edge of the door to the center of the borehole. This measurement determines where the lock will be positioned on the door. Making sure the new handle and lock set is compatible with your door’s measurements will ensure a proper fit and functioning.
Gathering the Required Tools and Materials
Now that you have chosen the right door handle and lock, it’s time to gather the necessary tools and materials for the installation process. Here is a list of what you’ll need:
- Screwdriver
- Drill
- Chisel
- Tape Measure
- New Door Handle and Lock Set
- Wood Filler
- Sandpaper
Having these tools and materials ready beforehand will make the installation process much smoother and more efficient.
Removing the Old Door Handle and Lock
Before you can install the new door handle and lock, you’ll need to remove the old ones. Follow these steps to remove the old door handle and lock:
Take Out the Screws
Using a screwdriver, remove the screws that hold the handles in place. Keep these screws in a safe place, as you may need them later.
Separate the Handles
Once the screws are removed, you should be able to separate the exterior and interior handles. Carefully slide them apart.
Remove the Latch Plate
Next, locate the latch plate on the edge of the door. Remove the screws that secure it and gently pull it out.
Unscrew the Strike Plate
Finally, locate the strike plate on the door frame. Use a screwdriver to unscrew it and remove it from the frame.
Preparing the Door
Now that the old door handle and lock have been removed, it’s time to prepare the door for the installation of the new ones. Follow these steps to prepare the door:
Measure and Mark the Positions
Using a tape measure, measure and mark the positions where the new door handle and lock will be installed. Make sure to align the measurements with the template provided by the manufacturer of the handle and lock set.
Use the Template
Most new door handle and lock sets come with a template that can be used to ensure accurate and precise installation. Place the template on the marked positions and use it as a guide for drilling and chiseling.
Drill Holes for the Handle
Using a drill with the appropriate drill bit, carefully drill holes in the marked positions for the door handle. Be sure to follow the instructions provided by the manufacturer to determine the size and depth of the holes.
Chisel a Slot for the Latch Plate
Using a chisel, carefully carve out a slot in the edge of the door for the latch plate. Make sure the slot is deep enough for the latch to fit in securely.
Installing the New Door Handle
With the door prepared, it’s time to install the new door handle. Follow these steps to install the exterior and interior handles:
Attach the Exterior Handle
Begin by attaching the exterior handle to the door. Line up the holes in the handle with the holes drilled in the door and insert the screws. Tighten the screws securely but avoid over-tightening to prevent damage to the handle or door.
Connect the Interior Handle
Next, connect the interior handle to the door. Again, line up the holes and insert the screws. Make sure the handles are properly aligned and level before tightening the screws.
Insert the Latch and Screw the Latch Plate
Insert the latch into the slot carved out in the edge of the door. Secure it in place by screwing the latch plate onto the door. Ensure that the latch moves smoothly and securely when the handles are operated.
Installing the New Lock
With the door handle in place, it’s time to install the new lock. Follow these steps to install the lock cylinder and strike plate:
Drill Holes for the Lock Cylinder
Using a drill with the appropriate size drill bit, carefully drill holes in the marked positions for the lock cylinder. Again, follow the manufacturer’s instructions for the size and depth of the holes.
Insert and Secure the Lock Cylinder
Insert the lock cylinder into the drilled hole from the exterior side of the door. Secure it in place by following the manufacturer’s instructions for your specific lock set.
Install the Strike Plate
Finally, install the strike plate onto the door frame. Secure it in place using the provided screws. Ensure that the latch aligns properly with the strike plate when the door is closed.
Testing and Adjusting the Door Handle and Lock
With the new door handle and lock installed, it’s essential to test their operation and make any necessary adjustments. Here’s what you need to do:
Test the Handle and Lock
Operate the door handle to ensure that it moves smoothly and effortlessly. Test the lock to make sure it locks and unlocks properly. If there are any issues, check the installation and make any adjustments if needed.
Adjust the Strike Plate if Needed
If the latch doesn’t align properly with the strike plate, causing difficulty in closing or locking the door, you may need to make adjustments. Use a chisel or file to carefully remove a small amount of wood from the strike plate area. Test the door again to ensure proper alignment.
Finishing Touches
Once the door handle and lock are functioning correctly, it’s time to add some finishing touches. Follow these steps to complete the installation:
Fill Screw Holes with Wood Filler
Using wood filler, fill the holes left by the screws that secured the old door handle and lock. Smooth the filler with a putty knife and allow it to dry according to the manufacturer’s instructions.
Sand and Smooth the Filler
Once the wood filler is dry, use sandpaper to smooth the filled areas. Sand until the filled holes are flush with the surface of the door.
Apply Paint or Finish
Lastly, if desired, you can apply a coat of paint or finish to the door and the newly installed door handle and lock. This will not only enhance the overall appearance but also provide added protection against the elements.
Additional Tips and Considerations
Here are some additional tips and considerations to keep in mind during the installation process:
Follow the Manufacturer’s Instructions
Always refer to the manufacturer’s instructions that come with your specific door handle and lock set. They will provide you with the most accurate and detailed guidance for installation.
Ensure the Door is Properly Aligned
Before installing the new door handle and lock, make sure the door is properly aligned within the frame. If necessary, adjust the door to ensure it opens, closes, and locks smoothly.
Check the Operation of the Lock
Once the lock is installed, test it thoroughly to ensure it functions correctly. Make sure the key turns smoothly and that the latch engages properly when the door is closed.
Consider Getting Professional Help if Needed
If you are unsure about any part of the installation process or if you encounter any difficulties, it’s always best to seek professional help. A locksmith or a professional handyman can ensure proper installation and provide expert advice.
Conclusion
By following the steps outlined in this article, you should now have the knowledge and confidence to install a new door handle and lock on your front door. Remember to consider the door material and style, choose the right type of lock, and check the measurements and compatibility. Gather the necessary tools and materials, remove the old handle and lock, prepare the door, and install the new handle and lock set. Test and adjust the handle and lock, add finishing touches, and enjoy the newfound security of your front door. With the right door handle and lock, you can feel safer and more secure in your home.


