Imagine walking into your bedroom and being greeted by beautifully refinished hardwood floors that shine with a natural radiance. If you’re thinking about refinishing your hardwood floors in your bedroom, there are a few tips that can help you achieve stunning results. From preparing the space to choosing the right finish, this article will guide you through the process of giving your bedroom floors a fresh, new look. So grab your tools and get ready to transform your space into a cozy sanctuary that exudes warmth and style. When it comes to refinishing hardwood floors in your bedroom, there are several factors to consider in order to ensure a successful and smooth process. From choosing the right time for refinishing to avoiding common mistakes, this article will guide you through the steps and provide useful tips to achieve the best results. So, let’s dive into the process and explore each section in detail.
Table of Contents
ToggleChoosing the Right Time for Refinishing
Consider the weather and humidity levels
Before you begin refinishing your bedroom hardwood floors, it’s important to consider the weather and humidity levels. Ideally, you should choose a time when the weather is moderate, without extreme temperatures or fluctuations. High humidity levels can affect the drying time of the stain or finish, potentially leading to an uneven result. It’s best to aim for a time when the humidity is relatively low, allowing for optimal drying conditions.
Plan around your schedule for minimal disruption
Another crucial factor to consider when refinishing your bedroom hardwood floors is your schedule. Refinishing floors requires time and effort, so it’s essential to plan accordingly to minimize disruption in your daily routine. Choose a time when you can afford to have the room out of commission, allowing for adequate drying and curing time. This way, you can complete the process without feeling rushed or inconvenienced.
Preparing the Room for Refinishing
Remove all furniture and rugs
To ensure an efficient refinishing process and avoid any accidental damage, remove all furniture and rugs from the room before starting. This will allow you to have a clear, unobstructed space to work with. Moving furniture and rugs out of the room will also prevent any dust or debris from settling on them during the refinishing process. Remember, it’s better to be safe than sorry!
Cover vents and electrical outlets
Covering vents and electrical outlets is an essential step when preparing your bedroom for hardwood floor refinishing. Dust particles and small debris can easily find their way into these spaces and cause potential damage or clogs. By covering them with plastic sheets or tape, you can protect them from dust and ensure a smooth refinishing process. This simple step will save you time and potential headaches later on.
Protect adjacent areas with plastic sheets
In addition to protecting vents and electrical outlets, it’s important to protect adjacent areas of your bedroom with plastic sheets. This will prevent any accidental spills or splatters from reaching areas that don’t require refinishing. By creating a barrier, you can safeguard your walls, baseboards, and other surfaces from stain or finish, ensuring a clean and neat final result.
Inspecting and Repairing the Floor
Check for any loose boards or nails
Before you start the refinishing process, it’s crucial to inspect your bedroom hardwood floor for any loose boards or nails. Using a flashlight, carefully examine the floor surface to identify any areas that require attention. Loose boards can lead to squeaking or even further damage if left untreated. Similarly, nails that have popped up should be hammered back into place to ensure a secure and even surface.
Repair or replace damaged or heavily worn boards
If you come across any damaged or heavily worn boards during the inspection, it is important to address these issues before proceeding with the refinishing. Depending on the severity of the damage, you may need to repair the boards by filling in cracks or gaps with wood filler or completely replace them. Ensuring that your floor is free of any major defects will lead to a better end result.
Fill cracks and gaps with wood filler
To achieve a smooth and seamless finish, make sure to fill in any cracks and gaps with wood filler. This step is crucial, as it will prevent the stain or finish from settling into the imperfections, resulting in an uneven appearance. Follow the manufacturer’s instructions for the wood filler and apply it carefully, making sure to remove any excess before it hardens. Once the filler has dried, sand it down to create a level surface.
Sanding the Hardwood Floor
Rent or purchase the appropriate sanding equipment
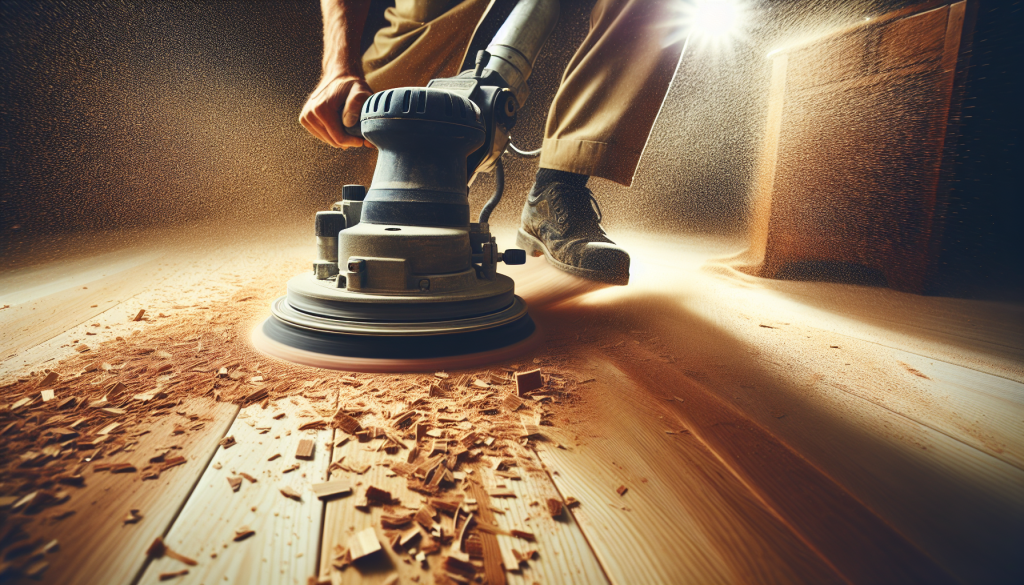
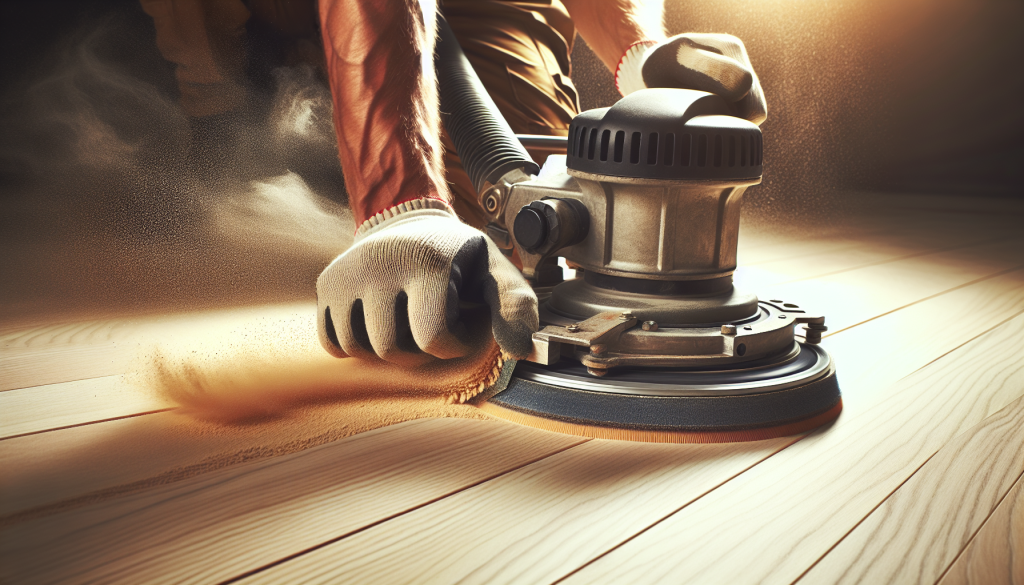
When it comes to sanding your bedroom hardwood floor, it’s important to have the right tools for the job. You can either rent or purchase a floor sander, depending on your budget and the scope of your project. Make sure to choose a sander that is suitable for hardwood floors, as using the wrong equipment can cause damage. Additionally, you’ll need sandpaper of various grits, ranging from coarse to fine, to achieve the desired smoothness.
Start with coarse-grit sandpaper and gradually progress to finer grits
To achieve a consistent and smooth finish, start sanding your bedroom hardwood floor using coarse-grit sandpaper. This will help to remove any old finish, imperfections, or uneven areas on the surface. As you progress, gradually switch to finer grit sandpaper to achieve a smoother finish. Remember, patience is key during this process, as rushing or skipping grits can result in an unevenly sanded floor.
Ensure proper technique and movement to avoid uneven sanding
When sanding your bedroom hardwood floor, it’s important to maintain a proper technique and movement to avoid uneven sanding. Start in one corner of the room and work your way towards the exit, moving the sander in a back-and-forth motion. Avoid hovering or stopping in one spot for too long, as this can lead to an uneven sanding pattern. Keep the sander moving steadily to achieve a consistent result.
Cleaning the Surface after Sanding
Thoroughly vacuum all dust and debris
After sanding your bedroom hardwood floor, it’s crucial to thoroughly clean the surface to remove all dust and debris. Use a high-quality vacuum cleaner with a brush attachment to effectively collect all the sanding residue. Pay extra attention to corners and edges, as these areas tend to collect more dust. A clean surface is essential before proceeding to the next step, as any remaining debris can affect the final result.
Damp mop the floor to remove remaining particles
Once you have vacuumed the floor, it’s time to remove any remaining particles by damp mopping the surface. Use a well-wrung mop and warm water, being careful not to saturate the floor. Gently mop the entire surface, making sure to remove any dust or debris that may have been missed during the vacuuming process. This step will ensure that the floor is thoroughly clean and ready for the next stage.
Allow the floor to dry completely before proceeding
After damp mopping, it is important to allow your bedroom hardwood floor to dry completely before applying any stain or finish. Moisture trapped in the wood can affect the adhesion and drying of the products, leading to an uneven or compromised result. Open windows or use fans to improve ventilation and expedite the drying process. It’s better to be patient and give the floor ample drying time to achieve the best possible outcome.
Applying Stain or Finish
Choose the desired stain or finish
When it comes to selecting the stain or finish for your bedroom hardwood floor, there are a wide variety of options available. Consider your personal preferences, the overall aesthetic of the room, and the level of durability you desire. Whether you prefer a darker or lighter shade, matte or glossy finish, it’s important to choose a product that complements your vision for the space. Take your time to research and select the right stain or finish for your bedroom.
Follow manufacturer instructions for application
Before you begin applying the stain or finish, carefully read and follow the manufacturer’s instructions. Each product may have specific guidelines regarding application techniques, drying times, and the number of coats required. Following these instructions will ensure that you achieve the best possible result and avoid any potential issues. Remember, every product is different, so it’s important to familiarize yourself with the specific requirements of your chosen stain or finish.
Apply multiple coats for enhanced durability
To achieve enhanced durability and a more professional-looking finish, it’s advisable to apply multiple coats of stain or finish. This will provide added protection to your bedroom hardwood floor, making it more resistant to everyday wear and tear. However, it’s important to allow adequate drying time between each coat to ensure proper adhesion and curing. Patience is key during this process, as rushing between coats can compromise the final result.
Drying and Curing the Floor
Allow ample drying time between coats
After applying each coat of stain or finish, it’s crucial to allow ample drying time before moving on to the next coat or allowing foot traffic. Drying times can vary depending on the product and environmental conditions, so it’s important to reference the manufacturer’s instructions. Rushing the drying process can lead to smudging, uneven texture, or compromised adhesion. Be patient and resist the temptation to rush, as proper drying is essential for a flawless finish.
Ensure good ventilation to speed up the drying process
To expedite the drying process of your bedroom hardwood floor, ensure good ventilation in the room. Open windows and doors to encourage air circulation and use fans to promote airflow. This will help to evaporate excess moisture and speed up the drying of the stain or finish. However, be mindful not to create drafts that can disturb freshly applied coats. Balancing ventilation with protecting the drying surface is key for a successful outcome.
Avoid walking on the floor until it is fully cured
Once all coats of stain or finish have been applied, it’s important to avoid walking on the floor until it has fully cured. Curing times can vary depending on the specific product used, so it’s essential to refer to the manufacturer’s instructions for guidance. Walking on the floor before it is fully cured can lead to imprints, smudging, or even the possibility of damaging the newly applied finish. Exercise patience and allow ample time for the floor to fully cure before resuming normal use.
Regular Maintenance and Care
Use protective pads under furniture
To protect your newly refinished bedroom hardwood floor from scratches and dents, it’s important to use protective pads under furniture. These pads, made of felt or rubber, can be easily attached to the bottom of furniture legs to provide a cushioning barrier. This will prevent furniture from directly contacting the floor surface, reducing the risk of damage. Regularly check the pads to ensure they are intact and replace them when necessary.
Sweep or vacuum regularly to prevent scratching
Regular sweeping or vacuuming is essential to maintain the longevity and aesthetics of your refinished bedroom hardwood floor. Dust, dirt, and debris can act as abrasives, scratching the surface over time. By cleaning the floor regularly, you can remove these particles and prevent them from causing unnecessary damage. Use a soft-bristled broom or a vacuum cleaner with a brush attachment to gently clean the surface without scratching it.
Clean spills immediately to avoid staining
Accidents happen, but when it comes to spills on your refinished bedroom hardwood floor, it’s important to act quickly. Clean up any spills immediately using a soft cloth or paper towel to prevent staining or water damage. Avoid using harsh chemicals or abrasive cleaners, as they can strip away the finish or cause discoloration. Instead, use a mild cleaner specifically designed for hardwood floors, following the manufacturer’s instructions.
Hiring a Professional
Consider hiring a professional for complex refinishing projects
If you have a complex refinishing project or lack the necessary skills and expertise, it may be best to hire a professional. Refinishing hardwood floors requires precise techniques and specialized knowledge, especially when dealing with intricate patterns or delicate wood species. A professional can ensure an exceptional result and save you time and potential frustration. Assess the scope of your project and consider whether hiring a professional is the right choice for you.
Get estimates from multiple contractors
When deciding to hire a professional for your bedroom hardwood floor refinishing, it’s important to obtain estimates from multiple contractors. This will give you a better understanding of the costs involved and allow you to compare the services offered. Be sure to communicate your specific requirements and ask for a detailed breakdown of the work to be performed. This will help you make an informed decision and choose the contractor that best suits your needs and budget.
Check references and reviews before making a decision
Before finalizing your decision to hire a professional contractor, it’s crucial to check their references and reviews. Reach out to previous clients and inquire about their experience with the contractor. Additionally, search online for reviews and ratings to gain insights into the contractor’s reputation and quality of work. This due diligence will provide peace of mind and ensure that you choose a reputable and reliable professional for your bedroom hardwood floor refinishing project.
Common Mistakes to Avoid
Skipping the proper sanding preparation
One of the most common mistakes when refinishing a bedroom hardwood floor is skipping the proper sanding preparation. Sanding is a critical step that prepares the surface for stain or finish by creating a smooth and even base. Neglecting this step can result in an uneven appearance, poor adhesion of the stain or finish, and potential damage to the floor. Take the time and effort to thoroughly sand the floor to achieve the best possible result.
Applying too little or too much stain/finish
Another common mistake to avoid when refinishing your bedroom hardwood floor is applying too little or too much stain or finish. Each product has specific guidelines regarding application, and failing to follow them can result in an uneven appearance or inadequate durability. Use the recommended amount for each coat and apply it evenly across the entire surface. If you’re unsure, it’s always better to err on the side of caution and consult the manufacturer’s instructions.
Not allowing enough drying time
Patience is key when it comes to allowing drying time between coats and for the entire refinishing process. Not allowing enough drying time can lead to smudging, imprints, or compromised adhesion. Rushing the process may also result in a less durable finish or even require redoing certain steps. Follow the manufacturer’s instructions regarding drying times, and resist the temptation to expedite the process. Remember, proper drying and curing are essential for a long-lasting and beautiful result.
In conclusion, refinishing your bedroom hardwood floor can be a rewarding and transformative project. By considering factors such as the weather and your schedule, properly preparing the room, inspecting and repairing the floor, sanding, cleaning, applying stain or finish, and ensuring proper drying and curing, you can achieve a stunning and durable result. Regular maintenance, care, and avoiding common mistakes will help preserve the beauty of your refinished floor for years to come. Whether you choose to tackle the project yourself or hire a professional, with these tips and guidelines, you’ll be well on your way to enjoying a renewed and elegant bedroom hardwood floor.

