Have you ever found yourself facing the dilemma of a damaged tile in your kitchen backsplash? Don’t fret, because we’ve got you covered! In this article, we will walk you through the simple steps to replace that pesky tile and restore the beauty of your backsplash. With a few handy tools and a little bit of patience, you’ll have your kitchen looking as good as new in no time! So let’s get started on this quick and easy DIY project to tackle that damaged tile head-on.
Table of Contents
ToggleAssess the Damage
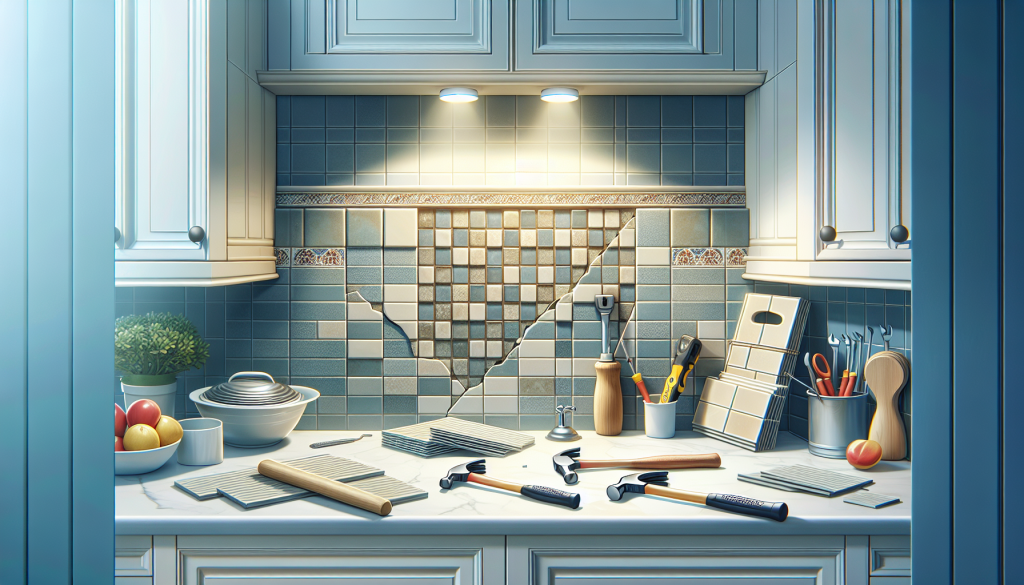
When faced with a damaged tile in your kitchen backsplash, the first step is to assess the extent of the damage. Take a close look at the damaged tile and inspect it for any cracks, chips, or other signs of damage. Additionally, check the grout surrounding the tile to see if it is loose or broken. Lastly, evaluate the surrounding tiles for any signs of damage such as cracks or discoloration. This assessment will help you determine the most effective course of action for replacing the damaged tile.
Gather the Necessary Tools and Materials
Before you begin the replacement process, it’s important to gather all the necessary tools and materials. This will ensure that you have everything you need to complete the job efficiently and effectively. Some essential tools for replacing a damaged tile include gloves and safety glasses for protection, a chisel or scraper for grout removal, a hammer for tile removal, and a grout removal tool. Additionally, you will need tile adhesive, grout, tile spacers, a grout float, and a sponge for the installation and grouting process.
Remove the Damaged Tile
To remove the damaged tile, it’s important to take precautions to protect the surrounding tiles. Use masking tape to cover the neighboring tiles and prevent any accidental damage during the removal process. Then, use a chisel or scraper to gently remove the grout around the damaged tile. Take your time and be careful not to apply excessive force, as this can cause further damage. Once the grout is removed, carefully break the damaged tile using a hammer and remove any remaining adhesive or grout from the area.
Prepare the Surface
After removing the damaged tile, it’s crucial to prepare the surface before installing the replacement tile. Start by cleaning the area where the damaged tile was removed, ensuring it is free of any debris or residue. It’s important to have a smooth and clean surface to ensure proper adhesion of the replacement tile. Once the surface is clean, apply a thin layer of tile adhesive to the exposed area. This adhesive will help hold the replacement tile in place and create a strong bond.
Install the Replacement Tile
With the surface prepared, it’s time to install the replacement tile. Begin by applying a layer of tile adhesive to the back of the replacement tile, ensuring full coverage. Then, carefully place the tile onto the prepared area, aligning it with the surrounding tiles. Use tile spacers to ensure even spacing between the tiles, creating a professional and cohesive look. Once the tile is in place, press it firmly to ensure proper adhesion. Allow the adhesive to dry according to the manufacturer’s instructions, giving the tile a solid foundation.
Grout the Tiles
After the adhesive has dried, it’s time to grout the tiles. Start by mixing the grout according to the package instructions, ensuring a smooth consistency. Using a grout float, apply the grout to the gaps between the tiles, pressing it in firmly. Work in small sections, as the grout can dry quickly. Once the gaps are filled, use a sponge to remove any excess grout from the tile surface, taking care not to remove too much grout from the gaps. Allow the grout to dry for the recommended time, typically 24-48 hours.
Clean and Polish
Once the grout has dried, it’s important to clean the tiles to remove any grout residue. Dampen a sponge and gently wipe the tiles to remove any excess grout, taking care not to disrupt the grout lines. This step will help reveal the true beauty of the tiles and ensure a polished appearance. After cleaning, use a soft cloth to polish the tiles, enhancing their shine and adding the finishing touch to your kitchen backsplash.
Inspect and Finish Up
After completing the installation and grouting process, it’s essential to inspect the newly replaced tile for any imperfections. Take a close look at the tile and surrounding area to ensure a seamless and professional finish. If any adjustments or touch-ups are necessary, make them promptly to achieve the desired result. Once you’re satisfied with the appearance of the replaced tile and surrounding area, allow the entire backsplash to fully dry before using or exposing it to moisture.
Maintain the Kitchen Backsplash
To keep your kitchen backsplash looking its best, regular maintenance is key. Clean the backsplash regularly using a mild detergent or specialized tile cleaner to remove any dirt, grease, or stains. Wipe the tiles gently with a damp sponge or cloth, taking care not to scratch the surface. Address any minor repairs or touch-ups promptly to prevent further damage and maintain the overall integrity of your backsplash. By following these simple maintenance practices, you can enjoy a beautiful and functional kitchen backsplash for years to come.
Consider Professional Help
While replacing a damaged tile in your kitchen backsplash can be a DIY project, it’s important to be realistic about your own skills and comfort level. If you feel uncomfortable with the process or lack the necessary tools, it may be best to consider hiring a professional tile installer. They have the expertise and experience to complete the job efficiently and ensure a high-quality result. Investing in professional help can save you time, frustration, and potential damage to your kitchen backsplash.


