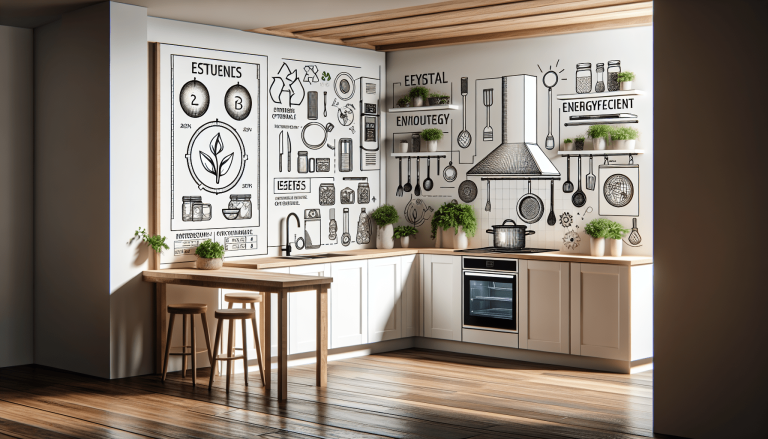
If you’ve ever wished for a creative and functional addition to your kitchen, look no further than a DIY chalkboard wall. Not only does it offer a fun and unique element to your space, but it also serves as a practical way to jot down grocery lists, recipes, or daily reminders. Creating your own chalkboard wall is easier than you might think and can be a great weekend project to tackle. So, get ready to unleash your inner artist and transform your kitchen into a hub of creativity with a DIY chalkboard wall!
Table of Contents
TogglePlanning and Preparation
Choosing the wall location
Before embarking on your DIY chalkboard wall project, it’s important to choose the perfect location in your kitchen. Consider a wall that is easily visible and accessible, such as the one near your dining area or kitchen counter. This will ensure that your chalkboard wall becomes a focal point and serves its purpose effectively.
Measuring and marking the area
Once you’ve chosen the wall, it’s time to measure and mark the area where you want to paint the chalkboard. Use a tape measure to determine the dimensions of the space you want to cover. Mark the corners of the area with a pencil, ensuring that the lines are straight and level for a clean finished look.
Gathering the necessary tools and materials
To successfully create a DIY chalkboard wall in your kitchen, you’ll need a few essential tools and materials. These include a chalkboard paint of your choice, a paint roller or brush, painter’s tape, a tape measure, a level, sandpaper, a bucket, a drop cloth or newspaper to protect your flooring, and cleaning supplies to prepare the wall surface. Make sure you have everything ready before you begin.
Surface Preparation
Cleaning the wall
To ensure proper adhesion of the chalkboard paint and a smooth finish, it’s crucial to clean the wall surface thoroughly. Use a mild detergent and warm water to remove any dirt, grease, or grime. Scrub gently with a sponge or cloth, paying attention to any stubborn stains. Rinse the wall with clean water and allow it to dry completely before proceeding.
Repairing any damages
Inspect the wall for any damages, such as cracks or holes. Fill these imperfections with spackling compound or putty, using a putty knife. Smooth out the surface and let it dry according to the manufacturer’s instructions. Once dry, sand the repaired areas to ensure a seamless integration with the surrounding wall.
Sanding the surface
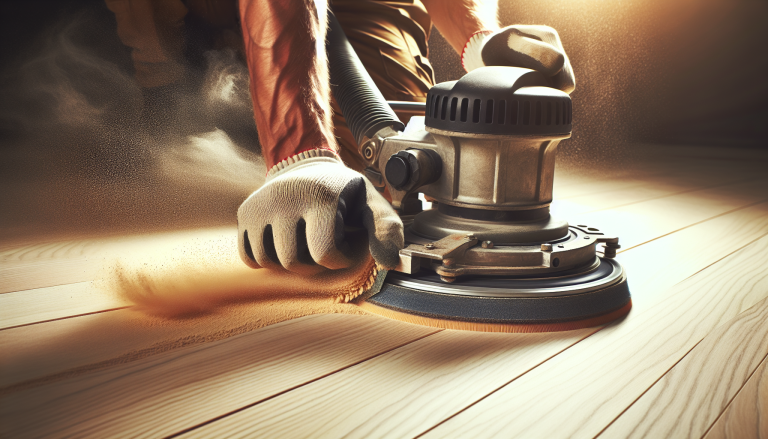
To promote better paint adhesion and a smoother finish, lightly sand the entire wall surface with fine-grit sandpaper. This will help remove any bumps or imperfections. After sanding, wipe the wall clean with a damp cloth to remove any dust or debris.
Applying a primer
While not always necessary, applying a primer can enhance the durability and coverage of your chalkboard paint. Choose a primer suitable for your wall surface, such as a high-quality interior primer. Apply a thin and even coat of primer using a paint roller or brush, making sure to cover the entire marked area. Allow the primer to dry completely before moving on to the next step.
Choosing the Right Chalkboard Paint
Different types of chalkboard paint
There are various types of chalkboard paint available in the market, each with its unique characteristics. Some are water-based, while others are oil-based. Consider the specific needs of your kitchen environment and choose a paint that suits your requirements. Water-based chalkboard paints are generally easier to clean and dry faster, making them an ideal choice for high-traffic areas like the kitchen.
Considering the finish
Chalkboard paints come in different finishes, such as matte or satin. Consider the overall aesthetic of your kitchen and the look you want to achieve before making a decision. Matte finishes provide a more traditional chalkboard appearance, while satin finishes offer a smoother and slightly glossier look.
Evaluating VOC content
Volatile Organic Compounds (VOCs) are chemicals that can be emitted from paints and may have harmful effects on indoor air quality. If you’re concerned about the impact on your kitchen’s air quality, choose a chalkboard paint with low or zero VOC content. Look for paints labeled as “low VOC” or “zero VOC” to ensure a healthier environment for you and your family.
Selecting the appropriate color
Chalkboard paints come in a variety of colors, allowing you to add a personalized touch to your kitchen. Consider the color scheme of your kitchen and choose a paint color that complements the existing decor. Classic black is a popular choice for a timeless and versatile look, but you can also opt for other shades like navy blue, deep green, or even a bold red if it suits your style.
Applying the Chalkboard Paint
Preparing the paint for application
Before you start applying the chalkboard paint, thoroughly stir it to ensure any settled pigments are well mixed. This will help achieve a consistent color and texture throughout the painting process. Follow the manufacturer’s instructions regarding any specific preparations needed for the particular brand of chalkboard paint you’ve chosen.
Using a brush or roller
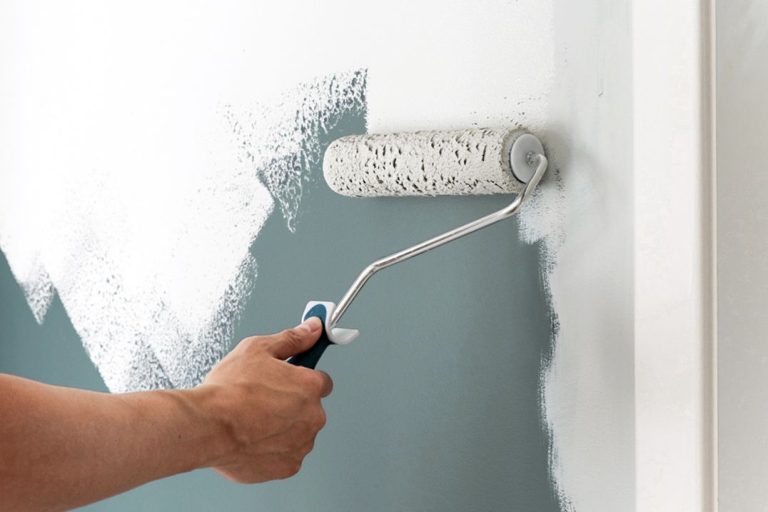
Decide whether you want to use a brush or a roller to apply the chalkboard paint. A brush allows for more control over smaller areas and intricate details, while a roller is ideal for larger surfaces. Use a high-quality brush or a foam roller for a smooth and even application.
Applying multiple coats
To achieve a solid and opaque chalkboard surface, it’s recommended to apply multiple coats of chalkboard paint. Follow the manufacturer’s instructions regarding the recommended number of coats and drying time between each layer. Allow each coat to dry completely before applying the next one to ensure a durable and long-lasting finish.
Allowing sufficient drying time
After applying the final coat of chalkboard paint, allow it to dry thoroughly before proceeding to the next steps. The drying time will vary depending on factors such as humidity and temperature. Refer to the manufacturer’s instructions for the specific drying time required for the chalkboard paint you’re using. Patience is key to ensure a well-cured and fully functional chalkboard wall in your kitchen.
Curing and Conditioning the Chalkboard
Understanding the curing process
Once the chalkboard paint has dried, it’s important to understand that it needs to go through a curing process before it can be used as a functional chalkboard. Curing allows the paint to harden and create a durable surface that can withstand regular use and cleaning. The curing time can vary depending on the brand and type of chalkboard paint used; typically, it ranges from three days to a week.
Applying a layer of chalk to condition the surface
After the chalkboard paint has cured, it’s essential to condition the surface before using it for the first time. Take a piece of chalk and lay it on its side, then rub it across the entire chalkboard surface. This step helps prevent “ghosting” or permanent marks on the chalkboard. Once the surface is evenly covered with chalk, erase it with an eraser or a clean, dry cloth.
Accessories and Design
Selecting chalkboard markers and erasers
To fully enjoy your DIY chalkboard wall, consider investing in quality chalkboard markers and erasers. Chalkboard markers come in various colors, allowing you to add vibrant and detailed designs to your chalkboard. Erasers designed specifically for chalkboards will ensure efficient and clean erasing, making it easy to update your wall with new messages or designs.
Adding decorative elements
Incorporating decorative elements can enhance the visual appeal of your chalkboard wall. Consider adding a decorative frame around the chalkboard area or using molding to create a polished and defined look. You can also hang pictures, artwork, or shelves to add a personal touch to your kitchen space.
Creating a chalkboard calendar or menu
One of the practical uses of a chalkboard wall in the kitchen is to create a calendar or menu. Use chalkboard markers to outline and label the days of the week or the different sections of your menu. This will not only serve as a functional tool for meal planning but also add an attractive and organized element to your kitchen decor.
Incorporating magnet boards
Make your chalkboard wall even more versatile by incorporating magnet boards. Attach a thin sheet of magnetic material to the wall surface, allowing you to hang notes, photos, and other magnetic items alongside your chalkboard. This adds functionality and convenience, giving you more options for organizing and displaying items in your kitchen.
Maintenance and Cleaning
Proper cleaning techniques
To keep your chalkboard wall looking clean and fresh, it’s important to use proper cleaning techniques. Avoid using abrasive materials or harsh chemicals that can damage the chalkboard surface. Instead, use a damp cloth or sponge and mild detergent to wipe away any marks or smudges. Dry the surface thoroughly after cleaning.
Touching up with additional paint
Over time, your chalkboard wall may experience some wear and tear, especially in high-traffic areas. To maintain its appearance, touch up any scratches or areas where the paint has worn off. Keep some extra chalkboard paint on hand for such touch-ups and follow the manufacturer’s instructions for application.
Avoiding scratching or gouging
While chalkboards are designed to be written on, it’s important to avoid scratching or gouging the surface with sharp objects. Be gentle while erasing or cleaning the chalkboard to prevent any damage. If you accidentally cause a scratch, lightly sand the area and apply a touch-up with chalkboard paint to restore the smooth and even surface.
Tips and Tricks
Using masking tape for clean edges
For a professional and neat finish, use masking tape to create clean edges around the chalkboard area. Apply the tape carefully along the marked lines, making sure it adheres firmly to the wall surface. This will prevent the paint from bleeding onto the surrounding walls and ensure sharp, defined edges.
Testing the paint in a small area first
Before committing to painting the entire wall, it’s a good idea to test the chalkboard paint in a small area. Apply a small patch of the paint on an inconspicuous section of the wall and let it dry. This will allow you to assess the color, coverage, and overall look before proceeding with the entire project.
Mixing different colors for a custom look
If you’re feeling adventurous, consider mixing different colors of chalkboard paint to create a custom look for your kitchen. Experiment with blending shades to achieve unique and personalized colors that complement your kitchen’s style. This allows you to add a touch of creativity and individuality to your DIY chalkboard wall project.
Creating a chalkboard wall in other rooms
While the kitchen is a popular choice for a chalkboard wall, don’t limit yourself to just one room. You can create chalkboard walls in other areas of your home, such as the office, playroom, or even the bedroom. The versatility of chalkboard paint allows you to unleash your creativity and explore various design possibilities throughout your living space.
Chalkboard Wall Inspiration
Exploring different design ideas
There are countless design ideas to explore when it comes to your chalkboard wall. Whether you prefer a minimalist and sleek design or a more vibrant and artistic approach, the options are endless. Browse through interior design magazines, websites, or social media platforms for inspiration and ideas that resonate with your personal style.
Using chalkboard walls for organization
One of the most practical benefits of a chalkboard wall is its ability to help you stay organized. Use your chalkboard surface to create to-do lists, shopping lists, or weekly schedules. You can also dedicate certain sections for family members to leave messages or jot down important reminders. Stay organized and keep your kitchen running smoothly with the help of a chalkboard wall.
Showcasing artistic talents
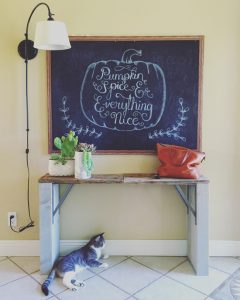
A chalkboard wall is a canvas waiting to be filled with your artistic talents. Don’t be afraid to unleash your creativity and showcase your artistic skills. Whether it’s hand-lettered quotes, intricate doodles, or detailed illustrations, your chalkboard wall can become a unique and ever-changing work of art in your kitchen. Let your imagination run wild and enjoy the creative process.
Benefits and Considerations
Encouraging creativity and expression
A chalkboard wall in your kitchen opens up endless opportunities for creativity and self-expression. It provides a space for you and your family to unleash your artistic talents, share messages, or simply doodle for fun. It can serve as a creative outlet and a source of inspiration for everyone in the household.
Practicality for grocery lists and reminders
With a chalkboard wall in your kitchen, you’ll never forget a grocery item or an important reminder again. Use the wall to jot down your grocery list as you run out of items or leave a note for other family members. The visibility and convenience of a chalkboard wall make it a practical addition to any kitchen space.
Potential for chalk dust and maintenance
While a chalkboard wall can be a fun and functional addition to your kitchen, it’s important to consider the potential for chalk dust and maintenance. Chalk dust may be generated when writing or erasing, so it’s essential to clean the wall regularly to prevent any buildup. Additionally, be prepared for occasional touch-ups to maintain the appearance of your chalkboard wall over time.
Creating a DIY chalkboard wall in your kitchen can be a rewarding and enjoyable project. By following these steps and utilizing the tips and tricks provided, you’ll be able to create a functional and aesthetically pleasing chalkboard wall that adds character and creativity to your kitchen space. So, get ready to embrace your inner artist and start transforming your kitchen into a vibrant and organized hub of inspiration!
