Want to upgrade your kitchen sink with a new garbage disposal? Look no further! In this article, you’ll find easy-to-follow steps and expert tips on how to install a new garbage disposal in your kitchen sink. Whether you’re a seasoned DIY enthusiast or a beginner, we’ve got you covered. Say goodbye to unpleasant odors and clogged drains, and say hello to a more efficient and convenient kitchen experience. So grab your tools, put on your handyman apron, and let’s get to work!
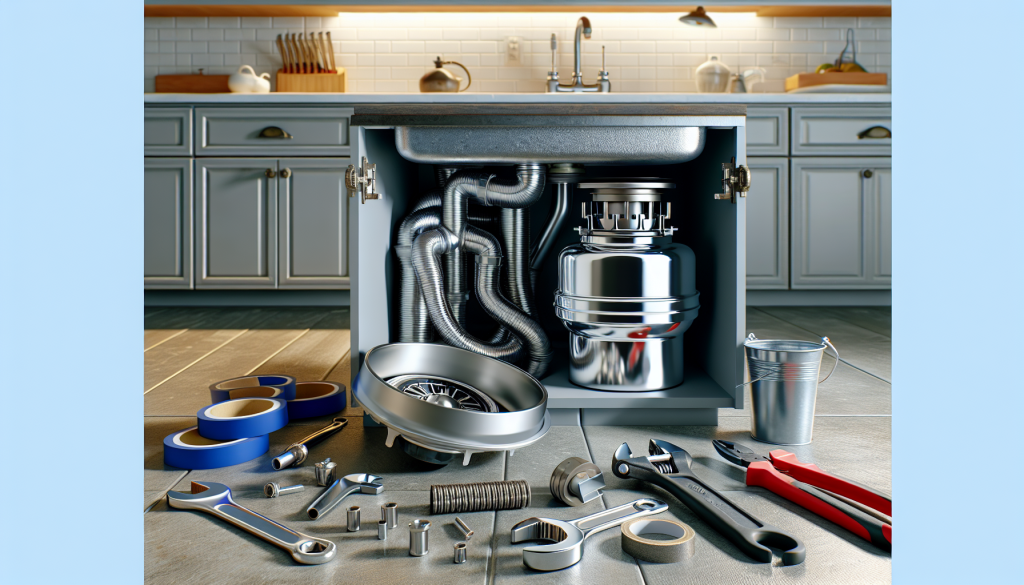
Table of Contents
ToggleChoosing the Right Garbage Disposal
When it comes to choosing the right garbage disposal for your kitchen sink, there are a few factors to consider. The first thing you need to determine is the size and horsepower of the disposal unit. Consider the amount of waste you typically generate and the size of your household. If you have a large family or cook frequently, you may want to opt for a larger and more powerful unit. On the other hand, if you have a small household and generate minimal waste, a smaller and less powerful unit may suffice.
Another important factor to consider is the noise level of the garbage disposal. Nobody wants a loud and disruptive appliance in their kitchen. Look for garbage disposals that are specifically designed to minimize noise. These units often come with additional insulation and soundproofing to ensure a quieter operation. You can also look for garbage disposals that have special features, like anti-vibration mounts, to further reduce noise.
Durability and warranty are other essential aspects to keep in mind when choosing a garbage disposal unit. You want a unit that will last for many years without any issues. Look for models made of durable materials such as stainless steel. Additionally, check the warranty offered by the manufacturer. A good warranty indicates that the manufacturer has confidence in their product and is willing to stand behind it.
Gathering the Necessary Tools and Materials
Before you can begin the installation process, you’ll need to gather the necessary tools and materials. First and foremost, make sure to turn off the power to the area where the garbage disposal will be installed. This is crucial for your safety and will prevent any accidents from occurring. Next, prepare a designated workspace in your kitchen. Clear out any items or clutter from the area where you will be working.
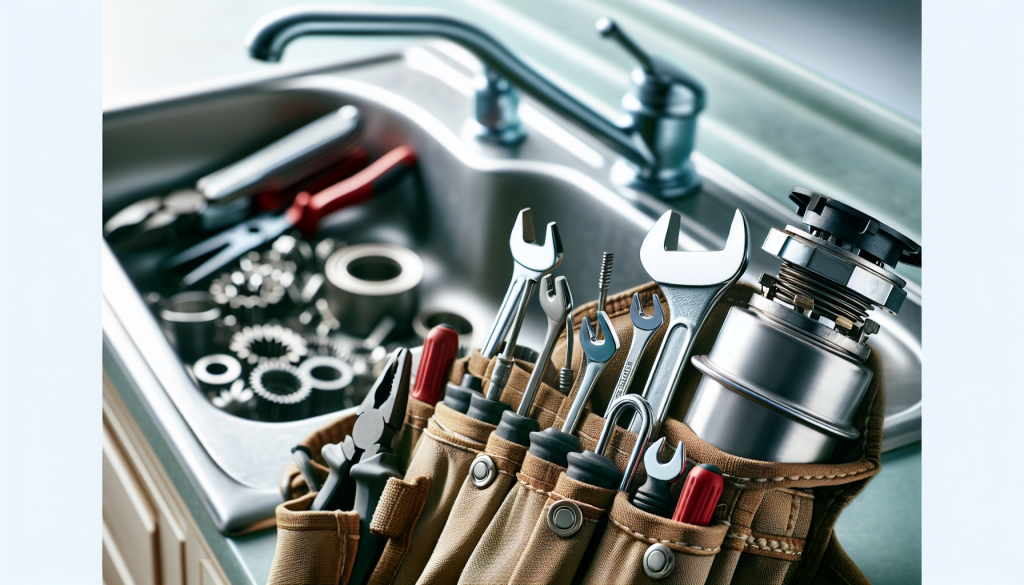
Once you have the appropriate workspace, it’s time to gather the required tools and materials. The tools you will need include a screwdriver, pliers, a wrench, and a putty knife. You may also need a bucket or a bowl to catch any water or debris that may come out during the installation process. In terms of materials, you’ll need plumber’s putty, a flexible drain hose, and electrical wire connectors. Make sure you have all these tools and materials on hand before you start the installation.
Removing the Old Garbage Disposal
If you’re replacing an old garbage disposal unit, you’ll need to remove it before installing the new one. Before doing anything, make sure to disconnect the power to the garbage disposal. This involves turning off the circuit breaker that supplies power to the disposal unit. It’s important to take this step to ensure your safety during the removal process.
Once the power is disconnected, you can proceed to disconnect the drainage pipe. In most cases, a simple twist or unscrewing will disconnect the pipe from the disposal unit. Be prepared for some water or debris to come out when you disconnect the pipe, so it is a good idea to have a bucket or a bowl ready to catch anything that may spill out.
After the drainage pipe is disconnected, you can proceed to detach the garbage disposal unit itself. This is usually done by unscrewing a few mounting screws or bolts that secure the unit in place. Once the screws or bolts are removed, carefully lift the garbage disposal unit out and set it aside.
Installing the New Garbage Disposal
With the old garbage disposal unit removed, it’s time to install the new one. Begin by mounting the new garbage disposal unit in place. Follow the manufacturer’s instructions for attaching the unit to the mounting bracket under the sink. This typically involves lining up the tabs on the unit with the corresponding slots on the bracket and twisting it into place.
Once the garbage disposal unit is securely mounted, it’s time to connect the drainage pipe. Apply a small amount of plumber’s putty around the opening on the sink where the drain flange will be inserted. This will create a watertight seal. Insert the drain flange into the opening, making sure it is centered and aligned properly. From underneath the sink, screw on the mounting ring and tighten it with a wrench to secure the flange in place. Finally, attach the flexible drain hose to the disposal unit and tighten the clamp to ensure a secure connection.
After connecting the drainage pipe, it’s time to attach the power supply. Connect the wires from the disposal unit to the corresponding wires in the electrical box. Use wire connectors to secure the connections and ensure they are tight and safe. Once the connections are made, tuck the wires neatly into the electrical box and close the box securely. Make sure to follow all safety guidelines and regulations when working with electrical connections.
Testing and Troubleshooting
With the new garbage disposal unit installed, it’s time to test it and troubleshoot any potential issues. Start by connecting the power to the unit. Turn on the circuit breaker and make sure the disposal unit is receiving power. Once the power is on, run water in the sink and turn on the garbage disposal. Listen for any strange noises or vibrations that could indicate a problem. If everything sounds and operates smoothly, congratulations, you have successfully installed your new garbage disposal!
However, if you notice any leaks, unusual noises, or a failure to operate, it’s time to troubleshoot. Check the connections between the disposal unit and the drain pipe, ensuring they are tight and secure. Look for any signs of leaks around the drain flange and tighten the mounting ring if necessary. If you continue to experience issues, consult the manufacturer’s troubleshooting guide or contact a professional for assistance.
Maintaining and Using the Garbage Disposal
Proper usage and regular maintenance are essential for keeping your garbage disposal in good working condition. When using the disposal, make sure to avoid overloading it with large amounts of food waste at once. Instead, feed small amounts of waste gradually to prevent clogs and strain on the motor. Additionally, avoid disposing of hard items like bones or fruit pits that could damage the disposal.
To keep your garbage disposal clean and odor-free, it’s important to perform regular cleaning and maintenance. Running cold water while the disposal is in use can help flush out debris and prevent clogs. You can also periodically clean the disposal by grinding ice cubes and citrus peels to freshen up the unit. Finally, to deodorize the disposal, consider pouring a mixture of baking soda and vinegar down the drain and letting it sit for a few minutes before rinsing with cold water.
Safety Precautions
When installing or working with a garbage disposal, it’s crucial to follow safety precautions to avoid accidents or injuries. The first and most important precaution is to cut off the power source to the area. Always turn off the circuit breaker that supplies power to the disposal unit before beginning any work. This will prevent any electrical shocks or accidents during the installation or maintenance process.
In addition to cutting off the power, it’s important to avoid putting your hands or any jewelry near the garbage disposal unit. Even when the power is off, there may still be sharp edges or moving parts that could cause injury. Use pliers or a wrench to disconnect and remove the disposal unit safely. Furthermore, always use the proper tools when working with the disposal to prevent damage to the unit or yourself.
Frequently Asked Questions (FAQ)
Can I install a garbage disposal myself?
Yes, installing a garbage disposal is typically a manageable DIY project. However, it is important to have some basic plumbing and electrical knowledge before attempting the installation. Make sure to carefully read and follow the manufacturer’s instructions, and if you feel unsure or uncomfortable, it is always best to consult a professional plumber for assistance.
How long does it take to install a garbage disposal?
The time it takes to install a garbage disposal can vary depending on your level of experience and the specific circumstances of your kitchen. On average, the installation process can take anywhere from one to three hours. This includes gathering the necessary tools and materials, removing the old unit, installing the new unit, and conducting testing and troubleshooting.
Can I install a garbage disposal if I have a septic system?
Yes, you can install a garbage disposal if you have a septic system. However, it is important to choose a garbage disposal unit that is specifically designed for use with septic systems. These units typically have features that help break down food waste more efficiently and minimize the strain on the septic system. Consult with a professional plumber or septic system specialist to ensure you select the right garbage disposal for your septic system.
Conclusion
Installing a new garbage disposal in your kitchen sink is a manageable project that can provide convenience and efficiency in your daily kitchen routine. By following the steps outlined in this guide and considering the factors discussed, such as size and horsepower, noise levels, durability, and warranty, you can confidently choose the right garbage disposal for your needs. Remember to gather the necessary tools and materials, follow safety precautions, and conduct testing and troubleshooting to ensure a successful installation. With proper usage, maintenance, and adherence to safety guidelines, your new garbage disposal will make a valuable addition to your kitchen and simplify your waste management.

