If you’re eager to add a touch of natural beauty to your garden, look no further than a DIY garden trellis for climbing plants. With just a few simple materials and some basic carpentry skills, you can create a stunning structure that not only supports your beloved climbers but also adds an eye-catching element to your outdoor space. Whether you’re a green thumb looking to add more verticality to your garden or a beginner seeking a rewarding DIY project, building a garden trellis is a fun and practical endeavor that you can easily tackle.

Choosing the Right Materials
When it comes to building a DIY garden trellis for climbing plants, one of the first decisions you’ll need to make is whether to use wood or metal. Both materials have their advantages and it ultimately comes down to personal preference and the overall aesthetic you’re trying to achieve in your garden.
Wooden vs. Metal Trellis
Wooden trellises have a rustic and natural charm that can complement any garden style. They are typically more affordable and easier to work with, making them a popular choice for DIY enthusiasts. On the other hand, metal trellises offer a sleek and modern look that can add a contemporary touch to your garden. They tend to be more durable and long-lasting, but they may be more expensive and require more specialized tools for construction.
Selecting the Type of Wood
If you decide to go with a wooden trellis, the next step is to choose the type of wood you want to use. Cedar and redwood are excellent choices as they are naturally resistant to rot and insects. They also have a beautiful natural color that can enhance the overall appeal of your garden. Alternatively, pressure-treated wood can be a more budget-friendly option, but keep in mind that it may contain harmful chemicals that could leach into the soil and affect your plants. Whatever type of wood you choose, make sure it is of good quality and properly finished to withstand outdoor conditions.
Considering the Size and Shape
The size and shape of your trellis will depend on your specific needs and the space available in your garden. Consider the height and width of the climbing plants you plan to grow, as well as the overall dimensions that will best fit your garden. A taller and wider trellis will provide more support and allow for greater flexibility in planting, while a smaller trellis may be suitable for compact gardens or potted plants. Take measurements and sketch out your design to visualize how the trellis will look in your garden and ensure it meets your expectations.
Tools and Equipment Needed
Before diving into the construction process, it’s important to gather all the necessary tools and equipment to ensure a smooth and efficient build. Here is a list of both basic and optional tools you may need for building your DIY garden trellis.
Basic Tools
- Tape measure: Essential for accurately measuring the dimensions of your trellis.
- Handsaw or circular saw: Used for cutting wooden boards or metal pipes.
- Screwdriver or power drill: Required for driving screws or bolts during assembly.
- Hammer: Used for pounding nails or securing brackets.
- Level: Necessary for ensuring your trellis is straight and level.
- Pliers: For pulling wire or attaching hardware.
- Safety goggles: Protect your eyes from flying debris.
Optional Tools
- Miter saw: Ideal for making angled cuts for decorative designs.
- Jigsaw: Useful for cutting intricate patterns or curves.
- Welding equipment: Needed if constructing a metal trellis that requires welding.
- Pipe cutter: If using metal pipes and need precise cuts.
Safety Equipment
Safety should always be a priority when engaging in DIY projects. Consider having the following safety equipment on hand:
- Work gloves: Protect your hands from splinters, sharp edges, or cuts.
- Dust mask: Prevent inhalation of dust or debris while cutting or sanding wood.
- Ear protection: Use when operating loud power tools for an extended period.
Ensure you have all the necessary tools and equipment before you start building your garden trellis to avoid unnecessary interruptions or delays.
Preparing the Area
Before you can start building your DIY trellis, it’s important to properly prepare the area where it will be installed. Taking the time to clear the space and accurately measure and mark the location will ensure that your trellis is positioned correctly and provides optimal support for your climbing plants.
Clearing the Space
Begin by clearing the ground where your trellis will be placed. Remove any existing vegetation, rocks, or other debris that may hinder the construction or installation process. Clearing the space will also allow you to visualize how the trellis will fit within your garden and ensure it has enough room for proper plant growth.
Measuring and Marking
Next, measure and mark the precise location and dimensions of your trellis. Use a tape measure and stakes or string to outline the area where the trellis will be installed. Take into account the height and width of the trellis, leaving sufficient space for the climbing plants to grow and spread. Double-check your measurements to ensure accuracy and make any necessary adjustments before proceeding with the construction.
Building a Simple Wooden Trellis
If you’ve chosen to build a wooden trellis, follow these steps to create a sturdy and attractive structure for your climbing plants.
Cutting the Wooden Boards
Measure and mark the dimensions of your trellis on the wooden boards. Use a handsaw or circular saw to cut the boards to the desired length. For a classic grid design, cut multiple boards to the same length and width. If you want a more decorative trellis, use a miter saw or jigsaw to create angled or curved cuts. Sand any rough edges to ensure a smooth finish.
Assembling the Frame
Lay out the wooden boards on a flat surface, arranging them according to your desired design. Use a screwdriver or power drill to attach the boards together at the corners, ensuring they are aligned and secure. For added stability, you can also attach horizontal support boards along the length of the trellis, connecting them vertically with screws or nails. Double-check that the frame is square and level before proceeding.
Attaching the Crossbeams
If desired, you can add crossbeams to your trellis for additional support and aesthetic appeal. Measure and cut the crossbeams to fit between the vertical boards of your frame. Attach them using screws or nails, ensuring they are evenly spaced and securely fastened. The crossbeams can be attached at alternating heights to provide additional points of attachment for climbing plants.

Constructing a Sturdy Metal Trellis
If you prefer the sleekness and durability of a metal trellis, follow these steps to create a robust structure that will withstand the test of time.
Measuring and Cutting the Metal Pipes
Measure and mark the required length of your metal pipes using a tape measure. Use a pipe cutter or a saw with a metal-cutting blade to make precise cuts. Ensure that all the pipes are cut to the same length, as this will maintain the uniformity and stability of the trellis. Smooth any sharp edges with a file or sandpaper to prevent injury during assembly and installation.
Joining the Pipes Together
Once the pipes are cut, it’s time to join them together to form the frame of the trellis. Metal trellises can be constructed using various methods, such as welding, using pipe connectors, or securing with screws and brackets. Choose the method that best suits your skills and available tools. Be sure to follow proper safety precautions, such as using welding equipment in a well-ventilated area and wearing protective gear when necessary.
Adding Support Brackets
To further enhance the stability and strength of your metal trellis, consider adding support brackets. These can be attached to the structure at various points along the height and width, providing additional points of attachment for the climbing plants. Use screws, bolts, or welding techniques to secure the brackets to the metal frame, ensuring they are firmly in place. Carefully measure and align the brackets to ensure they are parallel and evenly spaced.
Installing the Trellis in the Garden
Once your trellis is constructed, it’s time to install it in your garden. Proper installation is crucial to ensure the trellis remains stable and provides adequate support for your climbing plants.
Digging Holes for Wooden Posts
If you’ve built a wooden trellis, start by digging holes in the ground where the wooden posts will be placed. The depth of the holes should be approximately one-third the height of the posts to ensure stability. Use a post hole digger or a sturdy shovel to dig the holes, making sure they are evenly spaced according to your trellis design. Remove any rocks or roots from the holes to ensure a secure fit.
Securing the Trellis
Carefully lift the trellis and position it over the pre-dug holes. Insert the wooden posts or metal rods into the holes and ensure they are straight and level. Fill the holes with soil, firmly packing it around the posts to provide stability. Gently rock the trellis back and forth to make sure it is securely anchored. If necessary, use additional soil or gravel to stabilize the base of the posts.
Leveling and Adjusting
Using a level, check for any unevenness in the trellis frame. Adjust the positioning of the posts if needed to ensure that the trellis is perfectly level. This will not only provide better support for the climbing plants but also enhance the overall aesthetic of your garden. Make any necessary adjustments and ensure that all connections and attachments are secure before proceeding to the next steps.
Choosing and Planting Climbing Plants
Now that your trellis is securely installed, it’s time to choose and plant the perfect climbing plants to adorn your garden. Consider factors such as growth habits, suitability for your climate, and the overall aesthetic you want to achieve.
Understanding the Growth Habits
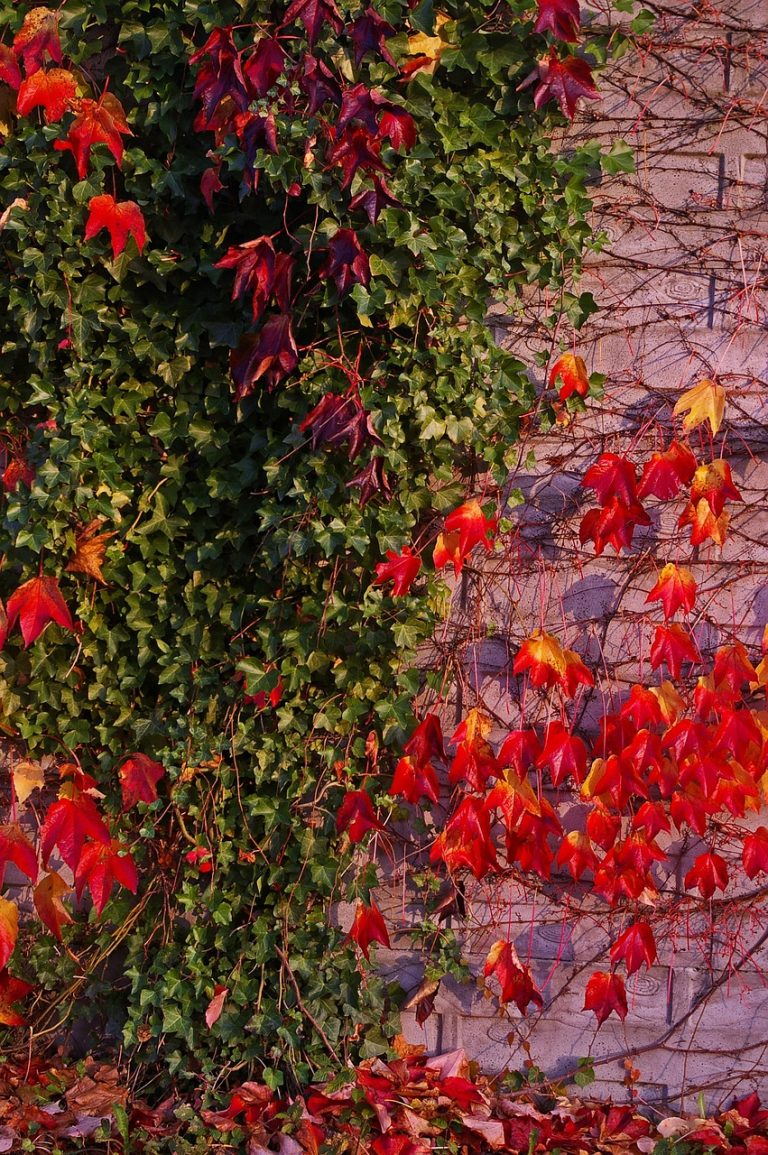
Different climbing plants have different growth habits, such as twining, clinging, or sprawling. It’s important to understand these habits to ensure that they will grow and thrive on your trellis. Twining plants, like clematis or morning glory, naturally spiral around structures and will require support for their growing vines. Clinging plants, such as ivy or climbing hydrangea, will attach themselves to surfaces without additional support. Sprawling plants, like bougainvillea or climbing roses, will require regular pruning and securing to the trellis as they grow.
Selecting Suitable Plants
Choose climbing plants that are suitable for your climate, soil type, and available sunlight. Consider the height and spread of the mature plant to ensure it will fit within the dimensions of your trellis. Look for plants with attractive foliage, vibrant flowers, or delicious fruits to add visual interest and variety to your garden. Consult with local nurseries or gardening experts for recommendations on the best climbing plants for your specific region.
Preparing the Soil
Before planting your climbing plants, it’s essential to prepare the soil to provide optimal growing conditions. Ensure that the soil is well-draining and enriched with organic matter, such as compost or well-rotted manure. Remove any weeds or rocks from the planting area and loosen the soil with a garden fork or tiller. This will create a favorable environment for the roots to establish and encourage healthy growth.
Training and Supporting Climbers
Once your climbing plants are in the ground and starting to grow, they will need guidance and support to climb up the trellis and achieve their full potential.
Tying the Plant to the Trellis
As the plants begin to grow, gently guide their tendrils or stems towards the trellis. Use soft plant ties or garden twine to loosely secure the stems to the trellis, allowing room for growth and movement. Avoid tying too tightly, as this could damage the plant or restrict its natural growth. Regularly check the ties and make any necessary adjustments as the plants continue to climb and mature.
Pruning and Shaping
To ensure healthy growth and maintain the desired shape of your climbing plants, regular pruning is essential. Remove any dead or damaged branches and trim back excessive growth to maintain a tidy and attractive appearance. Pruning will also encourage the plant to produce more flowers or fruits, depending on the species. Take care not to over-prune, as this could reduce the overall vigour and ability of the plant to climb.
Using Plant Ties or Netting
In addition to securing the main stems to the trellis, you may also need to support and guide lateral branches or trailing shoots. Use plant ties, twine, or even netting to gently train and secure these branches to the trellis. This will prevent them from trailing on the ground and potentially getting damaged or tangled. Regularly monitor the growth of your climbing plants and adjust the ties or netting as necessary to maintain proper support and structure.
Maintaining and Caring for Your Trellis
To ensure the longevity and beauty of your trellis, regular maintenance and care are required. With proper attention, your trellis will continue to provide support and enhance your garden for many years to come.
Regular Inspection and Repair
Regularly inspect your trellis for any signs of damage or wear. Check for loose screws, broken boards, or rusting metal components. If any issues are found, promptly repair or replace the damaged parts to prevent further deterioration. Inspect the trellis after harsh weather conditions or heavy winds that may have impacted its stability. By addressing issues promptly, you can prolong the lifespan and functionality of your trellis.
Applying Protective Coating
Wooden trellises may benefit from the application of a protective coating to enhance their durability and resistance to weathering. Consider using a waterproof sealant, exterior paint, or wood stain to protect the wood from moisture, UV rays, and insect damage. Apply the coating according to the manufacturer’s instructions and allow it to dry completely before reinstalling the trellis. Regularly reapply the protective coating as needed to maintain its effectiveness.
Supporting Heavy Growth
As your climbing plants mature and grow, they may become heavier and denser, putting additional strain on your trellis. Monitor the weight and spread of the plants, and consider providing additional support if needed. You can install stronger crossbeams or add extra brackets to reinforce the trellis structure. Regularly check the integrity of the trellis and make any necessary modifications to prevent it from collapsing under the weight of your plants.
Alternative Trellis Ideas
If you’re looking to add a unique touch to your garden, there are alternative trellis ideas that go beyond the traditional wooden or metal structures. Consider these creative options to create a trellis that stands out.
Upcycled Materials
Put your creativity to use by repurposing old materials into a trellis. Upcycle items such as ladders, vintage doors, or window frames to create a unique and eye-catching trellis. Secure the objects to the ground or a sturdy support and use them as a framework for your climbing plants. Not only will this add visual interest to your garden, but it will also contribute to a more sustainable and eco-friendly approach to gardening.
Pallet Trellis
If you have access to wooden pallets, you can easily transform them into a trellis. Disassemble the pallets and use the individual slats to construct a simple grid or create a more intricate pattern. Sand and finish the wood for a polished appearance, or leave it as-is for a rustic look. Pallet trellises are not only cost-effective but also allow for excellent air circulation and sunlight penetration, promoting healthy plant growth.
Bamboo Trellis
Bamboo is a versatile and sustainable material that can be used to create a beautiful trellis. Choose thick bamboo poles and cut them to the desired length using a saw. Use twine or zip ties to secure the bamboo poles together in a grid pattern or other creative design. Bamboo trellises add an exotic and tropical touch to your garden while being eco-friendly and durable.
With these alternative trellis ideas, you can showcase your creativity while providing a functional structure for your climbing plants.
Whether you choose to build a classic wooden trellis, a sleek metal structure, or opt for a more unconventional design, constructing a DIY garden trellis for climbing plants can be a rewarding and enjoyable project. By carefully selecting the right materials, gathering the necessary tools, and properly preparing the area, you can create a trellis that not only supports your plants but also adds beauty and charm to your garden. Remember to choose suitable climbing plants, properly train and support them, and regularly maintain your trellis to ensure long-lasting success. With a little effort and creativity, you’ll soon have a thriving garden filled with beautiful climbers scaling your trellis.