Have you ever wanted to add a touch of personal style to your bathroom decor? Well, look no further! In this article, you will discover an easy and fun way to create your very own DIY decorative mirror for your bathroom. Whether you’re looking to add a pop of color or a touch of elegance, this project is perfect for anyone looking to add their unique flair to their bathroom space. So grab your tools and let’s get started on transforming your bathroom mirror into a stunning focal point!

Choosing the Right Mirror
When it comes to choosing the right mirror for your bathroom, there are a few factors to consider. The first thing to think about is the size of your bathroom. If you have a small bathroom, you may want to opt for a smaller mirror that doesn’t overwhelm the space. On the other hand, if you have a large bathroom, you have the freedom to choose a larger mirror that can make a bold statement.
After considering the size, you’ll also want to think about the shape and style of the mirror. There are plenty of options available, from rectangular and oval mirrors to round and octagonal ones. The shape of the mirror should match the overall aesthetic of your bathroom, so take into account the existing decor and choose a shape that complements it.
Another decision you’ll need to make is whether to go for a framed or frameless mirror. Framed mirrors can add a touch of elegance and sophistication to your bathroom, and they come in a variety of styles and finishes to suit your taste. On the other hand, frameless mirrors offer a clean and modern look that can make your bathroom feel more spacious and airy. Consider your personal preference and the overall style of your bathroom when deciding between these two options.
Gathering the Materials
Once you’ve decided on the perfect mirror for your bathroom, it’s time to gather the materials you’ll need for the installation process. The first thing you’ll need is the right type of glass for your mirror. While regular glass can be used, it’s best to use mirror-grade glass, as it’s specifically designed for mirrors and will provide optimum clarity and reflection.
In addition to the glass, you’ll also need some essential tools for the installation. A glass cutter will be necessary to score and cut the mirror to the desired dimensions. Additionally, you’ll need a level to ensure the mirror is straight when mounted, and a tape measure to accurately measure the dimensions of the mirror and the wall space.
If you’ve chosen a framed mirror, you’ll also need to select a frame that complements your bathroom decor. Consider the material and color of the frame, as well as the overall style you’re going for. Finally, you’ll need to choose the adhesive or mirror clips that will securely hold the mirror in place.
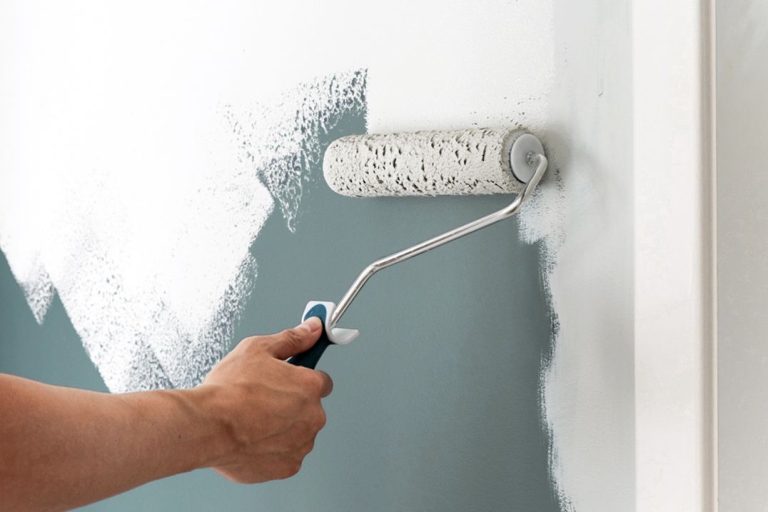
Preparing the Surface
Before you begin the installation process, it’s essential to properly prepare the surface where the mirror will be mounted. Start by thoroughly cleaning the bathroom mirror area to remove any dust, dirt, or residue that could affect adhesion. Use a mild cleaning solution and a soft cloth to ensure the surface is clean and free from any debris.
Next, make sure the surface is dry and smooth. Moisture can interfere with the adhesive’s effectiveness, so take the time to dry the area thoroughly. Smooth out any rough patches or uneven surfaces to ensure a flat and even mounting surface for the mirror.
If there’s any old adhesive or mounting hardware on the wall, remove it carefully. A putty knife or adhesive remover can help remove any stubborn residue without causing damage to the wall. It’s important to have a clean and smooth surface before moving on to the next step.
Cutting the Mirror
If your chosen mirror size or shape requires customization, you’ll need to cut the mirror to the desired dimensions. Start by measuring and marking the dimensions on the mirror using a tape measure and a pencil. Be precise and double-check your measurements to ensure an accurate cut.
Using a glass cutter, score the mirror along the marked line. Apply firm and consistent pressure to create a deep score-line. Once you’ve scored the mirror, carefully and securely hold the mirror on both sides of the scored line. With a quick and decisive motion, snap the mirror along the scored line.
Be cautious while handling the cut mirror edges, as they can be sharp. It’s a good idea to wear safety goggles and gloves during this step to protect yourself from potential injuries. Ensure that the cut mirror edges are smooth and free from any shards before proceeding.

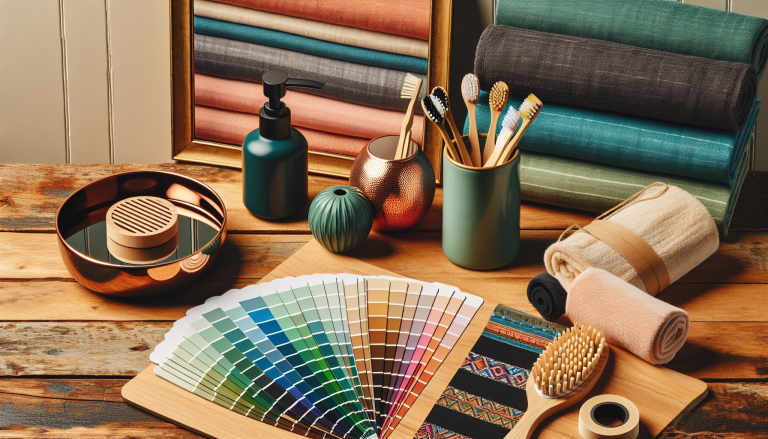
Adding a Frame (Optional)
If you’ve chosen a frameless mirror but want to add a decorative touch, adding a frame is a great option. Start by choosing a frame that complements your bathroom decor and matches the style you’re going for. Consider the material, color, and design of the frame to ensure it enhances the overall aesthetic of your bathroom.
Once you have the frame, measure and cut it to the appropriate size. Use a tape measure and a saw or miter box to achieve clean and precise cuts. Ensure that the frame fits securely around the mirror without covering any vital reflection area.
To attach the frame to the mirror, you can use adhesive or nails, depending on the frame’s design and the mirror’s weight. Adhesive is often a popular choice as it provides a seamless look without any visible fasteners. If you choose to use nails, make sure they’re not too long to avoid damaging the mirror.
Mounting the Mirror
Now it’s time to mount the mirror in your bathroom. Start by deciding on the placement of the mirror. Consider the height and position that will best suit your needs and ensure it’s at the right eye level for easy use.
Using a level, ensure the mirror is straight and aligned. This step is crucial to achieve a professional and polished look. Adjust the mirror’s position accordingly until it’s perfectly level.
To attach the mirror to the wall, you can use adhesive or mirror clips, depending on the mirror’s weight and your personal preference. Adhesive provides a sleek and seamless look, while mirror clips offer stability and security. Follow the instructions provided with the adhesive or mirror clips to ensure proper and secure attachment.
Sealing the Edges
To achieve a finished and professional look, it’s important to seal the edges of the mirror. Apply a mirror edge sealant along the edges of the mirror to prevent moisture and dust from getting behind the mirror. This will help extend the lifespan of your mirror and ensure it stays sparkling and clean for years to come.
Smooth out the sealant with a putty knife or your finger to achieve a clean and even finish. Wipe away any excess sealant and let it dry according to the manufacturer’s instructions. Once the sealant is fully dry, check for any imperfections and make any necessary touch-ups.
Adding Decorative Elements
To make your bathroom mirror truly unique and personalized, consider adding some decorative elements. Adding decorative trim or moldings around the mirror can enhance its visual appeal and create a custom look. Choose trim or moldings that match your bathroom’s decor and style, and attach them securely around the mirror using adhesive or nails.
Incorporating lighting fixtures around the mirror can also add a beautiful touch. You can install sconces or LED light strips that provide flattering and functional lighting for your bathroom. Consider the type and color of light that will best suit your needs and enhance the overall ambiance of the space.
For a more personalized touch, you can add decals or stencils to the mirror. This can be a great way to incorporate patterns, quotes, or even your favorite designs into the mirror’s surface. Choose decals or stencils that are specifically made for mirrors to ensure they adhere properly and won’t get damaged by moisture or cleaning products.
Cleaning and Maintaining the Mirror
To keep your newly installed mirror sparkling and clean, it’s important to properly clean and maintain it. Use non-abrasive cleaning solutions specifically made for mirrors and a soft cloth or microfiber cloth to avoid scratching the mirror’s surface. Avoid using harsh chemicals or abrasive materials that can damage the mirror and affect its reflective properties.
Regularly clean the mirror to prevent the buildup of dirt, dust, and water spots. A quick wipe-down with a gentle cleaner every week or so can help maintain its clarity and shine. Additionally, be mindful of the cleaners and products used in your bathroom that may inadvertently come into contact with the mirror. Avoid spraying these products directly onto the mirror to prevent damage and residue buildup.
Safety Tips
When working with glass and mirrors, it’s crucial to prioritize safety. Wear safety goggles and gloves while cutting or handling glass to protect yourself from potential injuries. Glass shards can be sharp and dangerous, so take precautions and handle the glass with care.
Work in a well-ventilated area to avoid inhaling any fumes from adhesives or sealants. Open windows or use fans to ensure a constant flow of fresh air, especially if you’re working with strong-smelling materials.
Finally, take caution when mounting the mirror to prevent accidents. Ensure the mirror is securely attached to the wall and properly aligned. Double-check the stability of the adhesive or mirror clips to avoid any potential falls or damage.
By following these steps and taking the necessary safety precautions, you can create a stunning and personalized DIY decorative mirror for your bathroom. Enjoy the process and take pride in your beautiful and functional creation!