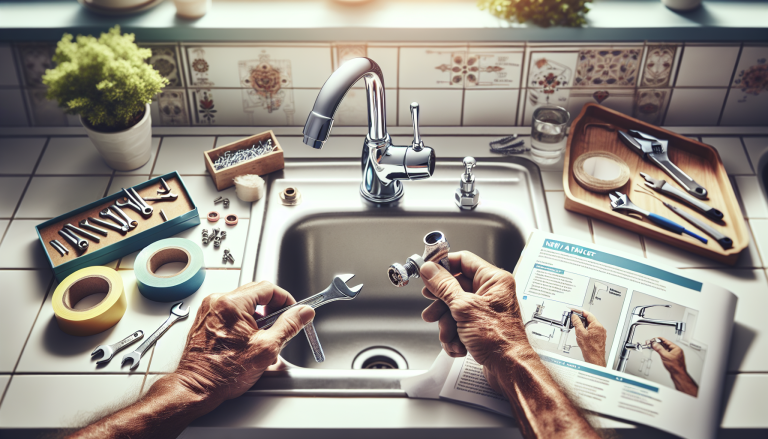
If you’re looking to give your kitchen a fresh new look, installing a new backsplash is a fantastic way to add a touch of style and personality. Whether you’re a seasoned DIY enthusiast or new to home improvement projects, the process of installing a new backsplash in your kitchen can seem daunting at first. But fear not! In this article, we’ll guide you through the step-by-step process and provide you with helpful tips to make the installation process a breeze. So grab your tools and get ready to transform your kitchen into a stunning and functional space that you’ll be proud to show off to your friends and family. Installing a new backsplash in your kitchen can be a fun and rewarding project that adds a touch of style and personality to your space. With the right materials, tools, and preparation, you can create a beautiful and functional backsplash that enhances the overall look of your kitchen. In this article, we will guide you through the process of selecting the right backsplash material, preparing your kitchen for installation, choosing the design and layout, gathering the necessary tools, cutting and setting the tiles, applying grout, sealing the grout, adding finishing touches, and avoiding common mistakes. Let’s get started!

Table of Contents
ToggleSelecting the Right Backsplash Material
The first step in installing a new backsplash is to select the right material. There are several options to choose from, each with its own unique characteristics and benefits.
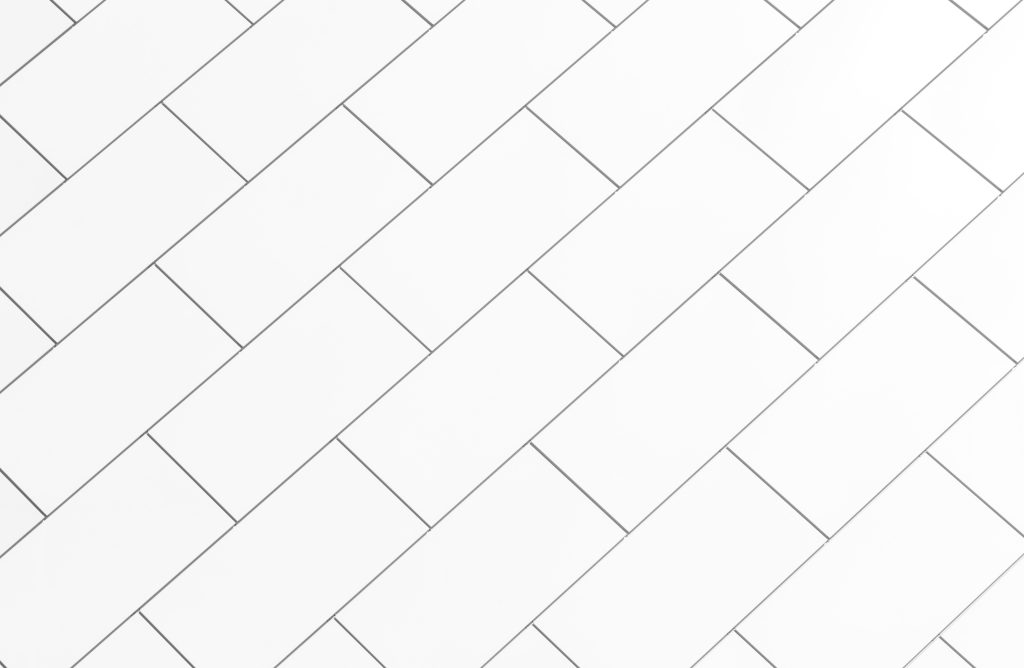
- Ceramic Tile: Ceramic tiles are a popular choice for backsplashes due to their durability and versatility. They come in a wide range of colors, sizes, and patterns, allowing you to customize the look of your kitchen.
- Glass Tile: Glass tiles can add a sleek and modern touch to your kitchen. They are available in various colors and finishes, and their reflective surface can create a sense of depth and light.
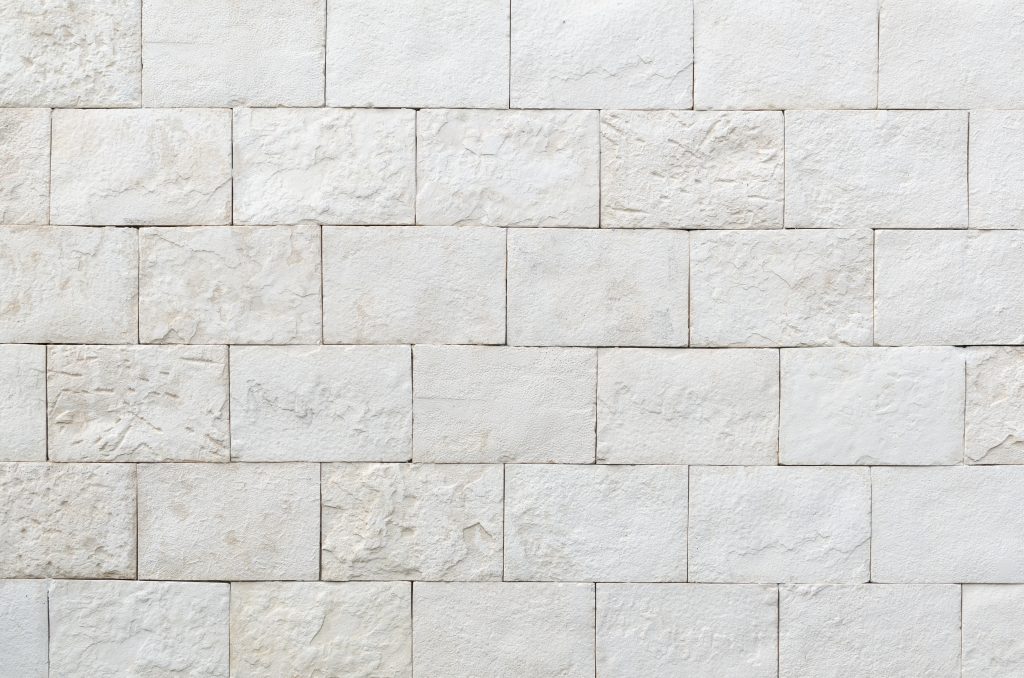
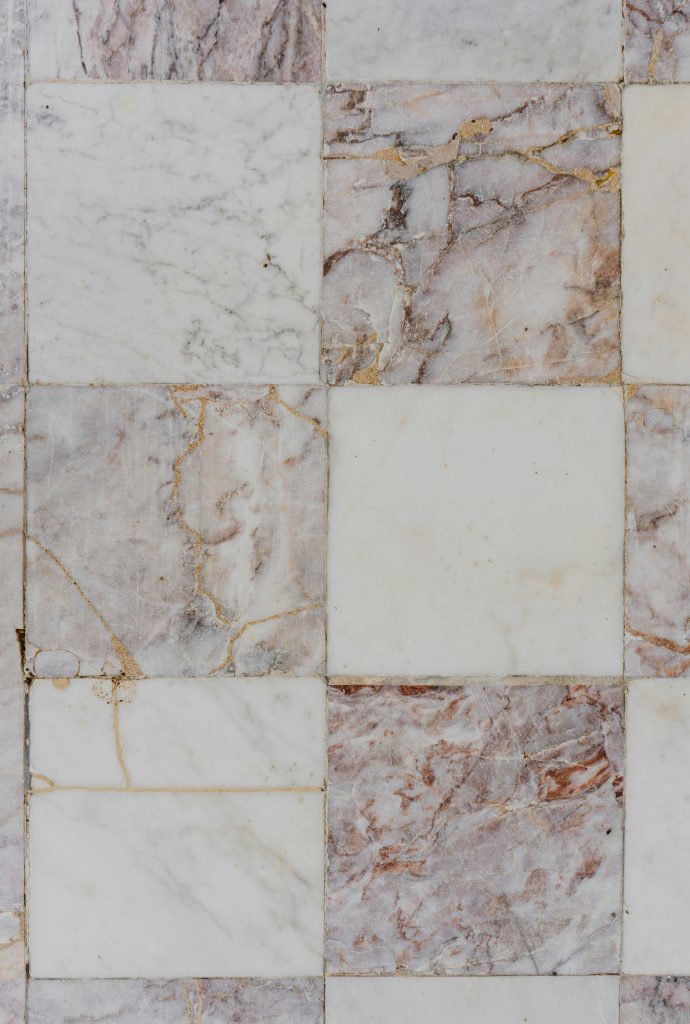
- Stone Tile: Natural stone tiles, such as granite, marble, and slate, can bring a touch of elegance and sophistication to your kitchen. These tiles are known for their strength and longevity.
- Stainless Steel: If you’re looking for a contemporary and industrial look, stainless steel tiles might be the perfect option. They are durable, easy to clean, and resistant to heat and moisture.
- Peel and Stick: For a quick and easy installation, peel and stick tiles are a great choice. They come with adhesive backing, eliminating the need for additional adhesive or thinset.
Consider your personal style, kitchen decor, and budget when selecting the backsplash material that suits your needs and preferences.
Preparing the Kitchen for Installation
Before you begin the installation process, it’s essential to prepare your kitchen properly. This ensures a smooth and successful installation. Here are the key steps to follow:
Gathering Materials
Make sure you have all the necessary materials for the installation, including tiles, adhesive or thinset, grout, caulk, and any other tools required for cutting and setting the tiles. It’s helpful to create a checklist to ensure you have everything you need before starting.
Measuring the Area
Measure the area where you plan to install the backsplash. This will help you determine the amount of tile you need to purchase. It’s crucial to measure accurately to avoid any shortages or excess tiles.
Removing the Old Backsplash
If you have an existing backsplash, you’ll need to remove it before installing the new one. Use a putty knife or scraper to carefully remove the old tiles or backsplash material. Be cautious not to damage the wall surface behind it.
Cleaning the Wall Surface
Once the old backsplash is removed, thoroughly clean the wall surface to ensure proper adhesion of the new tiles. Use a mild detergent and warm water to remove any grease, dirt, or grime. Allow the wall to dry completely before proceeding with the installation.
Choosing the Design and Layout
Choosing the design and layout of your backsplash is an exciting part of the installation process. Consider the following factors to create a visually appealing and cohesive look:
Considering the Kitchen Style
Take into account the overall style and design of your kitchen. If you have a modern kitchen, you might opt for glass or stainless steel tiles for a sleek and contemporary look. For a rustic or traditional kitchen, stone tiles can add warmth and character.
Creating a Layout Plan
Before you start installing the tiles, create a layout plan to determine the arrangement and pattern of the tiles. This will help you visualize the final result and ensure a balanced and aesthetically pleasing design. You can use software programs or draw a diagram to plan the layout.
Selecting the Pattern and Color Scheme
Choose a pattern and color scheme that complements your kitchen’s aesthetics. Whether you prefer a uniform color scheme or a mix of different shades, ensure that the colors and pattern align with the overall theme of your kitchen.
Gathering the Necessary Tools
To install the backsplash effectively and efficiently, gather the necessary tools. Here’s a list of essential tools you’ll need:
Tape Measure
A tape measure is essential for precise measurements. Use it to measure the area of the backsplash and the dimensions of the tiles.
Level
A level helps ensure that your tiles are installed in a straight and even line. It helps prevent any slanted or crooked tiles.
Tile Cutter
A tile cutter is necessary for cutting tiles to fit around corners or edges. Make sure you choose a cutter that is suitable for the type of tiles you’re using.
Tile Saw
If you have more complicated cuts to make, such as curved or notched cuts, a tile saw will be necessary. This tool allows for precise and clean cuts.
Notched Trowel
A notched trowel is used to spread adhesive or thinset evenly on the wall before installing the tiles. The size of the trowel notches should match the recommended trowel size for your specific tiles.
Grout Float
A grout float is used to apply grout to the tiles, ensuring it fills the gaps evenly and effectively.
Grout Sponge
A grout sponge is necessary for cleaning excess grout off the tiles during the grouting process. It helps to achieve a smooth and clean finish.
Having these tools at hand will make the installation process much smoother and more enjoyable.
Cutting and Setting the Tiles
Cutting and setting the tiles is a crucial step in the installation process. Follow these steps to ensure accurate and neat tile placement:
Marking and Cutting the Tiles
Measure and mark the tiles according to your layout plan. Use the appropriate tile cutter or tile saw to cut the tiles to the desired size and shape. Make sure to wear safety goggles and gloves when cutting tiles to protect yourself.
Applying Adhesive or Thinset
Using a notched trowel, apply adhesive or thinset evenly on the wall in small sections. Start from the bottom and work your way up. Make sure the adhesive layer is of a consistent thickness to ensure proper tile adhesion.
Installing the Tiles
Carefully place each tile onto the adhesive layer, pressing gently to ensure good contact and adhesion. Use tile spacers to ensure uniform spacing between the tiles. Work in small sections, gradually moving across the backsplash area. Continue the process until all the tiles are installed.
Applying Grout to the Tiles
Once the tiles are set and the adhesive has cured, it’s time to apply grout. Follow these steps for a successful grouting process:
Choosing the Right Grout
Select a grout color that complements your tiles and desired aesthetic. Consider factors such as ease of maintenance and the level of stain resistance.
Mixing the Grout
Follow the manufacturer’s instructions on how to mix the grout. Use a grout mixing paddle and a bucket to create a smooth and consistent grout paste.
Applying the Grout to the Tiles
Using a grout float, apply the grout to the tiles, pressing it into the gaps between each tile. Hold the float at a 45-degree angle and work in a diagonal motion to ensure complete coverage. Remove any excess grout from the tile surface.
Cleaning Excess Grout
After allowing the grout to set for the recommended time, use a grout sponge and clean water to gently wipe away any haze or residue on the tiles. Rinse the sponge frequently and change the water to ensure a clean and polished finish.
Sealing the Grout
To protect the grout and enhance its longevity, it’s essential to seal it properly. Follow these steps to seal the grout effectively:
Allowing the Grout to Cure
Before sealing the grout, make sure it has fully cured according to the manufacturer’s instructions. This typically takes a few days.
Applying Grout Sealer
Apply a quality grout sealer to the cured grout, following the manufacturer’s instructions. Use a brush or applicator to ensure even coverage. Allow the sealer to dry completely before using the backsplash or applying any other finishing touches.
Finishing Touches
Completing the installation of your new backsplash involves a few additional steps to ensure a polished and professional appearance. Here are some finishing touches to consider:
Replacing Outlet Covers
If your backsplash includes electrical outlets, remove the old outlet covers and replace them with new ones that match the style and finish of your backsplash. This small detail can make a big difference in the overall look of your kitchen.
Applying Caulk
To create a seamless transition between the backsplash and other surfaces, such as countertops or walls, apply a line of caulk. This will provide a watertight seal and prevent moisture from seeping into the gaps.
Cleaning and Polishing the Tiles
Once the installation is complete, clean the tiles to remove any grout residue or fingerprints. Use a mild cleaning solution and a soft cloth to gently wipe the tiles. Polish them with a clean, dry cloth to bring out their natural shine.
Common Mistakes to Avoid
To ensure a successful backsplash installation, it’s essential to avoid common mistakes that can compromise the quality and durability of your project. Here are some mistakes to be aware of:
Skipping the Preparation Stage
Proper preparation is key to a successful installation. Skipping steps such as removing the old backsplash or cleaning the wall surface can lead to adhesion issues and a less professional finish. Take the time to prep your kitchen properly before installing the new backsplash.
Using Incorrect Adhesive or Thinset
Using the wrong type of adhesive or thinset can lead to poor tile adhesion and potentially cause the tiles to come loose over time. Make sure to select the appropriate adhesive or thinset that is recommended for your specific tile material.
Choosing the Wrong Grout
Choosing the wrong grout color or using an inferior grout product can negatively impact the overall look and durability of your backsplash. Take the time to select a high-quality grout and test the color against your tiles before committing to the installation.
Not Sealing the Grout
Failure to seal the grout can lead to staining, mold growth, and water damage. Always seal your grout according to the manufacturer’s instructions to protect it from moisture and ensure its longevity.
Tips for Success
To achieve a successful backsplash installation, here are some helpful tips to keep in mind:
Start with a Test Area
Before installing the entire backsplash, consider starting with a small test area. This will allow you to practice your technique and ensure that you’re satisfied with the tile material, adhesive, grout color, and overall design.
Work in Sections
To manage the installation process more effectively, work in small sections. This will help prevent the adhesive from drying out too quickly and allow you to make necessary adjustments as you go along.
Take Breaks to Check the Alignment
During the installation process, take breaks to step back and check the alignment and spacing of the tiles. This will help you catch any errors or inconsistencies early on and make adjustments as needed.
Use Tile Spacers
Tile spacers are essential for achieving even spacing between the tiles. Make sure to use them consistently to create a professional and polished look.
Carefully Clean and Maintain the Backsplash
Once your backsplash is installed, it’s important to clean and maintain it regularly. Avoid using abrasive cleaners that can damage the tiles or grout. Instead, use a mild cleaner and a soft cloth to wipe away any dirt or stains.
By following these tips and guidelines, you can achieve a successful and visually stunning backsplash installation in your kitchen. Enjoy the process and the transformation it brings to your space. Happy tiling!

