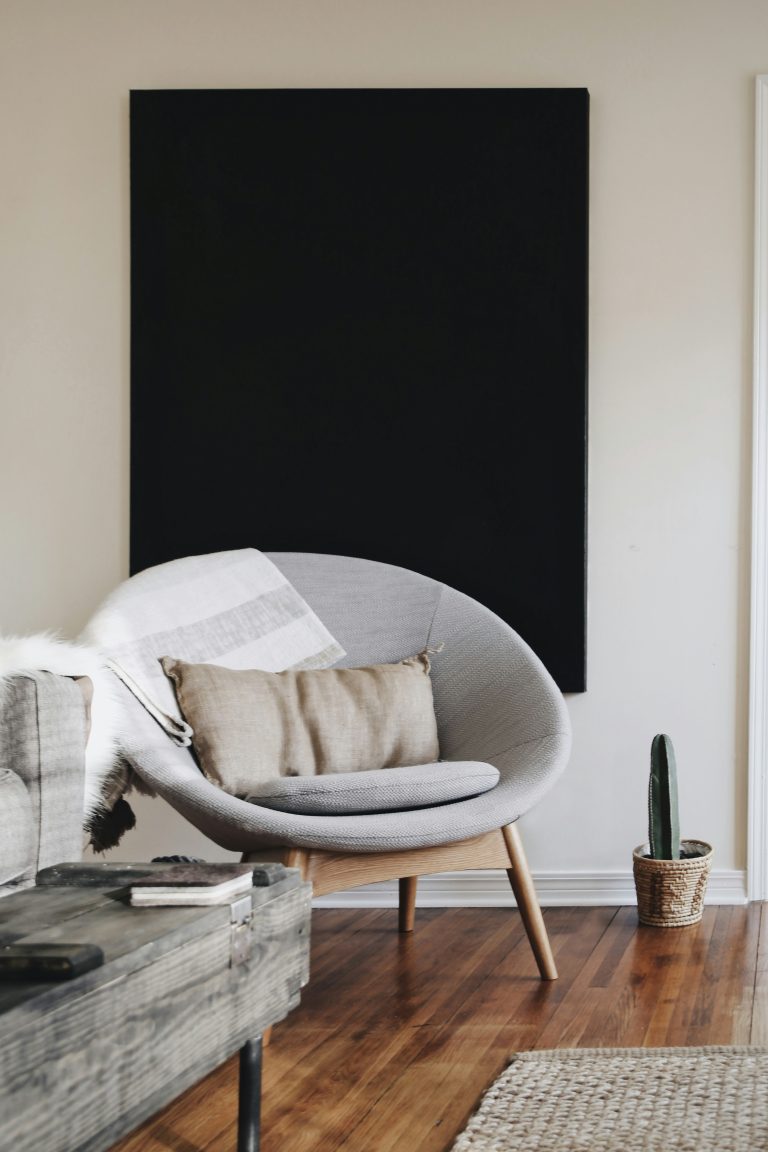
You have a collection of old furniture sitting in your garage, taking up space and gathering dust. But instead of tossing it out and contributing to the growing waste problem, why not repurpose it for new uses? With a little creativity and some handy DIY skills, you can transform your old furniture into functional and stylish pieces that breathe new life into your home. From turning an old dresser into a stylish bathroom vanity to repurposing a wooden door as a unique coffee table, the possibilities are endless. Discover some easy and inspiring ways to repurpose your old furniture in this article.
Table of Contents
TogglePainting and Refinishing
Choosing the Right Paint
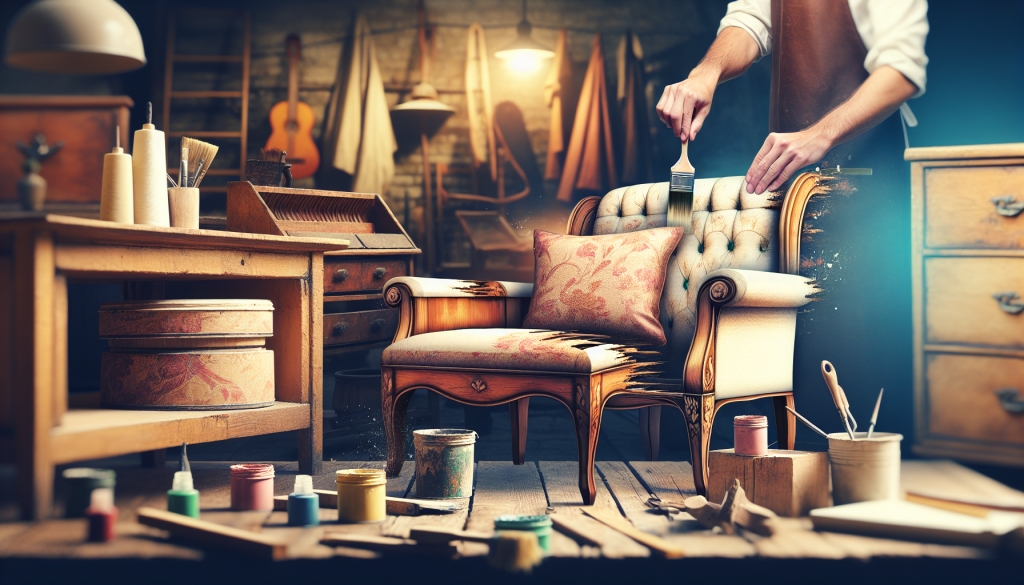
When it comes to repurposing old furniture, painting and refinishing can make a world of difference. The first step is selecting the right paint for your project. Consider the type of furniture you have and the intended use. For wooden furniture, choose a paint specifically formulated for wood surfaces. This will ensure durability and a smooth finish. For metal furniture, opt for a paint designed for metal surfaces to prevent chipping and rust. Don’t be afraid to get creative with colors and finishes to give your furniture a fresh and personalized look.
Prepping the Furniture
Before you start painting, it’s important to properly prep the furniture. Start by cleaning the surface with a mild soap and water to remove any dirt or grime. If the furniture has any rough spots or imperfections, sand them down to create a smooth surface for painting. Make sure to remove any hardware or accessories that may interfere with the painting process. Then, apply a primer to the furniture to help the paint adhere better and prevent stains or discoloration from showing through.
Applying the Paint
Now it’s time to get painting! Start by applying a thin and even coat of paint using a brush or roller. Work in long, smooth strokes to ensure an even finish. Allow the first coat to dry completely before applying additional coats if needed. Multiple thin coats are often better than one thick coat, as they will give you a smoother and more professional-looking result. Take your time and be patient with the painting process, as rushing can lead to uneven application and a less desirable end result.
Adding Finishing Touches
Once the paint has dried, it’s time to add those finishing touches that will truly transform your repurposed furniture. Consider adding decorative elements such as stencils, decals, or hand-painted designs to give your furniture a unique and personalized look. You can also experiment with different techniques like distressing or antiquing to achieve a vintage or aged appearance. Finally, apply a clear topcoat or sealer to protect the paint and give your furniture a polished finish. This will help prevent chipping, scratching, and fading, ensuring that your repurposed furniture will stand the test of time.
Adding New Hardware
Exploring Different Hardware Options
One simple yet effective way to give old furniture a fresh new look is by updating the hardware. There are countless hardware options available, ranging from sleek and modern to ornate and vintage-inspired. Take some time to explore different styles and finishes that align with your personal taste and the overall aesthetic you want to achieve.
Removing Old Hardware
Before you can install new hardware, you’ll need to remove the old hardware from your furniture. Use a screwdriver or drill to remove screws or fasteners holding the hardware in place. Be careful not to strip any screws in the process. If the hardware is heavily glued or attached, consider using a heat gun or applying a solvent to loosen the adhesive. Once the old hardware is removed, clean the area thoroughly to ensure a smooth and clean surface for the new hardware.
Installing New Hardware
Now it’s time to install the new hardware. Start by measuring the distance between the existing holes, if applicable, to ensure the new hardware aligns correctly. If you’re working with brand new furniture or want to change the hardware placement, you’ll need to mark and drill new holes. Use a drill or a screwdriver to attach the new hardware securely. Take your time and double-check the alignment and tightness of each screw or fastener to ensure a professional and secure installation.
Enhancing the Look with Decorative Hardware
To take the transformation a step further, consider adding decorative hardware to your repurposed furniture. Decorative hardware can include items like drawer pulls, knobs, hinges, and even decorative corner brackets. These small details can add an extra touch of charm and personality to your furniture. Don’t forget to match the finish and style of the decorative hardware with the overall look you’re trying to achieve. Whether you want to create a rustic farmhouse vibe or a sleek and modern aesthetic, the right decorative hardware can make all the difference.
Transforming into Storage Solutions
Creating Shelving Units
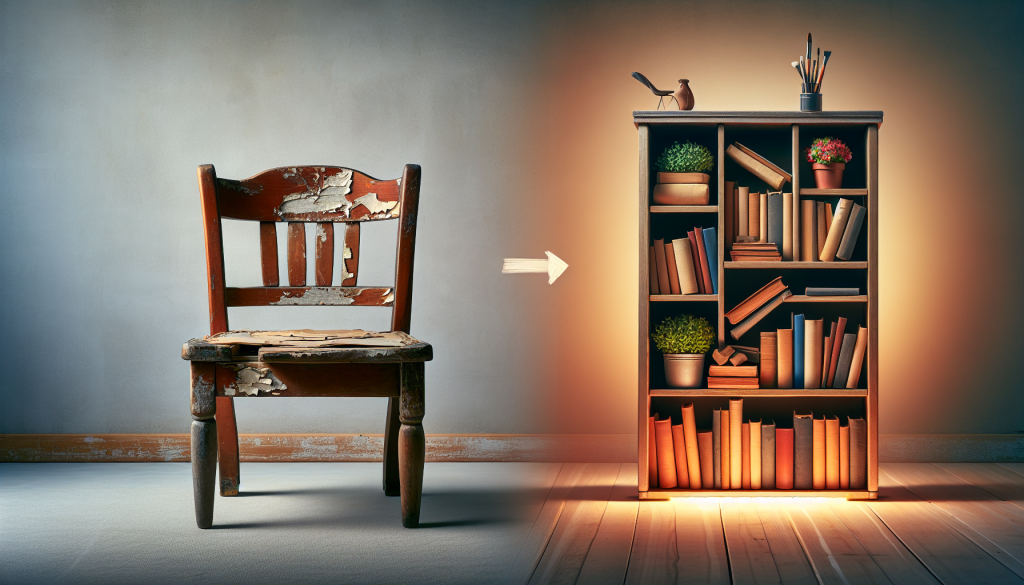
Repurposing old furniture into shelving units is a fantastic way to add both functionality and style to your space. An old bookshelf or a wooden ladder can easily be transformed into a unique and eye-catching display for books, plants, or decorative items. Consider painting or refinishing the furniture to match your existing decor and add shelves or cubbies as needed for storage.
Turning a Dresser into a Kitchen Island
If you have an old dresser that no longer serves its original purpose, why not repurpose it into a functional and beautiful kitchen island? Simply remove the top drawers and replace them with a countertop or butcher block. Add hooks or towel racks to the sides for convenience and storage. This repurposed kitchen island will provide extra workspace and storage while adding a charming touch to your kitchen.
Converting a Cabinet into a TV Stand
Instead of purchasing a brand new TV stand, repurpose an old cabinet to create a unique and personalized piece of furniture. Look for a sturdy cabinet with enough space to accommodate your TV and any necessary media components. Remove any inner shelves or drawers to make room for your electronics. You can also paint or refinish the cabinet to match your decor and add additional shelves or cable management solutions for a tidy and organized entertainment center.
Repurposing a Side Table into a Nightstand
Don’t let an old side table go to waste. Transform it into a stylish and functional nightstand for your bedroom. Consider painting or refinishing the side table to match your bed frame or other furniture in the room. Add a new knob or drawer pull to enhance the look. You can also add a small lamp or decorative items on top for a cozy and personalized touch. A repurposed side table nightstand adds character and practicality to your sleeping space.
Upholstering and Reupholstering
Choosing the Right Upholstery Fabric
Upholstering or reupholstering old furniture can give it a completely new look and feel. The first step is choosing the right upholstery fabric. Consider factors such as durability, texture, color, and pattern. If you have pets or children, opt for a fabric that is easy to clean and resistant to stains. Additionally, make sure the fabric complements your existing decor and provides the desired level of comfort and style.
Removing Old Upholstery
Before you can start upholstering or reupholstering, you’ll need to remove the old upholstery. Use a staple remover or pliers to carefully remove any existing staples or nails. Take your time and be patient to avoid damaging the furniture frame or any foam padding underneath. Once the old upholstery is removed, clean the furniture frame and repair any damage or replace worn-out cushioning if necessary.
Reupholstering with New Fabric
With the old upholstery removed and the furniture frame prepped, it’s time to reupholster with new fabric. Start by laying out your chosen fabric and carefully measuring and cutting it to fit the different sections of the furniture. Make sure to leave a few inches of extra fabric to allow for folding and stapling. Secure the fabric in place by pulling it taut and using a staple gun to attach it to the underside of the furniture frame. Work your way around the furniture, stapling as you go, and pay attention to corners and edges for a neat and professional finish.
Adding Extra Cushioning and Comfort
To enhance the comfort of your repurposed furniture, consider adding extra cushioning. This can be done by incorporating foam padding or quilt batting between the fabric and the furniture frame. Make sure to measure and cut the cushioning to fit the desired areas and secure it in place with adhesive or additional staples. Adding extra cushioning can make a significant difference in the overall comfort and usability of your repurposed furniture.
Creating Outdoor Furniture
Weatherproofing Wood Furniture
If you’re repurposing old wood furniture for outdoor use, it’s important to weatherproof it to withstand the elements. Start by cleaning the furniture thoroughly and sanding down any rough spots or imperfections. Apply a waterproof sealant or outdoor wood stain to protect the wood from moisture and UV rays. Make sure to choose a product specifically designed for outdoor use. Repeat the process periodically to maintain the protection, especially in climates with harsh weather conditions.
Making a Bench from a Headboard
Don’t let that old headboard go to waste. Transform it into a charming and functional outdoor bench. Start by removing any unnecessary elements from the headboard, such as footboards or posts. Sand down the wood and apply a weatherproof finish to protect it from the outdoor elements. Attach additional wooden slats or a solid piece of wood to the seat area to create a comfortable seating surface. Add some colorful outdoor cushions and pillows to complete the look and create a cozy spot for relaxing in your backyard or patio.
Repurposing a Coffee Table as a Patio Table
For a budget-friendly outdoor furniture option, consider repurposing an old coffee table into a patio table. Begin by thoroughly cleaning the coffee table, especially if it has been stored outdoors or in a dusty area. Paint or refinish the table to match your outdoor decor and provide weather resistance. If the coffee table has a glass top, consider replacing it with a more durable material like plexiglass or a mosaic design. Place the repurposed coffee table on your patio or deck to create a perfect spot for outdoor dining or entertaining.
Transforming a Pallet into a Garden Bench
Pallets offer endless possibilities for repurposing into outdoor furniture. Turn a pallet into a stylish and functional garden bench with just a few simple steps. Start by cleaning and sanding the pallet to remove any splinters or rough edges. Attach additional wooden planks to create a backrest and armrests if desired. Paint or stain the pallet to add some color and protect it from the outdoor elements. Place some outdoor cushions on the bench for extra comfort and enjoy a cozy seating area in your garden or backyard.
Repurposing for Pet Furniture
Building a Cat Tree from a Ladder
If you have a ladder gathering dust in your garage, repurpose it into a cat tree to keep your feline friend entertained. Start by thoroughly cleaning the ladder and removing any loose or sharp parts. Add platforms or shelves to each step of the ladder, providing a comfortable resting spot for your cat. Wrap sisal rope around the ladder legs to create scratching posts. Finally, attach some dangling toys or feathers to keep your cat engaged and entertained.
Turning a Drawer into a Pet Bed
If you have an old drawer that no longer serves its original purpose, transform it into a cozy and stylish pet bed. Thoroughly clean the drawer and remove any hardware or accessories. Sand down any rough edges or imperfections. Paint or refinish the drawer to match your decor or add a pop of color. Line the inside of the drawer with soft fabric or a pet bed cushion and add a blanket or pillow for added comfort. Your furry friend will appreciate the new cozy space just for them.
Designing a Dog Crate from an Old Cabinet
Repurposing an old cabinet into a dog crate is both practical and stylish. Start by selecting a cabinet that is the appropriate size for your dog. Remove any doors or shelves that may hinder your dog’s movement. Add a secure latch or lock to keep the cabinet door closed when needed. Paint or refinish the cabinet to match your decor and add comfort by lining the inside with a cushion or blanket. Your dog will have a comfortable and private space to relax, and it will blend seamlessly with your home’s interior.
Creating a Fish Tank Stand from a TV Console
If you have an old TV console that is no longer in use, convert it into a functional and stylish stand for your fish tank. Ensure that the TV console is sturdy and capable of holding the weight of the fish tank. Clean the console thoroughly and remove any glass or electronics. Paint or refinish the console to match your decor and add a waterproof sealant to protect it from water damage. Add any necessary shelves or compartments for storing fish-related accessories. Your fish tank will have a new home that complements your interior design.
Converting into Home Office Furniture
Transforming a Dresser into a Desk
If you’re in need of a functional and spacious desk for your home office, repurpose an old dresser to create a unique workspace. Start by removing any unnecessary drawers or shelves to create a knee space underneath the desk. Sand down the dresser and paint or refinish it to match your office decor. Add a piece of durable and smooth wood as a desktop surface. Consider adding additional compartments or drawers for storage. A repurposed dresser desk provides ample storage and workspace for all your home office needs.
Making a Bookshelf from a Ladder
For a charming and functional addition to your home office, repurpose an old ladder into a stylish bookshelf or display unit. Start by cleaning and sanding down the ladder to remove any rough spots or splinters. Paint or stain the ladder to match your office decor and add a layer of protection. Secure the ladder horizontally against a wall, ensuring it is stable and level. Place wooden planks or repurposed shelves between each step of the ladder to create sturdy and unique shelving units. Display your favorite books, decorative items, or office supplies for an organized and visually appealing home office.
Repurposing a TV Armoire as a Workstation
If you have an old TV armoire that is no longer in use, convert it into a functional and attractive workstation. Clean the armoire thoroughly and remove any unnecessary shelves or compartments. Sand down any rough edges or imperfections. Paint or refinish the armoire to match your office decor and add a fresh touch. Add a desk surface that fits within the armoire and create additional storage with shelves or drawers. Consider adding a corkboard or whiteboard to one of the doors for added functionality. A repurposed TV armoire workstation offers ample storage and a dedicated space for productivity in your home office.
Creating Storage with File Cabinets
File cabinets are incredibly versatile when it comes to repurposing them for home office use. Start by cleaning and sanding down the file cabinets to ensure a smooth surface. Paint or refinish the cabinets to match your decor and add a cohesive look to your office space. Stack the file cabinets on top of each other to create a sturdy and functional bookshelf. Alternatively, place a large desk surface on top of two file cabinets for a stylish and spacious work area. The drawers of the file cabinets offer plenty of storage for files, office supplies, and other essentials.
Upcycling into Decorative Pieces
Using Doors as Room Dividers
Repurposing old doors as room dividers is a fantastic way to add character and functionality to your space. Start by selecting doors of the desired size and style. Clean and sand them down to remove any splinters or rough spots. Paint or refinish the doors to match your decor and add a cohesive look. Attach hinges to connect the doors together and secure them to the floor or ceiling, depending on your preference and the design of your space. Repurposed doors as room dividers offer a unique and eye-catching element to any room while providing privacy and separation.
Repurposing a Tabletop as a Wall Shelf
If you have an old tabletop or a large piece of wood lying around, repurpose it into a functional and decorative wall shelf. Start by cleaning and sanding down the tabletop to create a smooth surface. Paint or stain the tabletop to match your decor and add a touch of personality. Attach brackets or floating shelf hardware to the underside of the tabletop and secure it to the wall using wall anchors or studs. Your repurposed tabletop shelf can be used to display photos, plants, or decorative items, adding visual interest to any room.
Making Mirrors from Old Dresser Drawers
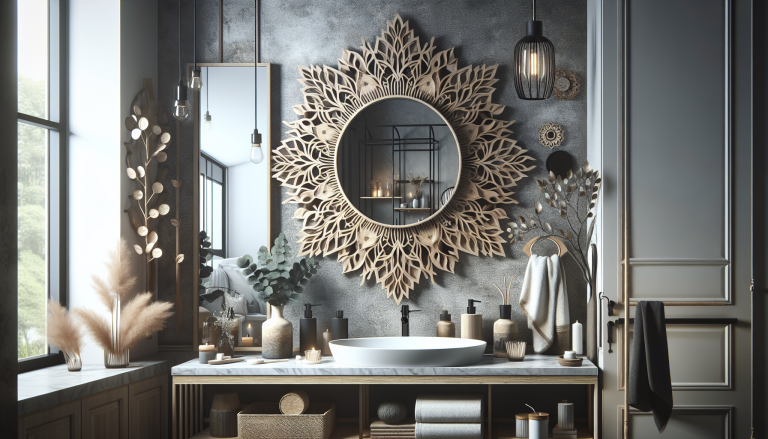
Transforming old dresser drawers into decorative mirrors is a creative way to repurpose unused furniture. Start by removing the front facing of the drawer, leaving a solid rectangular or square piece of wood. Clean and sand the wood, ensuring a smooth surface for painting or staining. Add a mirror to the center of the wood or attach a mirror with adhesive. Use paints, stains, or decorative accessories to enhance the frame and match it to your decor. Hang your repurposed dresser drawer mirrors on the wall, creating a unique and personalized focal point in your space.
Creating a Picture Frame from a Chair Back
Don’t let an old chair go to waste. Transform the back of a chair into a stunning and one-of-a-kind picture frame. Start by removing the backrest of the chair, ensuring it is intact without any cracks or damage. Clean and sand the wood to create a smooth surface for painting or staining. Attach your favorite photo or artwork to the center of the chair back using adhesive or clips. Paint or stain the frame to match your decor and add finishing touches with decorative accents or distressing techniques. Hang your repurposed chair back picture frame on the wall, showcasing your cherished memories in a unique and artistic way.
Modifying for Kids’ Furniture
Converting a Crib into a Desk
As your child outgrows their crib, repurpose it into a functional and adorable desk for their growing needs. Start by removing the side railings and adjusting the mattress platform to a lower position or removing it entirely. Thoroughly clean and sand the crib to remove any rough edges or splinters. Paint or refinish the crib to match your child’s room decor and add a playful touch. Attach a desk surface to the top of the crib, providing a comfortable and accessible workspace. Your repurposed crib desk will allow your child to transition seamlessly from crib to desk as they continue to grow and learn.
Turning Old Chairs into Play Kitchen Sets
Repurposing old chairs into play kitchen sets is a wonderful way to ignite your child’s imagination and creativity. Start by selecting chairs that are the appropriate size and proportions for your child. Thoroughly clean and sand the chairs to create a smooth surface for painting or staining. Paint or refinish the chairs in bright and playful colors, mimicking the look of a real kitchen. Depending on the chair design, attach additional elements like a small table, a mini sink, or a stovetop. Add some kitchen accessories and let your child explore their cooking skills in their very own play kitchen.
Repurposing a Changing Table as a Toy Storage
As your child outgrows their changing table, repurpose it into a functional and organized storage solution for their toys. Start by removing any unnecessary sections or attachments that were used for changing purposes. Clean and sand the changing table, ensuring a smooth and safe surface for your child’s toys. Paint or refinish the table to match your child’s room decor and add a vibrant and playful touch. Add colorful storage bins, cubbies, or shelves to hold and display their toys. Your repurposed changing table toy storage will not only provide easy access to toys but also contribute to a tidy and organized play area.
Creating a Fun Book Nook from a Dresser
Transform an old dresser into a captivating and cozy book nook for your child. Start by selecting a dresser with sufficient space to create a reading area. Thoroughly clean and sand the dresser, focusing on the area where the books will be stored. Paint or refinish the dresser in cheerful and inviting colors that complement your child’s room decor. Remove some drawers or add shelves to create book display areas. Add comfortable cushions, pillows, or a small mattress to create a cozy reading spot. Your repurposed dresser book nook will entice your child to dive into the magical world of books and imagination.
Repurposing for Outdoor Activities
Building a Swing from a Wooden Bed
Repurposing an old wooden bed into a swing is a creative and fun DIY project for outdoor relaxation. Start by selecting a solid and sturdy wooden bed frame. Clean and sand the bed frame to remove any rough spots or splinters. Paint or refinish the bed frame to match your outdoor decor and add weather resistance. Attach strong and durable ropes or chains to the four corners of the bed frame. Hang the swing from a sturdy tree branch or a sturdy pergola. Add some outdoor cushions or pillows for extra comfort, and you’ll have a perfect spot for enjoying the outdoors.
Turning a Dresser into a Potting Bench
If you have an old dresser taking up space in your garage, transform it into a functional and stylish potting bench for your gardening needs. Start by removing any unnecessary drawers or shelves to create workspace. Clean and sand the dresser, paying attention to removing any rough or damaged areas. Paint or refinish the dresser with a waterproof sealant to protect it from moisture and dirt. Attach hooks or small shelves to keep your gardening tools organized. Place a weather-resistant surface like a wooden plank or a metal sheet on top as your work area. Your repurposed dresser potting bench will make gardening tasks easier and more enjoyable.
Designing a Beverage Cart from a Bar Cabinet
Repurpose an old bar cabinet into a versatile beverage cart for outdoor entertaining. Start by cleaning and sanding the bar cabinet to create a smooth and clean surface. Paint or refinish the cabinet to match your outdoor decor and add a touch of charm. Attach wheels or casters to the bottom of the cabinet for easy mobility. Create compartments or shelving systems within the cabinet to hold glasses, bottles, and other barware. Add hooks or racks to hang towels or utensils. Your repurposed bar cabinet beverage cart will be the perfect addition to any outdoor gathering or party.
Creating a Playful Sandbox from a Coffee Table
Transform an old coffee table into a playful sandbox for your little ones to enjoy. Start by removing any glass tops or unnecessary attachments from the coffee table. Clean and sand the table to remove any rough spots or splinters. Paint or stain the table with non-toxic, child-friendly paint or stain. Attach a bottom liner, such as landscaping fabric, to prevent sand from leaking. Fill the coffee table with clean play sand, ensuring an appropriate depth for play. Add small buckets, shovels, and sand toys to enhance the play experience. Your repurposed coffee table sandbox will provide endless hours of imaginative and sensory play for your children.

