So, you’re looking to spice up your living room and give it a fresh, unique touch? Well, creating a DIY accent wall might just be the answer you’re searching for! By adding a bold, eye-catching feature to one wall, you can instantly transform the entire room. Whether you want to add a pop of color, incorporate a fun pattern, or showcase some stunning artwork, an accent wall is a fantastic way to make a statement and express your personal style. But how do you actually go about creating one? Don’t worry, we’ve got you covered. In this article, we’ll guide you through the process of creating a DIY accent wall in your living room, from choosing the right wall to selecting the perfect design and executing it flawlessly. So let’s grab our paintbrushes and get ready to unleash your creativity!
Table of Contents
ToggleChoosing the Perfect Wall
When it comes to creating a DIY accent wall in your living room, the first step is to choose the perfect wall to showcase your creativity. Take a moment to consider the room’s focal point. Is there a particular area or feature that draws the most attention? Perhaps it’s a fireplace, a large window, or even a prominent piece of furniture. Identifying the focal point will help you determine the best wall to accentuate and enhance its presence in the room.
Once you’ve identified the focal point, evaluate the available options. Take a look at all the walls in your living room and consider which one would be the most suitable for creating an accent wall. Keep in mind factors such as wall size, shape, and positioning in relation to the focal point. Choosing a wall that complements the room layout and allows the accent wall to stand out will ensure a visually pleasing result.
Before finalizing your decision, take a moment to assess the condition of the chosen wall. Are there any damages or imperfections that need to be addressed? It’s important to have a solid foundation before proceeding with the accent wall project. This will ensure a smooth and professional-looking finish.
Deciding on a Design
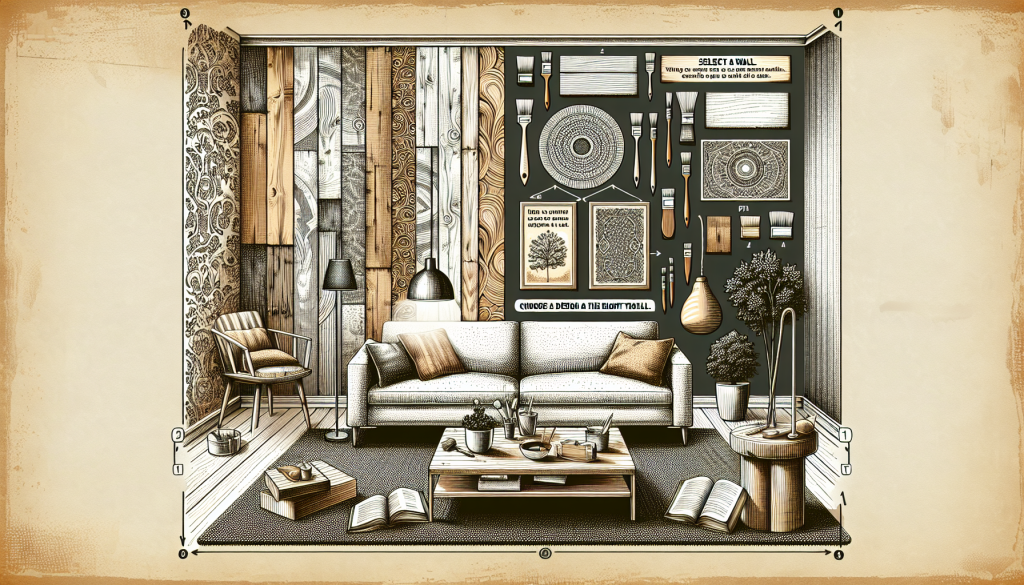
With the perfect wall chosen, it’s time to decide on a design for your accent wall. This is where you can let your creativity shine! Start by exploring different design ideas that spark your interest. Whether it’s a geometric pattern, a mural, or a simple yet impactful color contrast, the options are endless. Look for inspiration online, in home decor magazines, or even in nature!
Consider the overall aesthetic of your living room when deciding on a design. Think about the existing color scheme, furniture style, and overall decor theme. The accent wall should seamlessly blend with the room’s aesthetic and enhance its overall appeal. If your living room has a modern and minimalist feel, you might want to opt for a sleek and monochromatic design. On the other hand, if your space embraces bohemian vibes, you can explore colorful and eclectic design choices.
It’s also important to think about the desired mood or effect you want the accent wall to create. Do you want it to add warmth and coziness to the room? Or perhaps you want to create a focal point that exudes energy and vibrancy. The design of your accent wall should align with the atmosphere you want to create in your living room.
Preparing the Wall
Now that you have a clear vision for your accent wall design, it’s time to prepare the chosen wall for the painting process. Start by removing any wall decorations and furniture that may obstruct your work area. This will not only ensure a smooth painting process but also protect your belongings from any accidental paint splatters or damage.
Next, clean the wall surface thoroughly. Dust, dirt, and grime can affect the adhesion of the paint, so it’s essential to create a clean canvas. Use a sponge or a damp cloth to wipe down the wall and remove any surface contaminants. For stubborn stains, a gentle cleaning solution can be used. Once the wall is clean and dry, you’ll be ready to move on to the next step.
Before painting, it’s important to inspect the wall for any damages or imperfections that need to be repaired. Patch up any holes, cracks, or dents using spackling paste or putty. Smooth out the patched areas with sandpaper to create a seamless finish. Taking the time to repair any damages will ensure a polished and professional result.
Choosing the Accent Wall Color
One of the most exciting parts of creating a DIY accent wall is choosing the color that will make a statement in your living room. When selecting the accent wall color, it’s essential to consider the existing color scheme of the room. Look at the other walls, furniture, and accessories to determine which colors will complement and harmonize with the overall aesthetic.
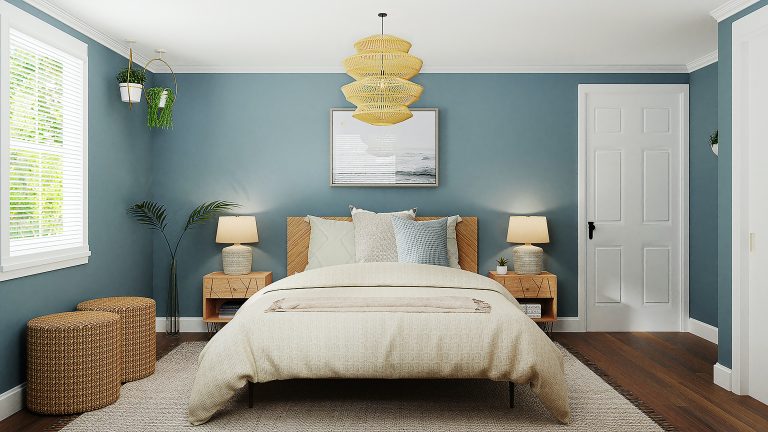
If you’re feeling bold, you can experiment with using contrasting colors to create a dramatic effect. For example, if your living room has neutral tones, a vibrant and bold accent wall can create a striking focal point. On the other hand, if your room already has a rich and vibrant color palette, a more muted or complementary accent wall color can provide balance and depth.
To ensure you choose the perfect color, it’s always a good idea to test paint samples on the wall. Paint a small section with each color you’re considering and observe it in different lighting conditions throughout the day. This will give you a better understanding of how the color will look once it’s fully painted, allowing you to make a confident decision.
Gathering the Necessary Tools and Materials
Before diving into the painting process, it’s important to gather all the necessary tools and materials. You’ll want to have everything on hand to ensure a smooth and efficient process. Here’s a list of the essential items you’ll need:
- Paint brushes, rollers, and trays: These tools will help you apply the paint evenly onto the wall.
- Painter’s tape and drop cloths: Painter’s tape will protect the surrounding areas from accidental paint splatters, while drop cloths will safeguard your floors and furniture.
- Primer and paint of chosen color: Primer is essential for creating a smooth and uniform surface, while the paint will bring your accent wall to life.
By having these tools and materials readily available, you’ll be well-prepared to embark on your DIY accent wall project.
Preparing the Paint and Tools
Before starting the painting process, there are a few essential steps to take to ensure everything is ready and set. First and foremost, ensure proper ventilation in the room. Open windows or use fans to allow fresh air to circulate. This will minimize the smell and fumes associated with paint.
Next, it’s important to mix and stir the paint thoroughly. This will ensure an even distribution of color and consistency. Use a stirring stick or a paint mixer attachment to blend the paint well. If necessary, you can also add a paint conditioner to enhance the paint’s flow and reduce brush or roller marks.
While preparing the paint, make sure to protect your floors and nearby surfaces. Lay down drop cloths and secure them with painter’s tape to prevent any accidental drips or spills. Taking these precautions will save you from the hassle of cleaning up unwanted messes and will help you maintain a tidy working environment.
Planning the Accent Wall
Now that everything is set and the paint is ready, it’s time to plan the layout and design of your accent wall. Start by measuring and marking the wall based on the chosen design. Use a pencil and a level to ensure accuracy and precision. This step is crucial for creating a visually appealing and symmetrical accent wall.
If you’re going for a specific pattern or design, create a template using a piece of cardboard or poster board. This will act as a guide when applying the paint and help you achieve clean lines and shapes. Place the template against the wall and use painter’s tape to secure it in place.
Once the template is set, you can use painter’s tape to outline the design on the wall. This step will allow you to create crisp and defined edges. Take your time during this process to ensure the tape is applied smoothly and evenly.
Painting Techniques
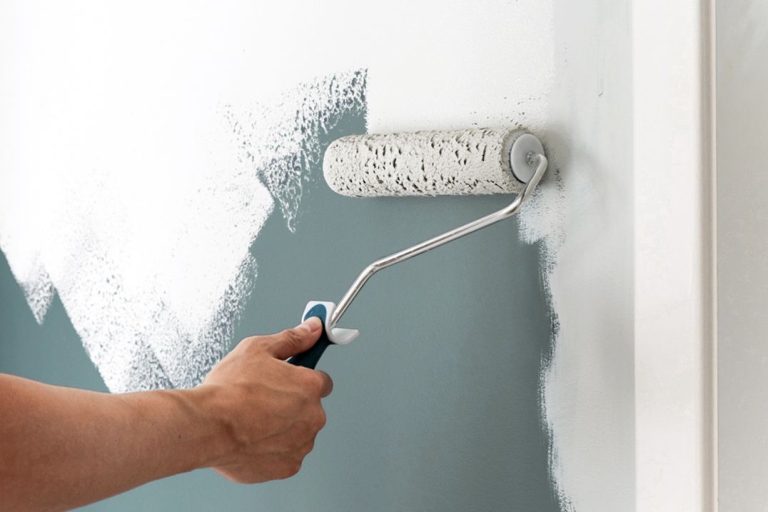
With all the preparations done, it’s time to unleash your inner painter and bring your accent wall to life. Start by rolling the paint onto the wall using a paint roller. This will help you cover larger areas quickly and efficiently. Roll the paint in smooth and even strokes, working from the top to the bottom of the wall.
For corners and edges, you’ll need to use a technique called “cutting in.” Use a paintbrush to carefully apply the paint along the edges, ensuring a clean and precise finish. Take your time during this step to avoid any smudges or overlapping onto the adjacent surfaces.
Depending on the desired opacity and finish, you may need to apply multiple coats of paint. Allow each coat to dry completely before applying the next. This will ensure a smooth and vibrant finish, free from any streaks or blotches.
Removing the Painter’s Tape
Once the paint has dried completely, it’s time to remove the painter’s tape. This step requires a bit of patience and finesse to achieve clean lines. Carefully peel off the tape at a 45-degree angle, ensuring a smooth and crisp edge. If any paint has seeped under the tape, use a razor blade or a utility knife to carefully scrape it off.
Removing the painter’s tape will reveal the true beauty of your accent wall. Step back and marvel at the transformation you’ve achieved!
Adding Extra Touches
To take your DIY accent wall to the next level, consider adding extra touches that will elevate the overall look and feel of the room. One option is to add texture or patterns to the wall. This can be achieved using techniques such as sponge painting, stenciling, or even applying wallpaper.
Another option is to incorporate decorative elements or stencils into the design. This will add a unique and personalized touch to your accent wall. Consider using metallic accents, wall decals, or even hanging artwork to enhance the visual impact.
To ensure the longevity and durability of your accent wall, consider applying a protective topcoat. This will seal the paint and provide a shield against everyday wear and tear. Choose a topcoat with a matte, satin, or glossy finish, depending on the desired look.
Creating a DIY accent wall in your living room is a fantastic way to showcase your creativity and add a unique touch to your space. By following these steps and taking the time to plan and prepare, you’ll be well on your way to transforming your living room into a stylish and inviting haven. Let your imagination run wild, and enjoy the rewarding process of bringing your accent wall vision to life!

