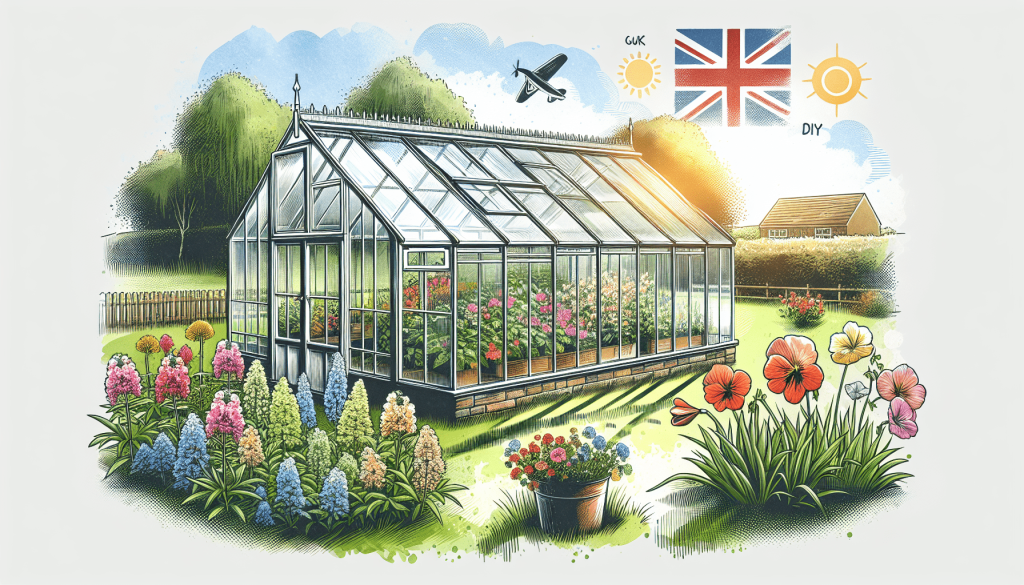
Are you an avid gardener in the UK who wishes to extend your gardening season beyond the limitations of the weather? Look no further! In this article, we will explore the exciting world of DIY greenhouses and how you can effortlessly build one to enjoy year-round gardening in the comfort of your own backyard. With a simple yet efficient design and accessible materials, you’ll soon be reaping the benefits of fresh, homegrown produce regardless of the unpredictable British climate. So let’s roll up our sleeves and get ready to create your very own greenhouse oasis!
Table of Contents
ToggleChoosing the Location
When it comes to building a DIY greenhouse for year-round gardening in the UK, one of the first things you need to consider is the location. Choosing the right spot for your greenhouse is crucial for ensuring the success of your plants.
Consider the sun exposure
The amount of sun exposure your greenhouse receives is vital for the growth and development of your plants. You will want to choose a location that gets plenty of sunlight throughout the day. In the UK, where sunlight can be scarce at times, it is important to find a spot that maximizes sun exposure.
Ensure drainage
Another important factor to consider when choosing the location is the drainage of the area. You want to avoid a spot where water tends to pool or collect. Good drainage is essential to prevent waterlogging, which can lead to root rot and other problems for your plants.
Check for nearby obstacles
Lastly, you should check for any nearby obstacles that could potentially block sunlight or hinder your access to the greenhouse. Make sure there are no tall buildings, trees, or structures that could cast shadows on your greenhouse. Also, consider the convenience of accessing your greenhouse from your home or garden.
Determining the Size and Design
Once you have chosen the location for your DIY greenhouse, it’s time to determine the size and design that will best suit your needs.
Assess your gardening needs
Consider the types of plants you want to grow and the amount of space they will require. If you plan on growing taller plants or plan to have shelves or tables inside, you will need to account for their height and ensure your greenhouse is tall enough to accommodate them. Additionally, consider if you want space to move around comfortably and work within your greenhouse.
Consider available space
While assessing your gardening needs, it’s also important to consider the amount of available space you have for your greenhouse. You don’t want to build a greenhouse that is too large for your property and ends up dominating your entire garden. Find the balance between accommodating your gardening needs and the available space you have.
Choose the greenhouse shape
Greenhouses come in various shapes, such as traditional rectangular, curved or even geodesic domes. Consider the style of your garden and the aesthetics you prefer when choosing the shape of your greenhouse. Additionally, keep in mind that curved or dome-shaped greenhouses are known to provide better structural strength and better heat distribution.
Selecting the Materials
Selecting the right materials for your DIY greenhouse is essential for its durability and functionality, especially considering the unpredictable climate in the UK.
Consider the climate in the UK
The UK experiences mild to cool weather throughout the year, so it’s important to choose materials that can withstand the British climate. You’ll want materials that are resistant to moisture, wind, and temperature fluctuations.
Choose the frame material
For the frame of your greenhouse, you have several options, including wood, aluminum, or PVC. Wood is a popular and natural choice, providing good insulation and aesthetics. Aluminum is durable, lightweight, and won’t rot. PVC, although less commonly used, is affordable and easy to work with. Consider your budget, durability needs, and personal preferences when choosing the frame material.
Select the covering material
The covering material is what will provide insulation and protection for your plants. Options include glass, polycarbonate, or polyethylene. Glass is durable and allows the most sunlight, but it can be more expensive and may require additional support for its weight. Polycarbonate is lightweight, provides good insulation, and is shatterproof. Polyethylene film is affordable, easy to install, and provides good insulation, but it has a shorter lifespan. Consider the pros and cons of each covering material and choose the one that best suits your needs and budget.
Preparing the Ground
Before you start building your greenhouse, it’s important to properly prepare the ground where it will be situated.
Clear the area
Remove any existing vegetation, debris, or obstacles from the area where your greenhouse will be located. This will provide a clean and level surface for your greenhouse frame.
Level the ground
It’s essential to have a level ground for the proper construction and stability of your greenhouse. Use a rake or shovel to level out any uneven areas, ensuring that your greenhouse will sit on a solid foundation.
Consider adding a foundation
Depending on the size and design of your greenhouse, you may want to consider adding a foundation. A solid foundation will provide additional stability and ensure that your greenhouse remains level over time. Foundations can be made from concrete or other materials such as treated wood or paving slabs. Choose the right foundation type based on your preferences and local building regulations.
Constructing the Frame
With the ground prepared, you can now start constructing the frame of your DIY greenhouse.
Gather necessary tools and equipment
Before starting the construction, gather all the necessary tools and equipment. This may include a measuring tape, saw, drill, screws, and any other tools specific to the frame material you chose. Having everything ready will make the construction process smoother.
Measure and cut the frame materials
Measure and cut the frame materials according to your greenhouse design and size. Accuracy is key to ensure proper fit and stability. Take your time and double-check all measurements before making any cuts.
Assemble the frame
Once the materials are cut, it’s time to assemble the frame of your greenhouse. Follow the instructions or plans for your chosen greenhouse design. Start with the base and work your way up, attaching the frame pieces together securely. Use appropriate screws or connectors, depending on your frame material. Don’t rush the process and ensure that everything is properly aligned and level.
Installing the Covering
With the frame constructed, it’s now time to install the covering material to provide insulation and protection for your plants.
Choose the covering material
Refer back to the section on selecting materials to choose the appropriate covering material for your greenhouse. Carefully follow the manufacturer’s instructions for installing the specific covering material you have chosen.
Secure the covering to the frame
Begin by attaching the covering material to one side of the frame, ensuring it is taut and free from wrinkles or sagging. Continue securing the covering around the frame, making sure to evenly distribute the tension. Use appropriate clips, fasteners, or adhesive as recommended by the manufacturer.
Ensure proper ventilation
During the installation of the covering material, make sure to leave openings or vents for proper ventilation. Adequate airflow is vital to prevent overheating and promote healthy plant growth.
Setting Up the Ventilation and Heating
Proper ventilation and heating are essential for maintaining optimal growing conditions within your greenhouse.
Install vents or windows
To ensure sufficient airflow, install vents or windows in your greenhouse. These can be manually operated or automated, depending on your needs and budget. Place them strategically to allow for cross ventilation and temperature control.
Consider using a fan or extractor
In addition to vents and windows, consider incorporating a fan or extractor to improve air circulation within your greenhouse. This can help prevent stagnant air, control humidity levels, and minimize the risk of fungi or mold growth.
Add heating options for winter
To extend your gardening season during the colder months, consider adding heating options to your greenhouse. This could include electric heaters, propane heaters, or even a geothermal heating system if feasible. Choose the heating method that suits your budget and provides adequate warmth for your plants.
Providing Suitable Lighting
Proper lighting is crucial for the growth and development of your plants.
Assess natural light availability
Assess the amount of natural light that your greenhouse receives throughout the year. While UK weather can be unpredictable, it’s important to maximize natural light whenever possible. Consider the orientation of your greenhouse and the placement of windows or vents for optimal sunlight exposure.
Consider supplemental lighting
Since sunlight can be limited in the UK during certain seasons, supplemental lighting may be necessary. LED grow lights are energy-efficient and provide a spectrum of light that can mimic natural sunlight. Consider the light intensity and duration required for different types of plants in your greenhouse.
Choose the right type of grow lights
Different plants have varying light requirements, so choose the right type of grow lights for your specific plant species. Some plants may require full-spectrum lights, while others may only need specific light wavelengths. Do your research and consult with gardening experts if needed to ensure you provide the appropriate lighting for your plants.
Setting Up Irrigation and Watering Systems
Proper irrigation and watering systems are essential for maintaining optimal moisture levels and promoting healthy plant growth.
Install a watering system
Consider installing a drip irrigation system or soaker hoses to deliver water directly to the roots of your plants. This helps prevent water waste and ensures that plants receive a consistent supply of moisture. Choose a system that is adjustable and allows for easy monitoring and control.
Consider rainwater harvesting
Take advantage of the UK’s naturally occurring rainfall by setting up a rainwater harvesting system for your greenhouse. This allows you to collect and store rainwater to use for watering your plants. It’s an environmentally friendly and cost-effective way to ensure a sustainable water supply for your greenhouse.
Monitor and adjust watering as needed
Regularly monitor the moisture levels of your plants and adjust the watering accordingly. Different plants have different water requirements, so it’s important to understand the specific needs of each plant species. Avoid overwatering, as it can lead to root rot and other issues. Regularly check the soil moisture levels and adjust your watering schedule as needed.
Maintaining the Greenhouse
To ensure the long-term success of your DIY greenhouse, regular maintenance is necessary.
Regularly clean the greenhouse
Clean the greenhouse regularly to remove dust, dirt, and debris that can accumulate over time. This helps prevent pests and diseases and ensures that your plants receive the maximum amount of sunlight. Clean the windows or covering material, as well as any interior surfaces, to maintain a clean and healthy growing environment.
Monitor temperature and humidity
Regularly monitor the temperature and humidity levels within your greenhouse. Invest in a thermometer and hygrometer to accurately measure these parameters. This allows you to make necessary adjustments to maintain optimal growing conditions for your plants.
Inspect for pests and diseases
Regularly inspect your plants for signs of pests or diseases. Early detection is crucial for effective treatment and prevention of further spread. Remove any affected plants or apply appropriate pest control methods to protect the health of your greenhouse plants. Consider using natural or organic pest control methods to minimize the use of chemicals.

