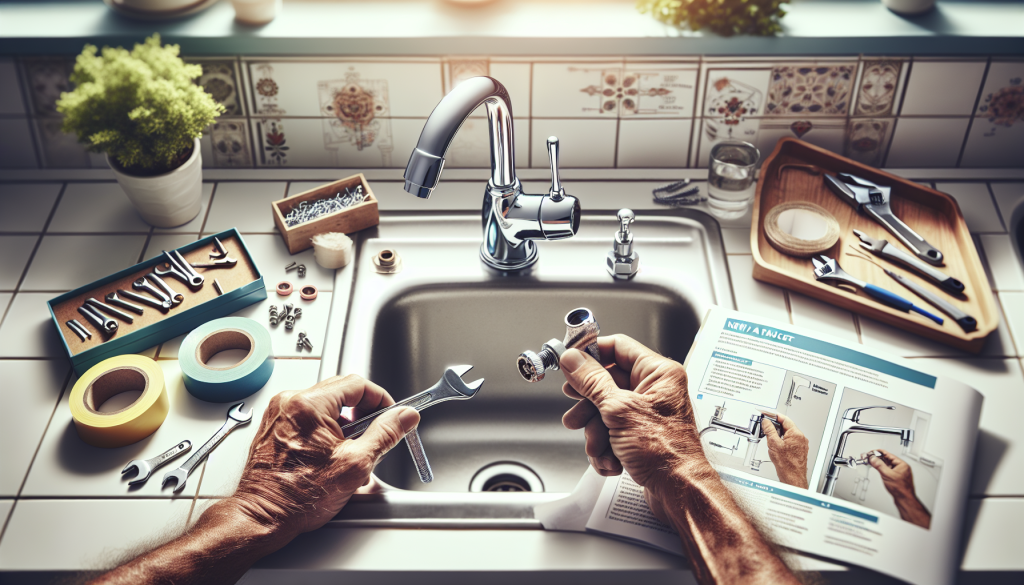
So you’ve decided it’s time for a fresh look in your kitchen, and you’re eager to tackle the task of installing a new faucet in your kitchen sink. But where do you begin? Don’t worry, we’ve got you covered. In this article, we’ll provide you with a step-by-step guide that will walk you through the process of installing your new faucet with ease. Say goodbye to the old and hello to the new, as you transform your kitchen into a stylish and functional space.
Table of Contents
TogglePreparation
Before you begin the process of installing a new faucet in your kitchen sink, you’ll need to gather the necessary tools and materials. Make sure you have a wrench, pliers, a putty knife, a bucket or towel for catching water, and the new faucet itself. Having all these tools ready will make the installation process much smoother.
Once you have gathered all the tools and materials, the next step is to turn off the water supply. This is important to prevent any water leaks or damage during the installation. To do this, locate the shut-off valves underneath the sink and turn them clockwise until they are fully closed. This will stop the flow of water to the faucet and allow you to work safely.
Removing the Old Faucet
With the water supply turned off, it’s time to remove the old faucet. Start by shutting off the water valves completely to avoid any accidental water flow while working. Once the water valves are closed, you can remove the supply lines that connect the faucet to the water supply. Use pliers to loosen the nuts on the supply lines and then carefully disconnect them.
Next, you’ll need to loosen the mounting nuts that hold the old faucet in place. Use a wrench to loosen these nuts, turning them counterclockwise. Once they are loose, you can remove them entirely. With the mounting nuts off, you are ready to take out the old faucet from the sink. Gently lift it up and out, being mindful of any remaining water that may still be in the faucet.
Installing the New Faucet
Now that you have successfully removed the old faucet, it’s time to install the new one. Start by positioning the gasket and deck plate of the new faucet. The gasket ensures a watertight seal and the deck plate covers any unused holes in the sink. Place the gasket on the sink, aligning it with the holes, and then position the deck plate on top of the gasket.
Next, attach the mounting hardware that came with your new faucet. Insert the bolts through the mounting holes of the faucet and deck plate, and then secure them with the provided nuts or washers underneath the sink. Tighten the nuts or washers with a wrench until the faucet feels secure and doesn’t move around.
Connect the supply lines to the faucet by screwing them onto the threaded connections underneath the sink. Ensure that the hot water supply line is connected to the hot water valve and the cold water supply line is connected to the cold water valve. Use pliers to tighten the connections, taking care not to overtighten and cause any damage.
Once the supply lines are securely attached, it’s time to secure the faucet in place. Tighten the mounting nuts underneath the sink, using a wrench to turn them clockwise. Make sure the faucet is straight and aligned properly before fully tightening the mounting nuts.
Connecting the Water Supply
With the new faucet securely installed, it’s time to connect the water supply. Start by attaching the supply lines to the shut-off valves. Screw the connections onto the valves, ensuring that the hot water supply line goes to the hot water valve and the cold water supply line goes to the cold water valve. Use pliers to tighten the connections, but be careful not to overtighten and risk damaging the connections.
Once the connections are tight, it’s time to turn on the water supply. Slowly open the shut-off valves by turning them counterclockwise. This will allow the water to flow into the faucet and the supply lines. Keep an eye out for any leaks or drips around the connections as the water begins to flow.
Checking for Leaks
After turning on the water supply, take a moment to inspect all the connections for any leaks. Check the connections at the shut-off valves, the supply lines, and the connections underneath the sink. If you notice any leaks, use a wrench or pliers to tighten the connections further. Be careful not to overtighten, as this can also cause leaks. If the leaks persist, you may need to consider replacing faulty parts or seeking professional assistance.
Attaching Accessories
If your new faucet comes with additional accessories like a soap dispenser or sprayer, now is the time to install them. Follow the manufacturer’s instructions to attach these accessories to the faucet. This usually involves screwing them onto specific threaded connections on the faucet. Make sure the accessories are securely attached and test any buttons or switches to ensure proper functionality.
Testing the Faucet
With everything installed and attached, it’s time to test your new faucet. Turn on the water supply fully and allow the water to flow through the faucet. Check for any leaks or drips around the connections, as well as the handle(s) and any installed accessories. Ensure that the water flows smoothly and there are no unusual noises or vibrations.
Adjust the flow and temperature of the water to your liking by using the faucet handles or knobs. Test both the hot and cold water to ensure they are functioning properly. If you notice any issues, such as difficulty adjusting the temperature or low water pressure, double-check the connections and make sure everything is securely tightened.
Cleaning Up
Once you’re satisfied with the functionality of your new faucet, it’s time to clean up. Clear away any debris or packaging materials that were left behind during the installation. Use a putty knife to scrape off any excess putty or adhesive from the sink and faucet. Finally, wipe down the sink and countertop with a clean cloth or sponge to remove any dust or dirt that may have accumulated during the installation process.
Troubleshooting
In some cases, you may encounter common installation issues while replacing your kitchen faucet. These can include leaks, difficulty removing the old faucet, or compatibility issues with the new faucet and sink. If you run into any problems that you’re unable to resolve on your own, don’t hesitate to seek professional assistance. A licensed plumber or handyman can help troubleshoot the issue and ensure a proper installation.
Maintenance Tips
To keep your new faucet in optimal condition, it’s important to follow some maintenance tips. Regularly cleaning the faucet with a mild soap and water solution will help prevent the buildup of dirt and grime. Avoid using harsh chemicals or abrasive cleaning agents, as these can damage the finish of the faucet.
Mineral buildup can be a common issue for faucets, especially in areas with hard water. To prevent this, periodically clean the aerator and other parts of the faucet that may be prone to buildup. Soaking the parts in a vinegar solution can help dissolve mineral deposits and keep the water flowing smoothly.
It’s also important to be cautious when using harsh chemicals near your faucet. Some cleaning products or drain cleaners contain chemicals that can damage the finish of the faucet. Read the labels of any products you use and avoid allowing them to come into contact with the faucet surface.
By following these maintenance tips and being mindful of how you use and clean your faucet, you can ensure its longevity and continue to enjoy a functional and beautiful addition to your kitchen sink.


